|
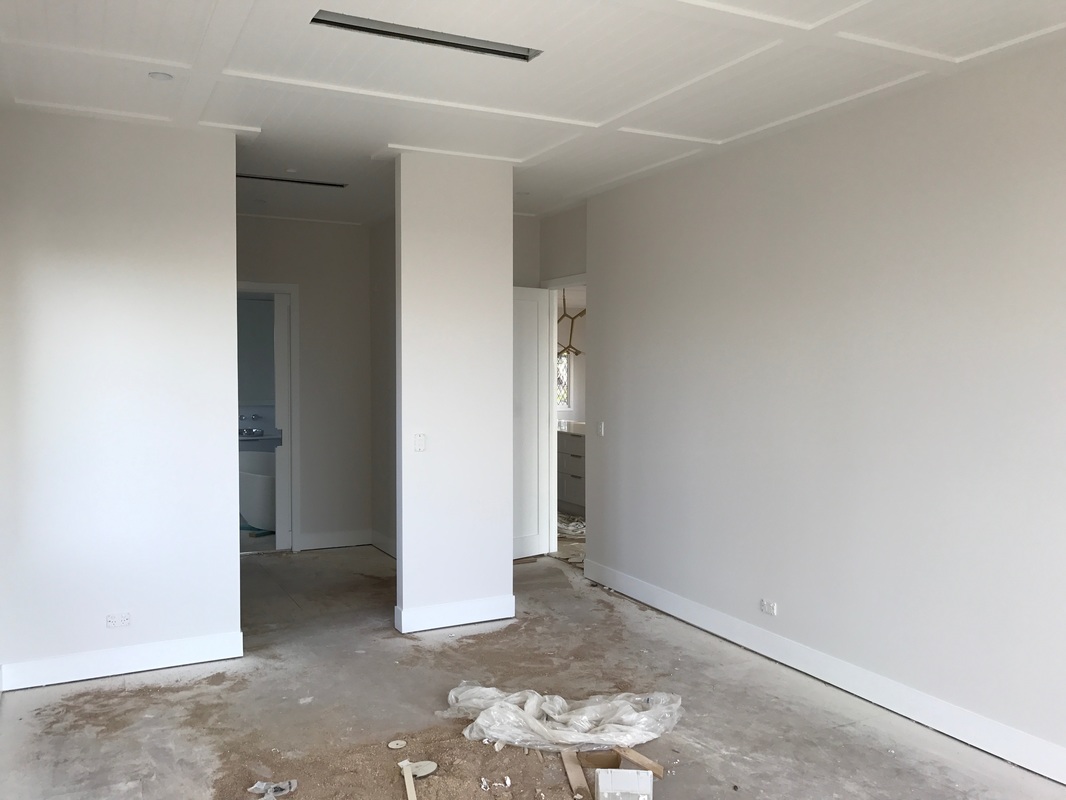
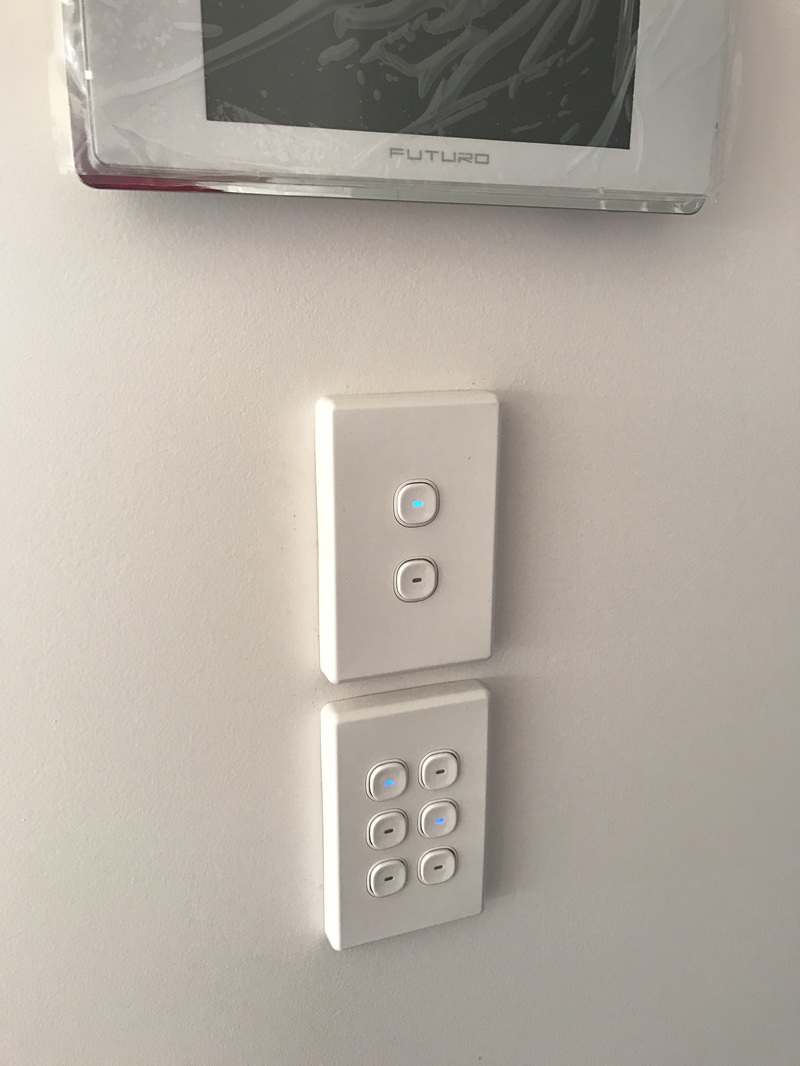
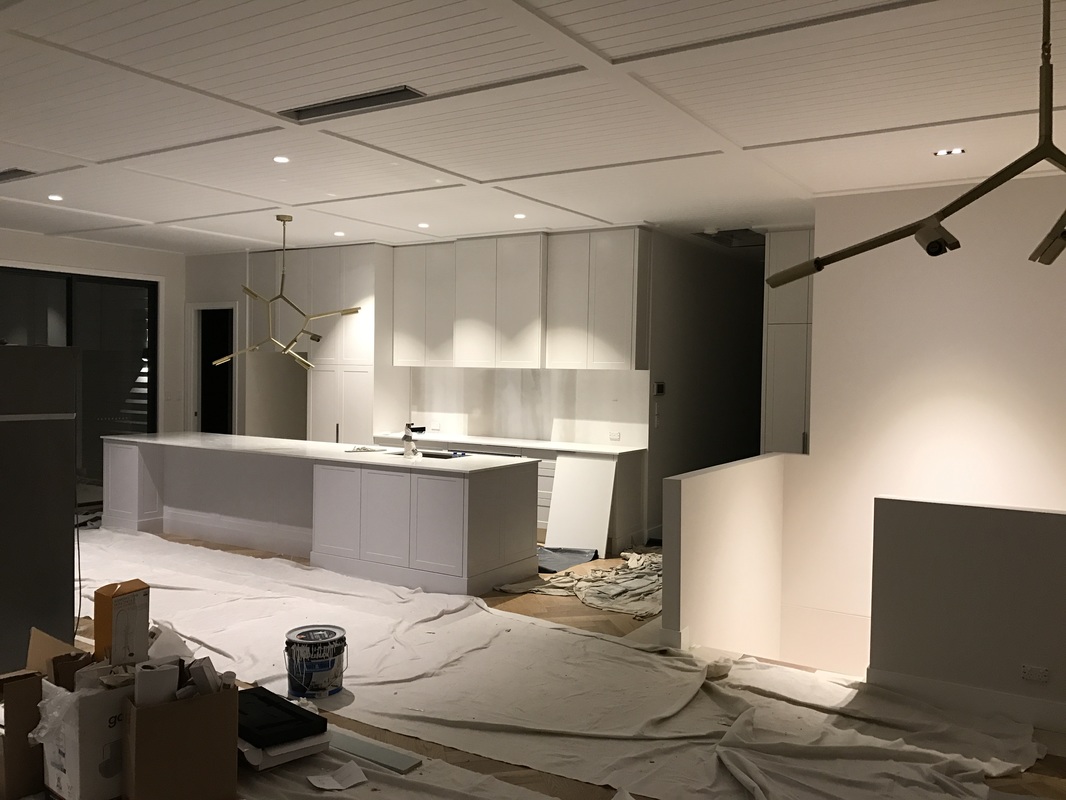
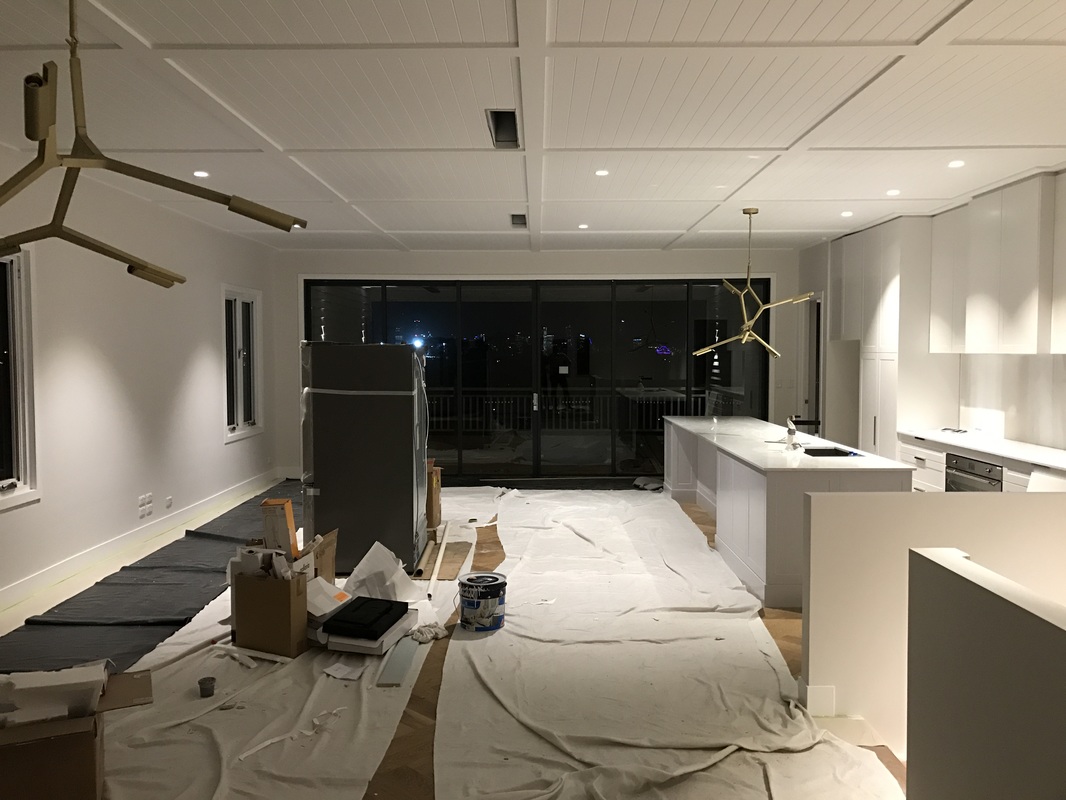
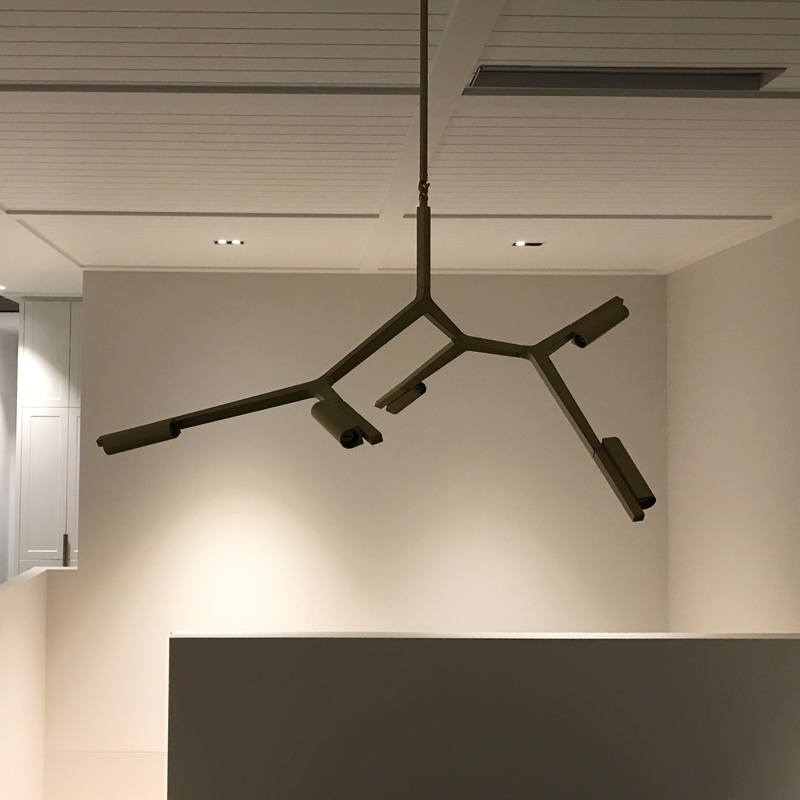
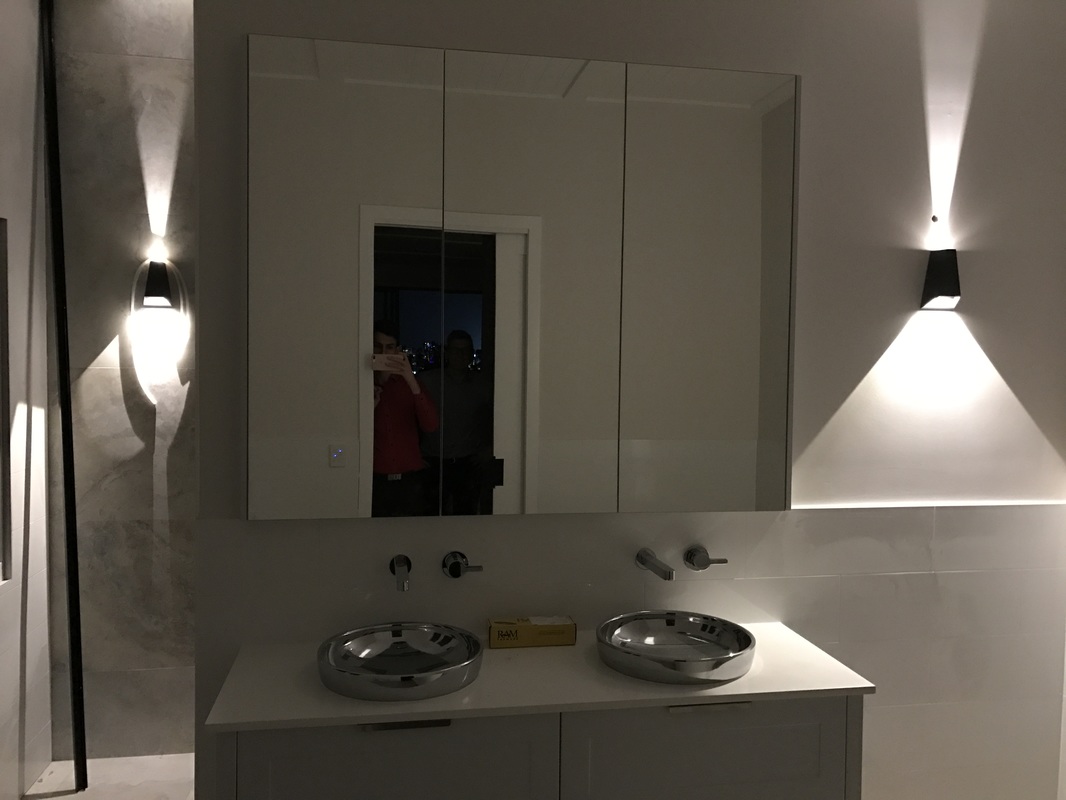
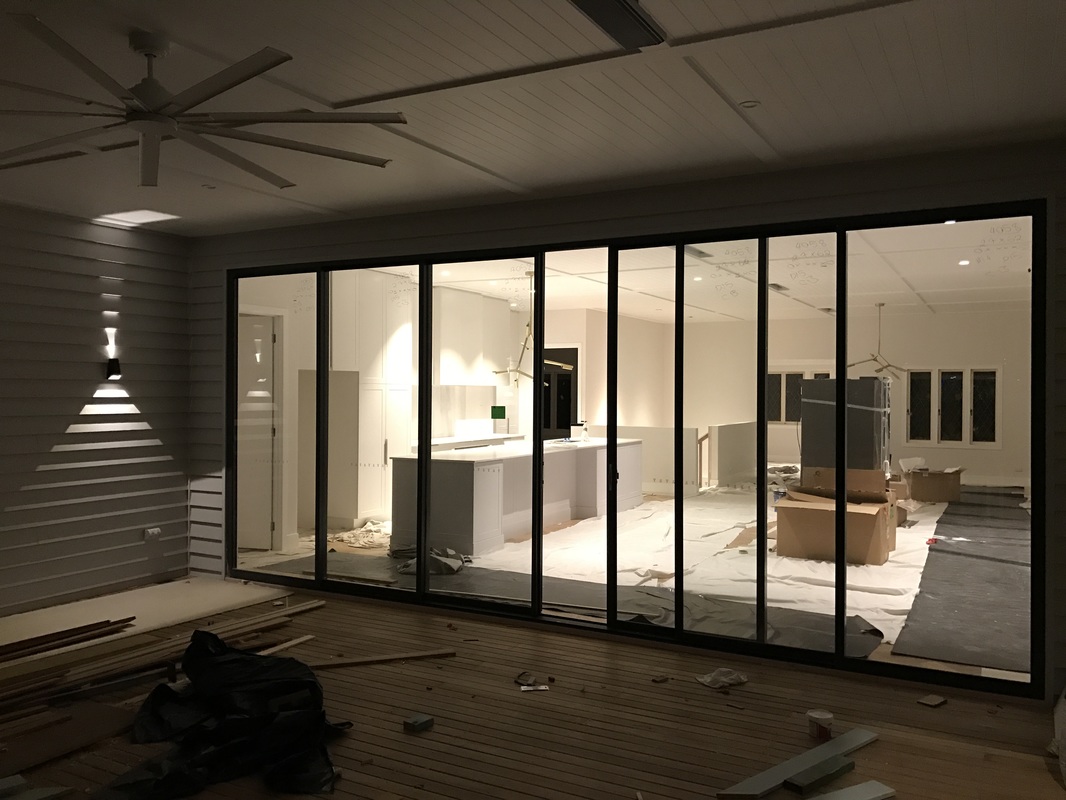
Well, we like our interior paint colour - what a relief! The 'British Paints - Tiger White' colour is clean and bright, but also has a warmth that we enjoy. Some more electrical fitting happened - including our white induction cooktop. Once the white tile splash back is done, the white cooktop should camouflage and not stick out like a black one would. The most exciting development this week however, is the power! Our LED push-switches came to life, and we put them to use to see whether our lighting design worked in real life. At our last house, we installed too many LED downlights (in cool white) - so we ended up hardly ever using them. We love the soft glow of lamps (everyone looks gorgeous under soft gold lighting), and this time around we wanted that soft glow lighting from our ceiling fixtures too. We opted for warm white, low voltage LED downlights with recessed chips, narrow beam angle and no diffusers (in laymans terms, less light output and less glare). The overall effect is moody and cosy - which is perfect. I love the patterns that the different fittings cast onto the walls. We also repeated a small dark grey wall light that throws an angled beam up and down. It's an exterior fitting, but we used it both outside and inside. The angled beam is like art on the walls and makes the spaces really intimate and dramatic. Our chandeliers came without bulbs (just like the toy on Christmas morning without batteries). To buy in Australia the bulbs are around $20 each, and we need 24 of them - so Michael found them online for about $3 each, but we have to wait. Something to look forward to in a few weeks time when they arrive from China.
1 Comment
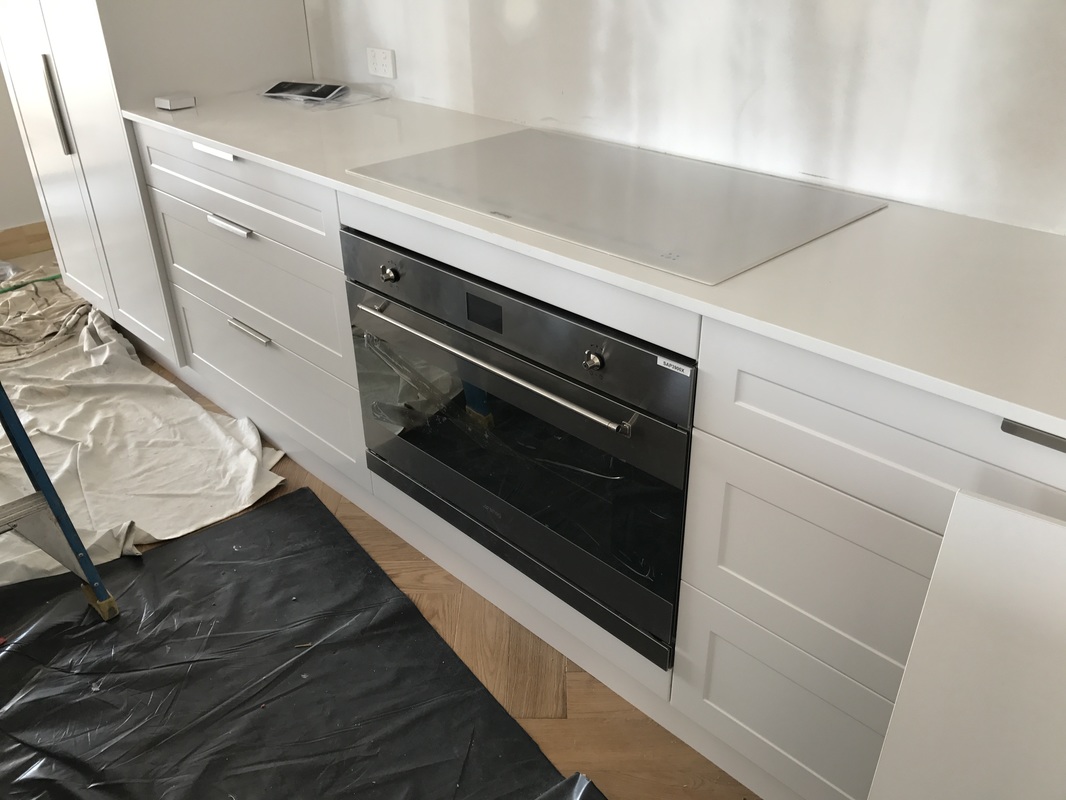
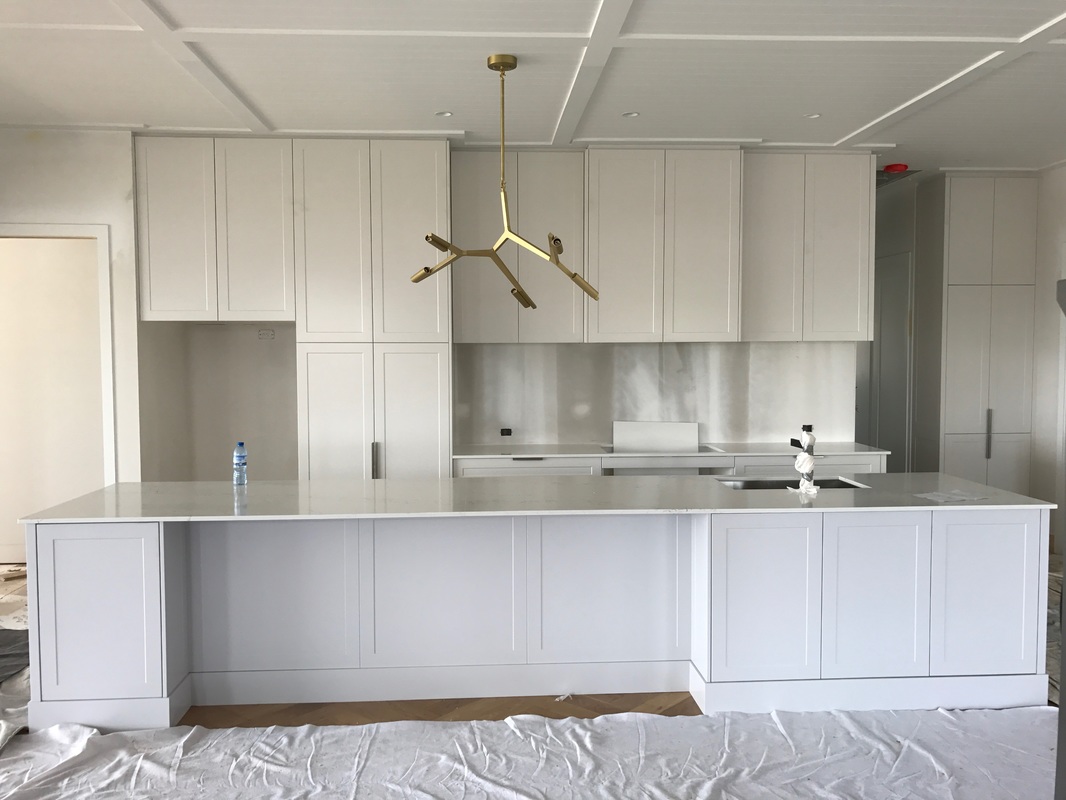
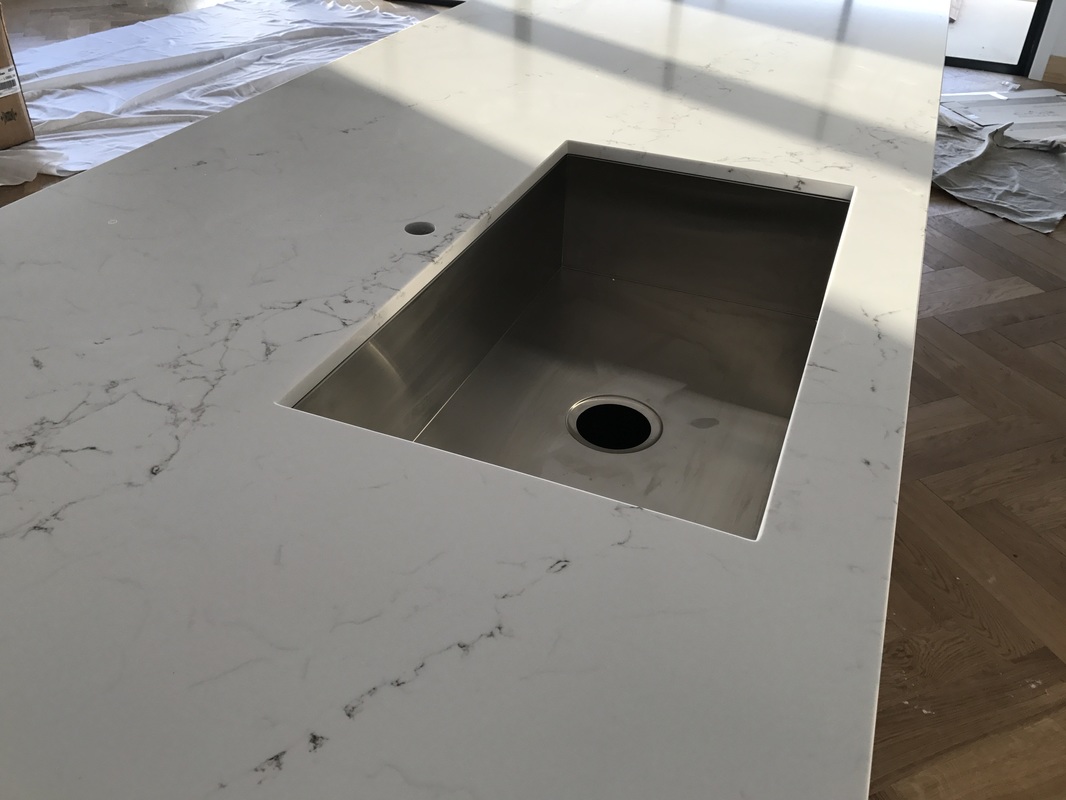
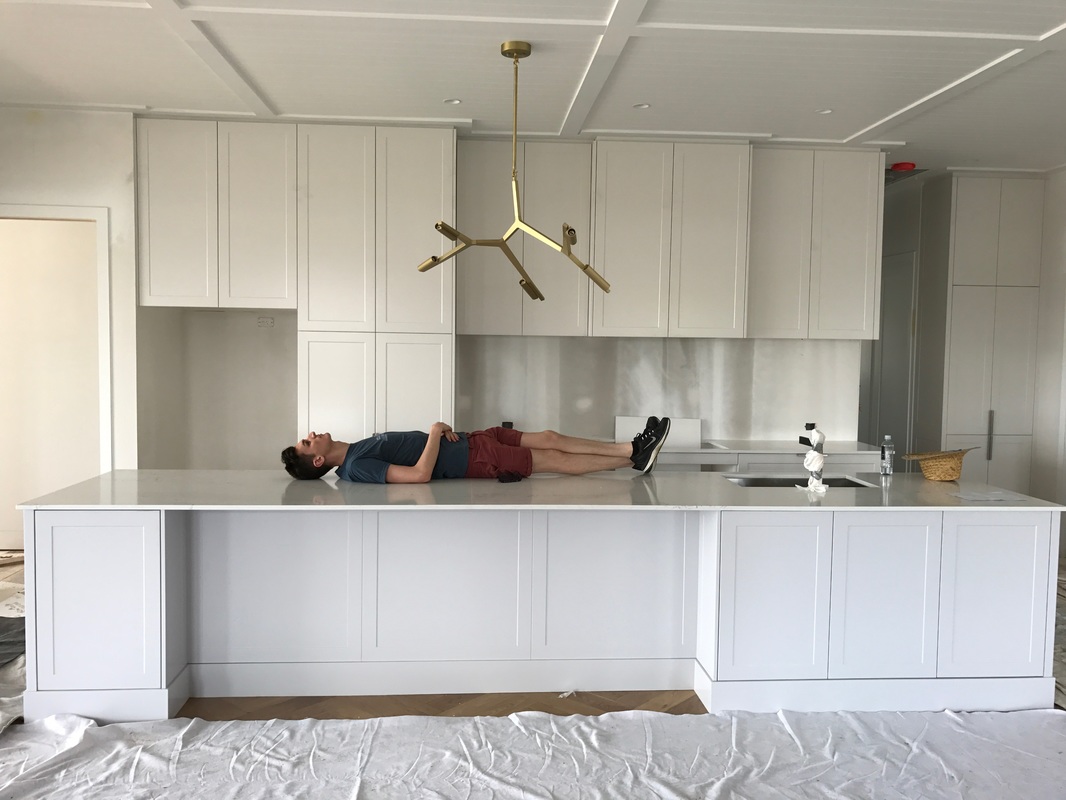
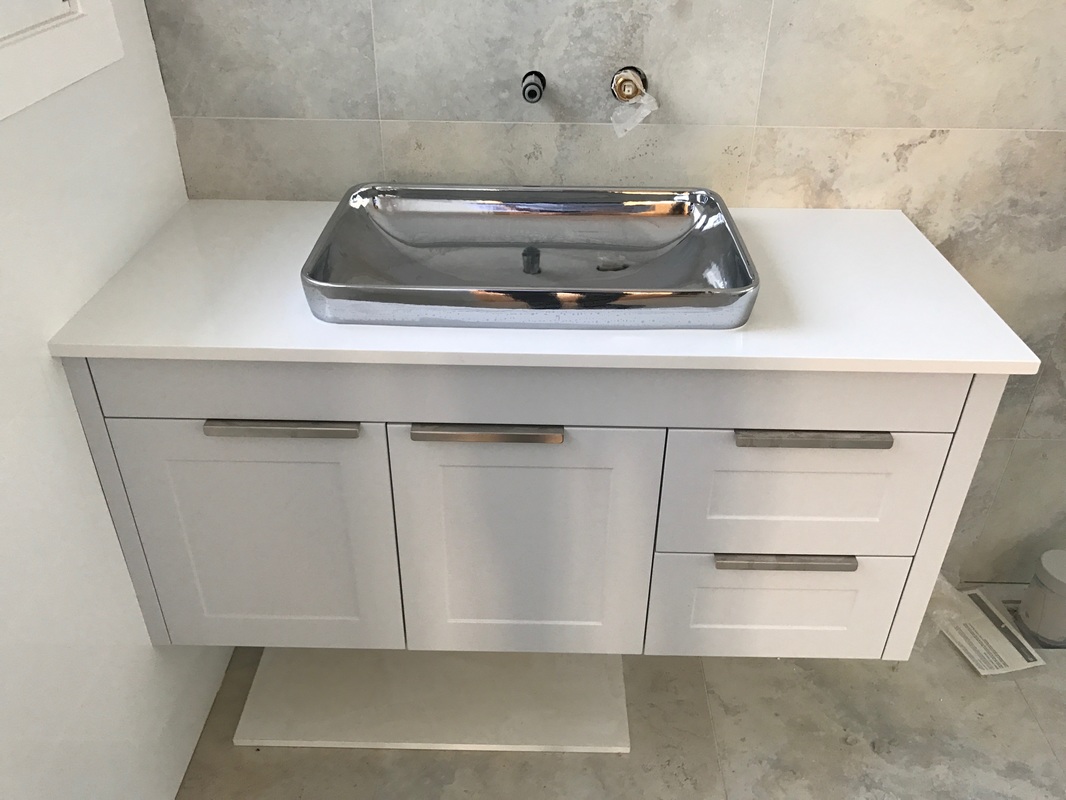
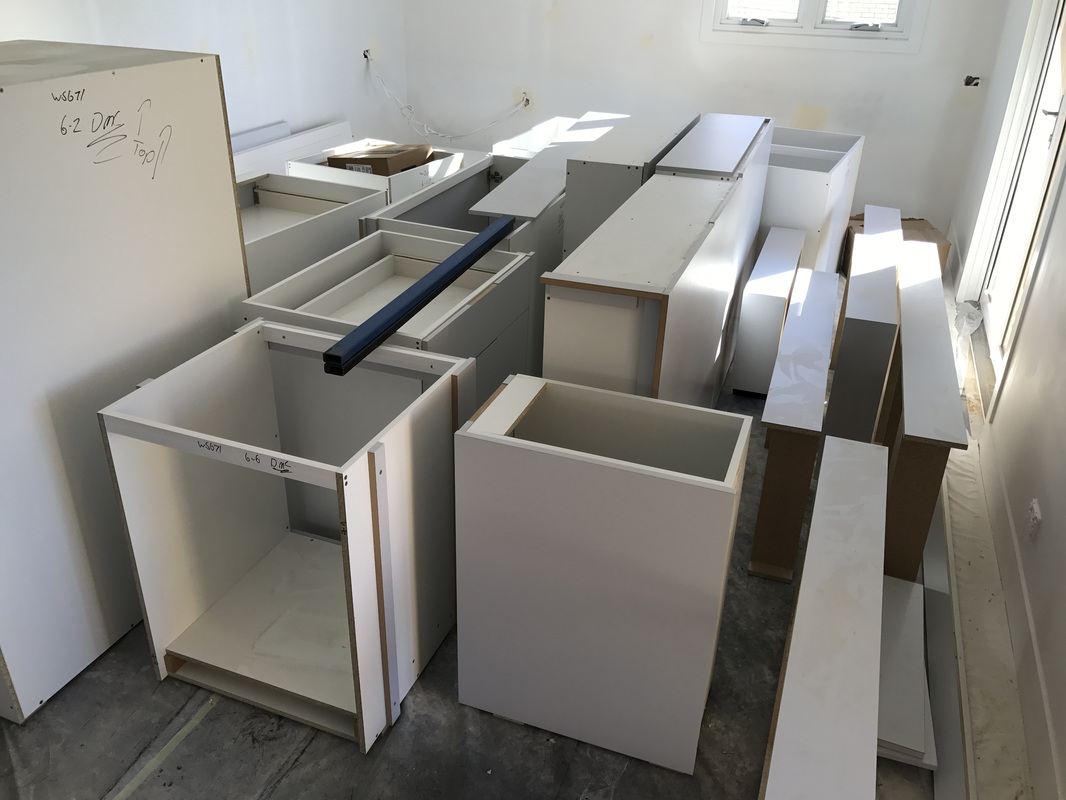
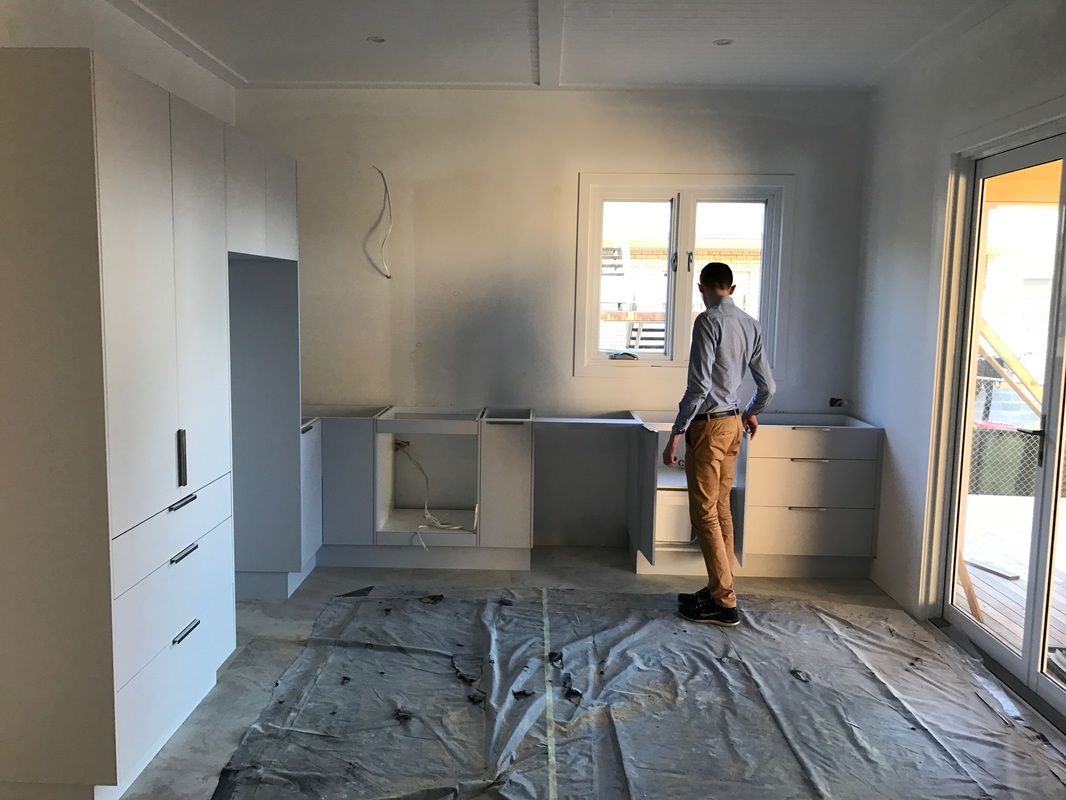
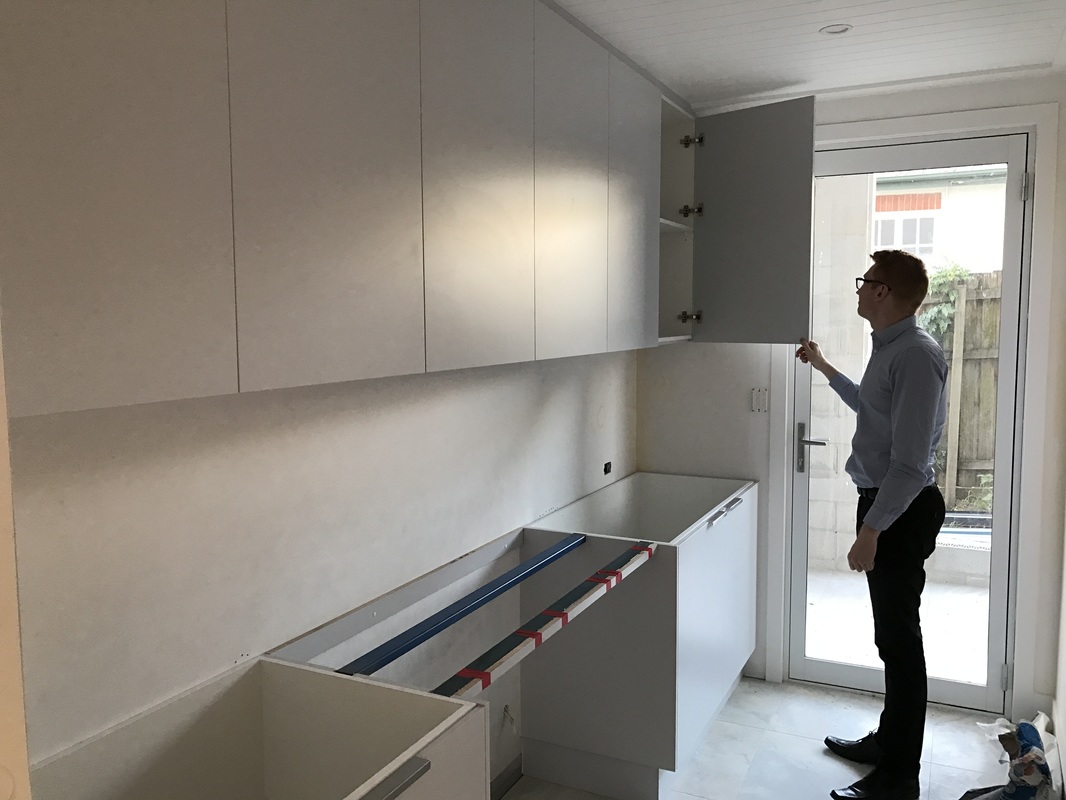
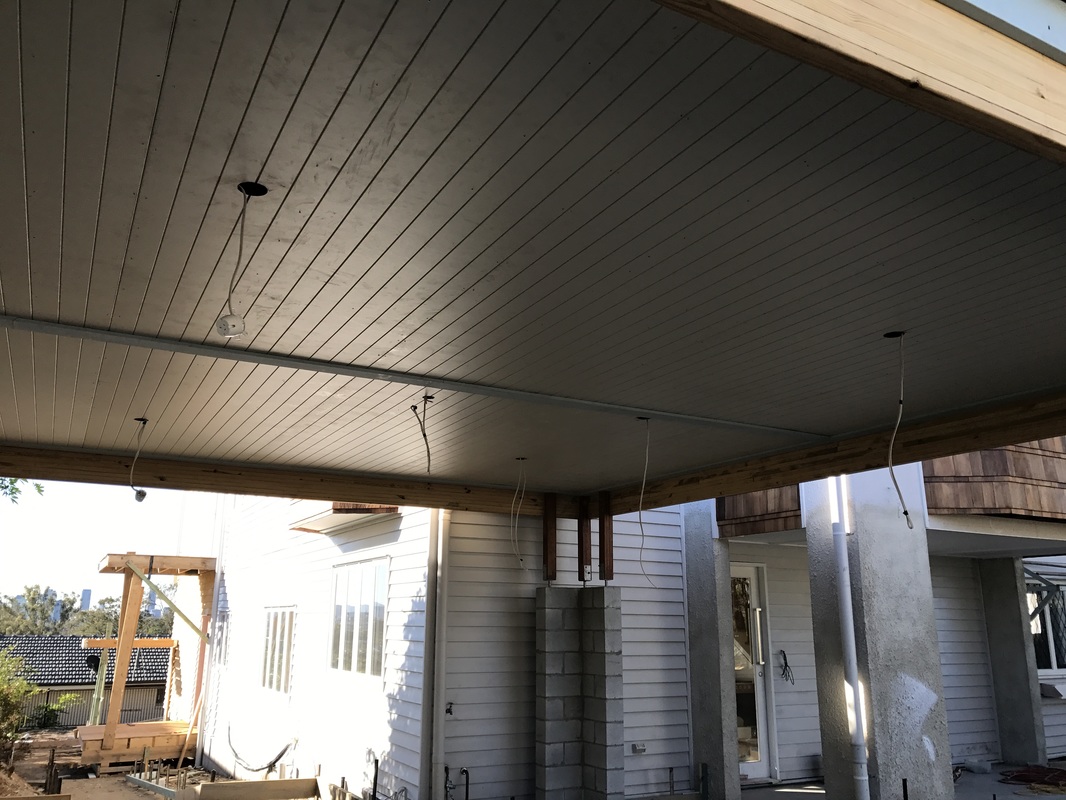
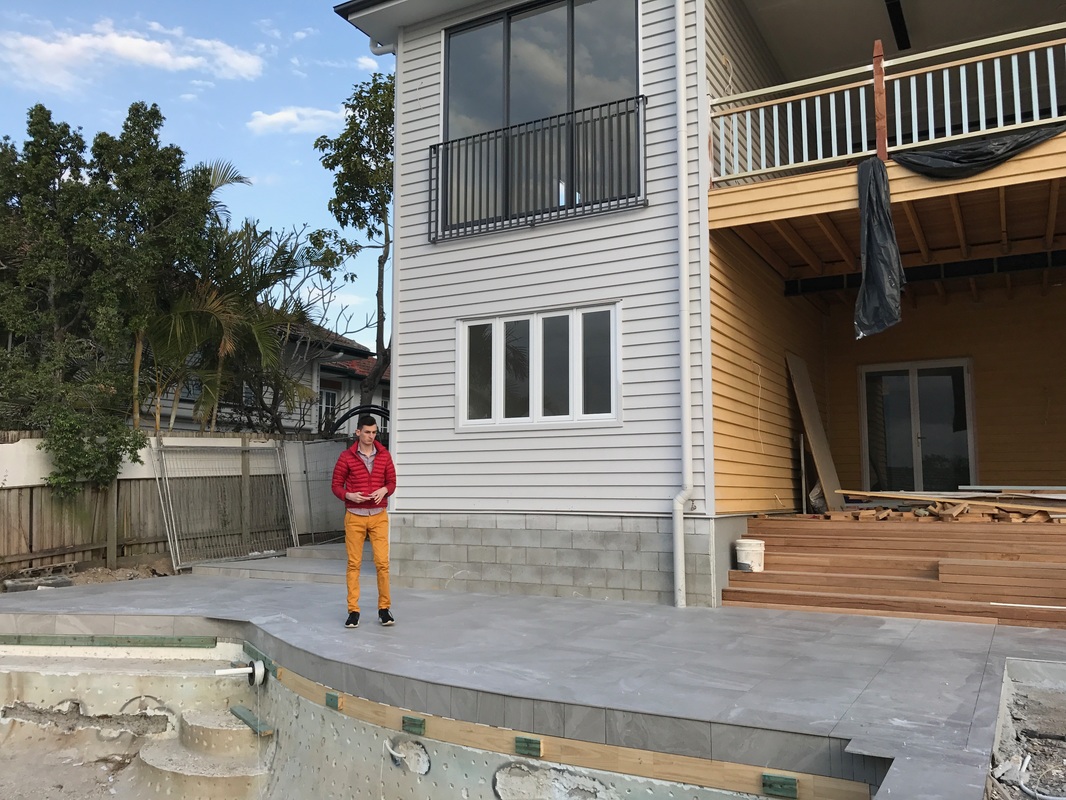
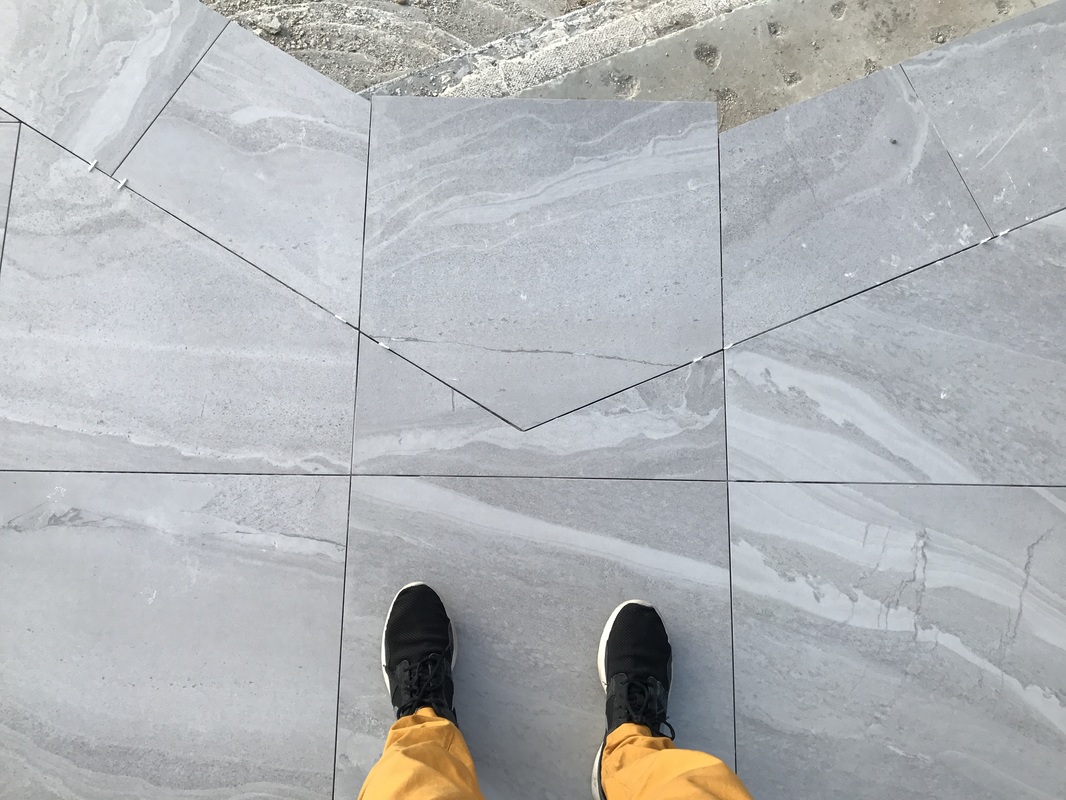
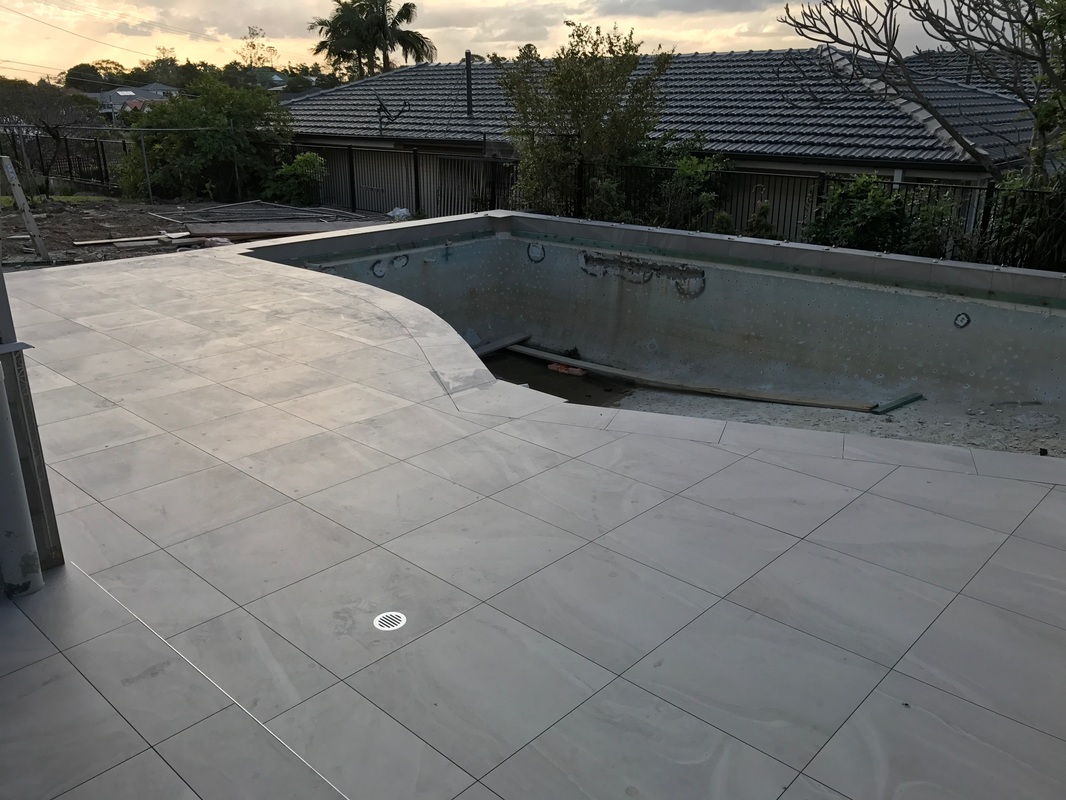
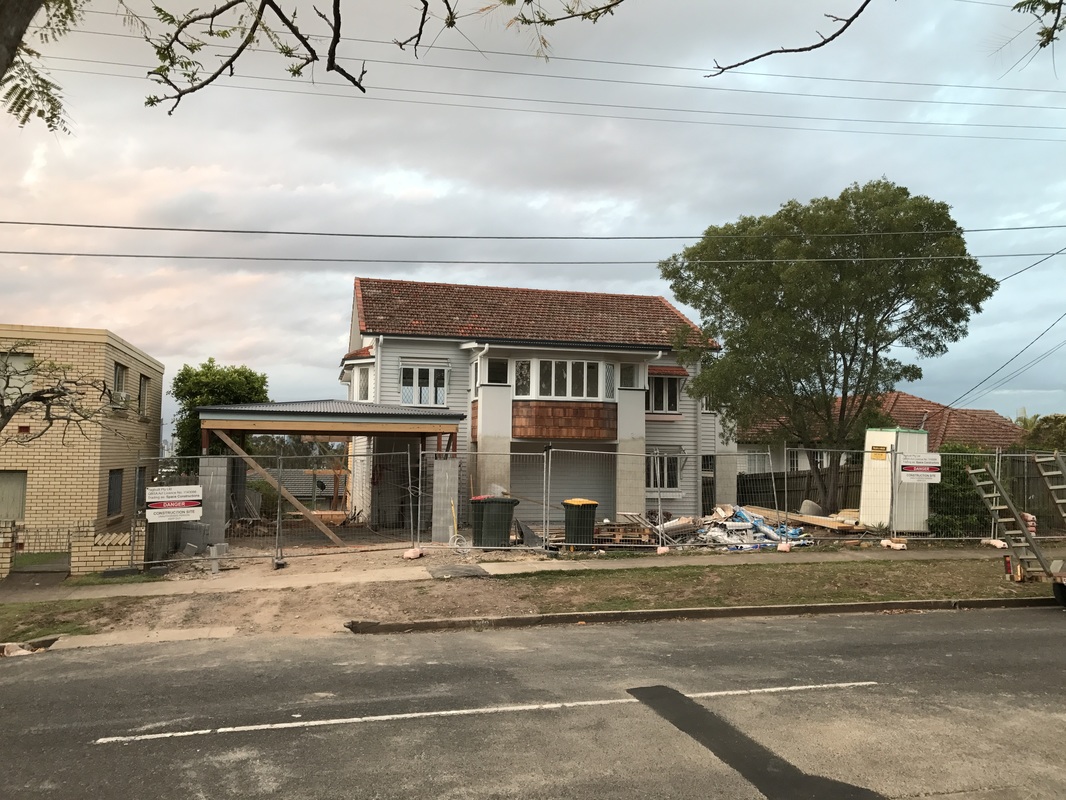
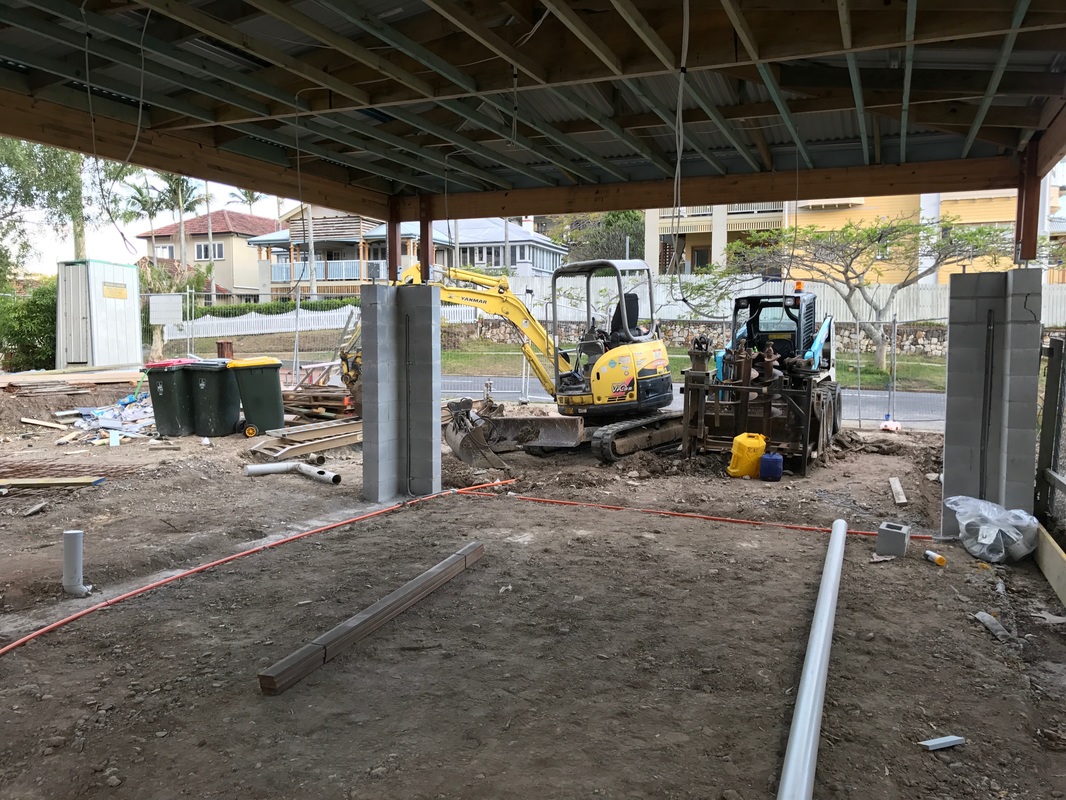
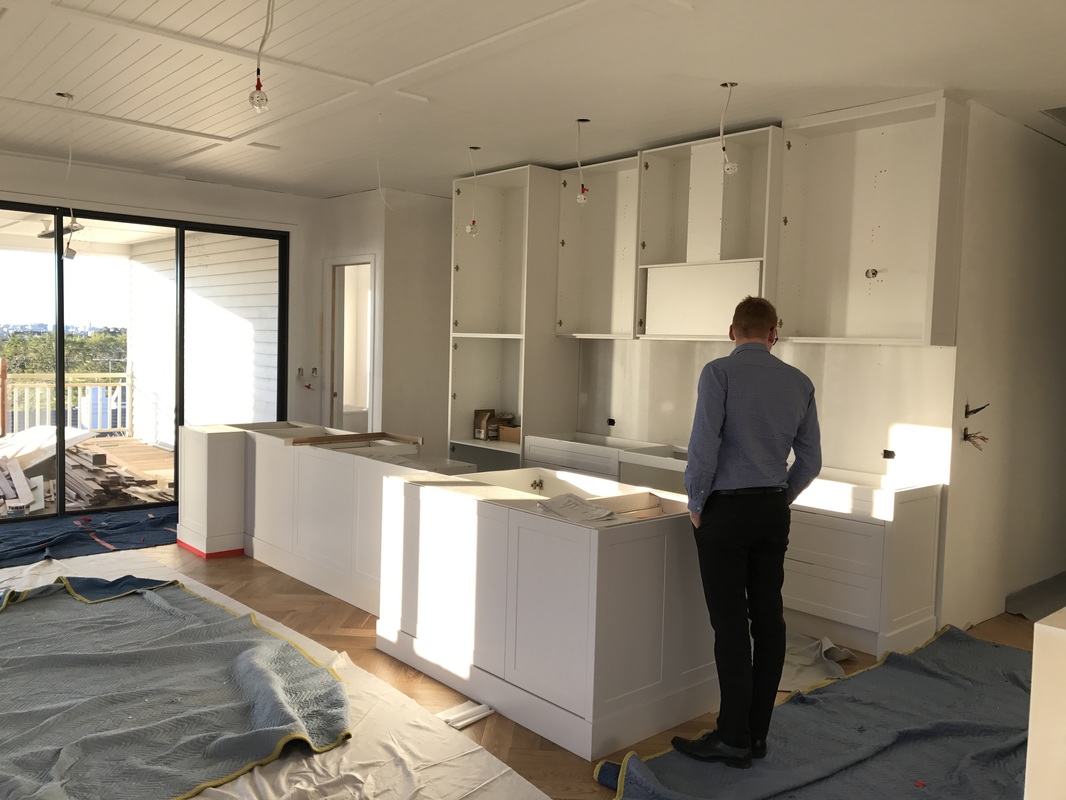
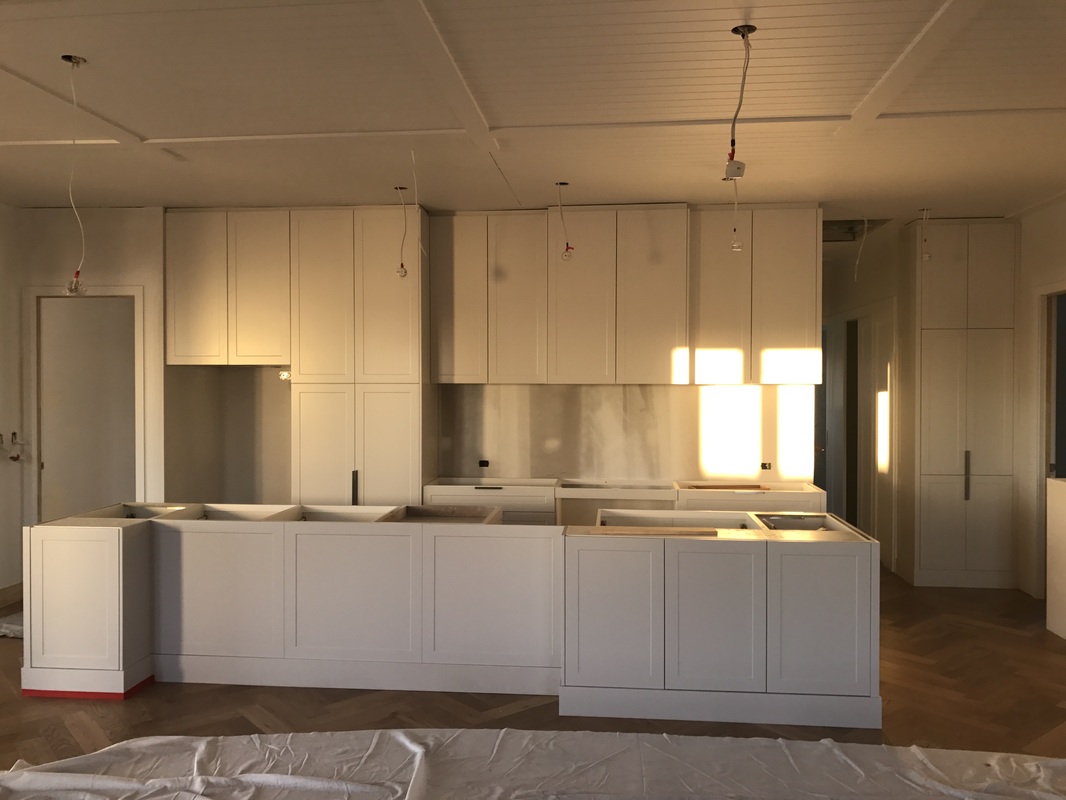
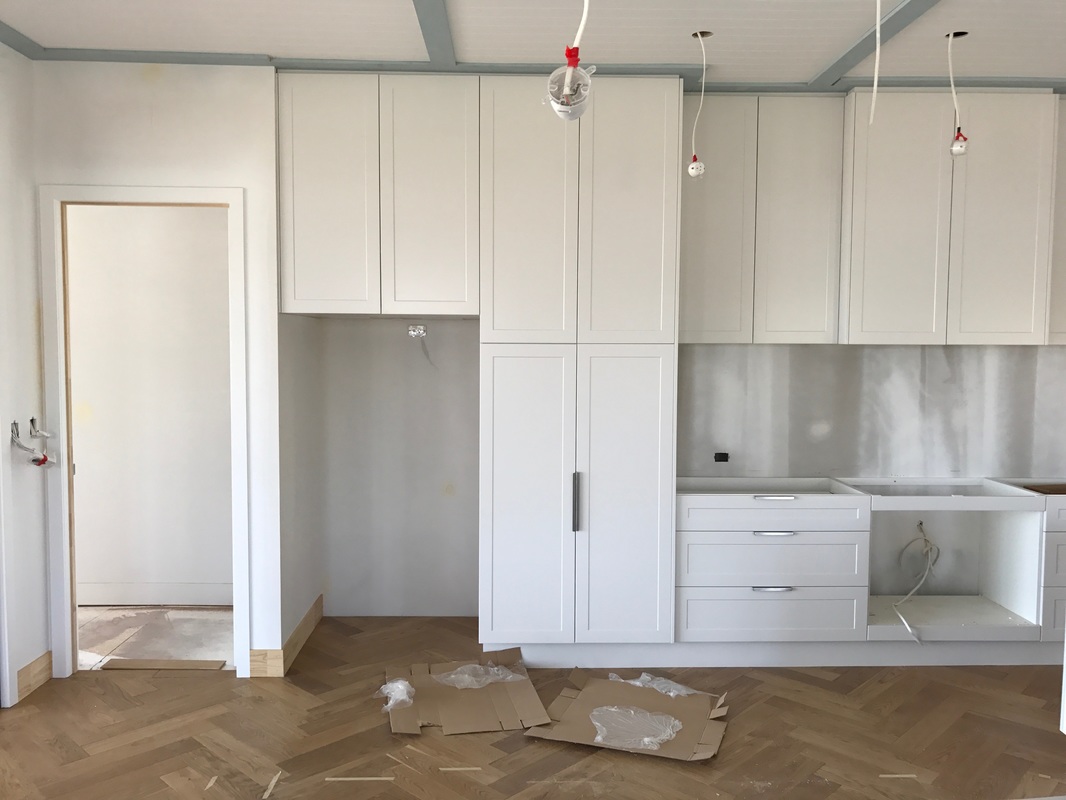
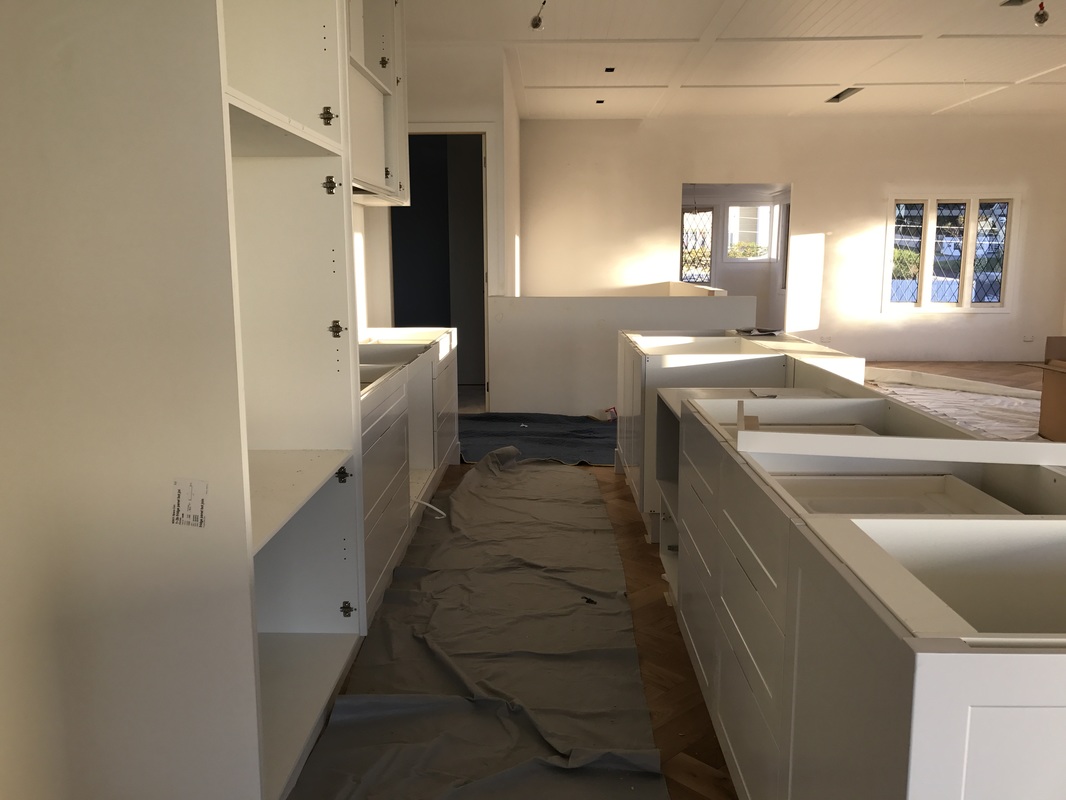
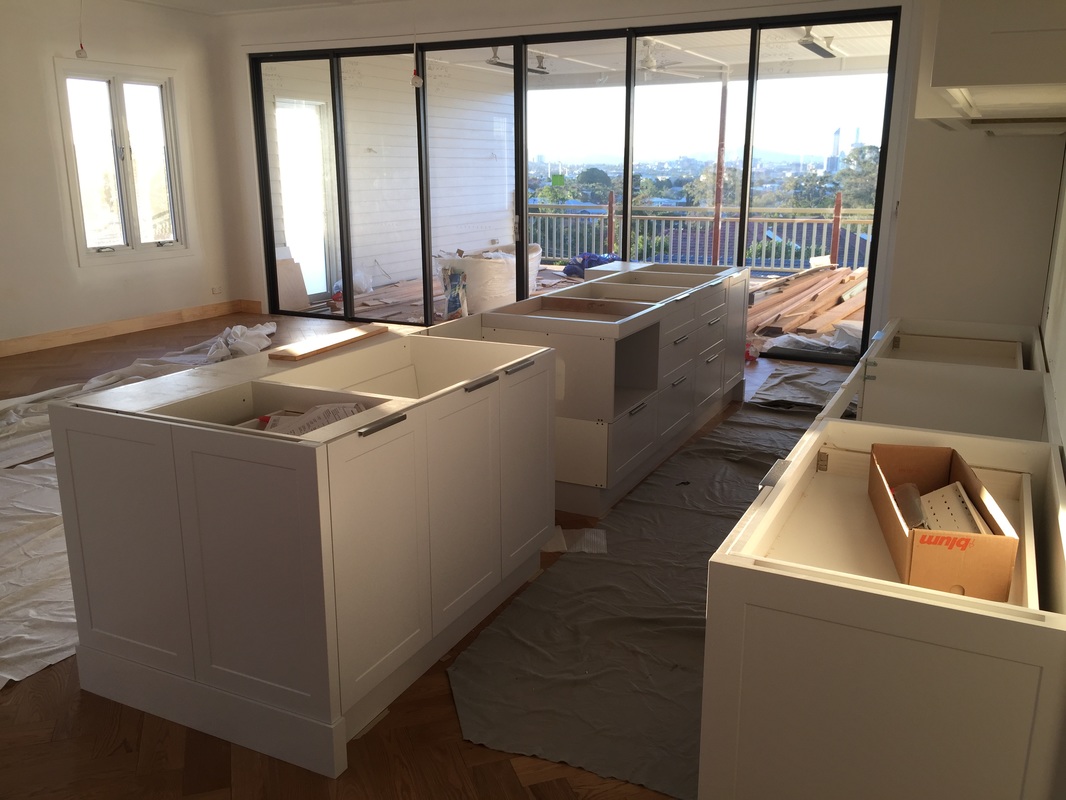
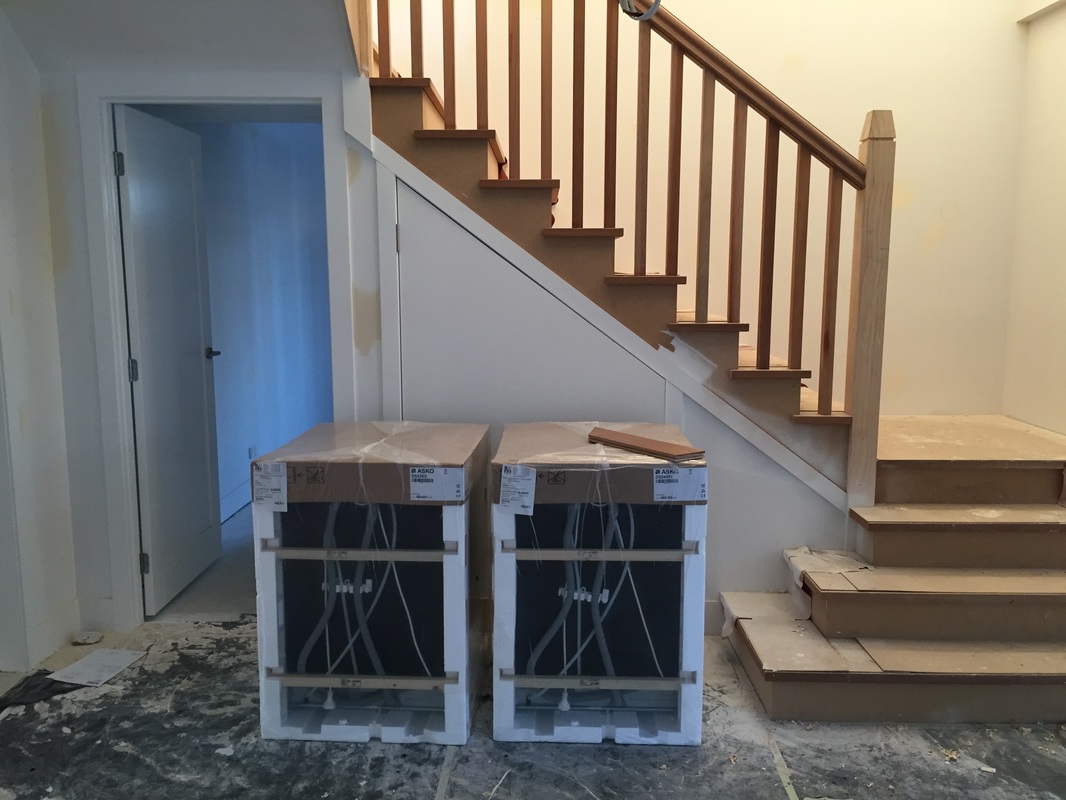
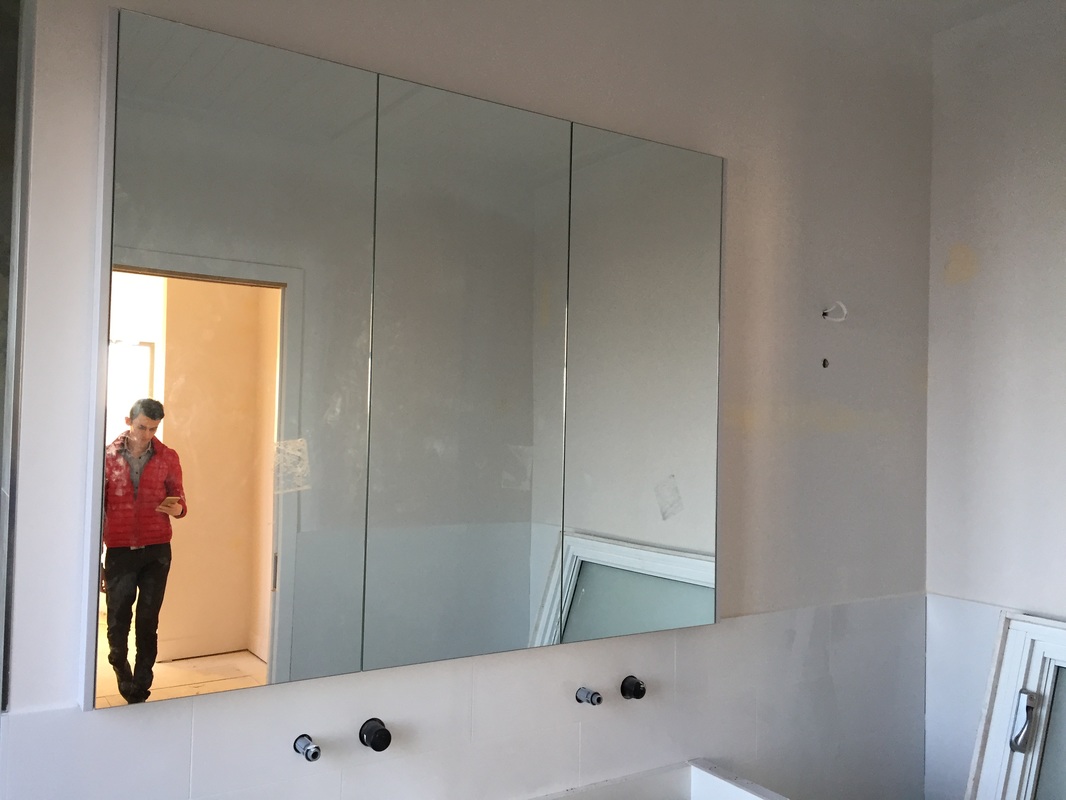
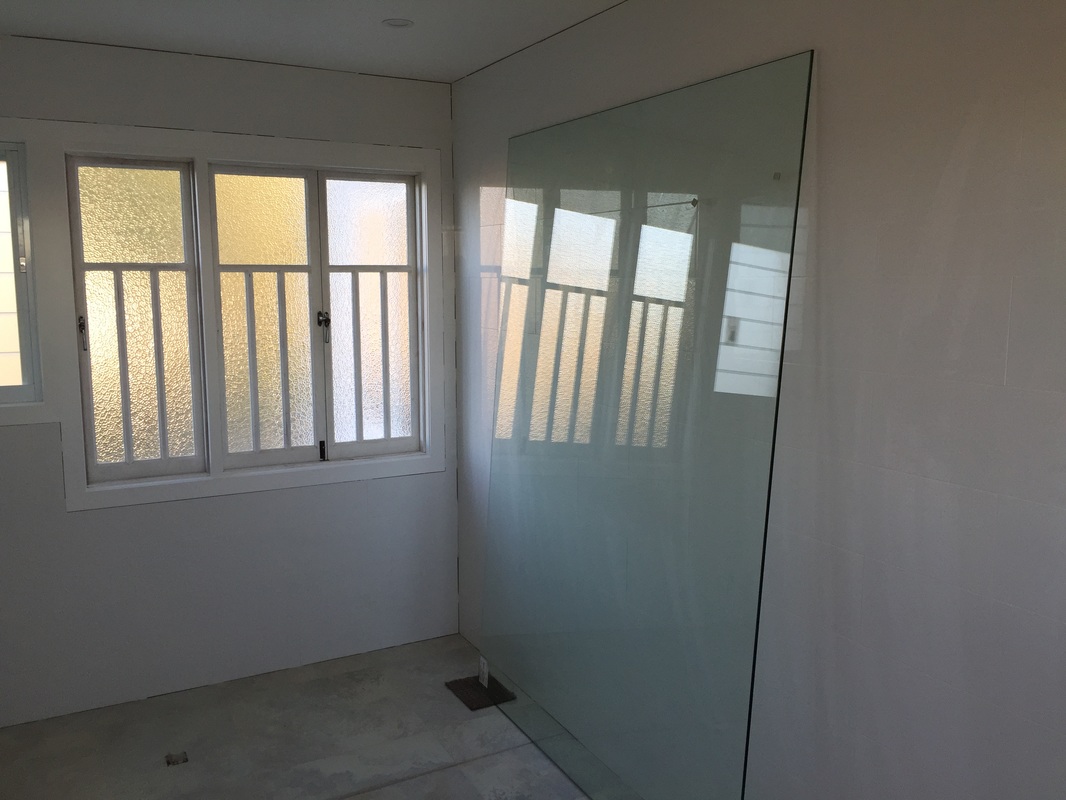
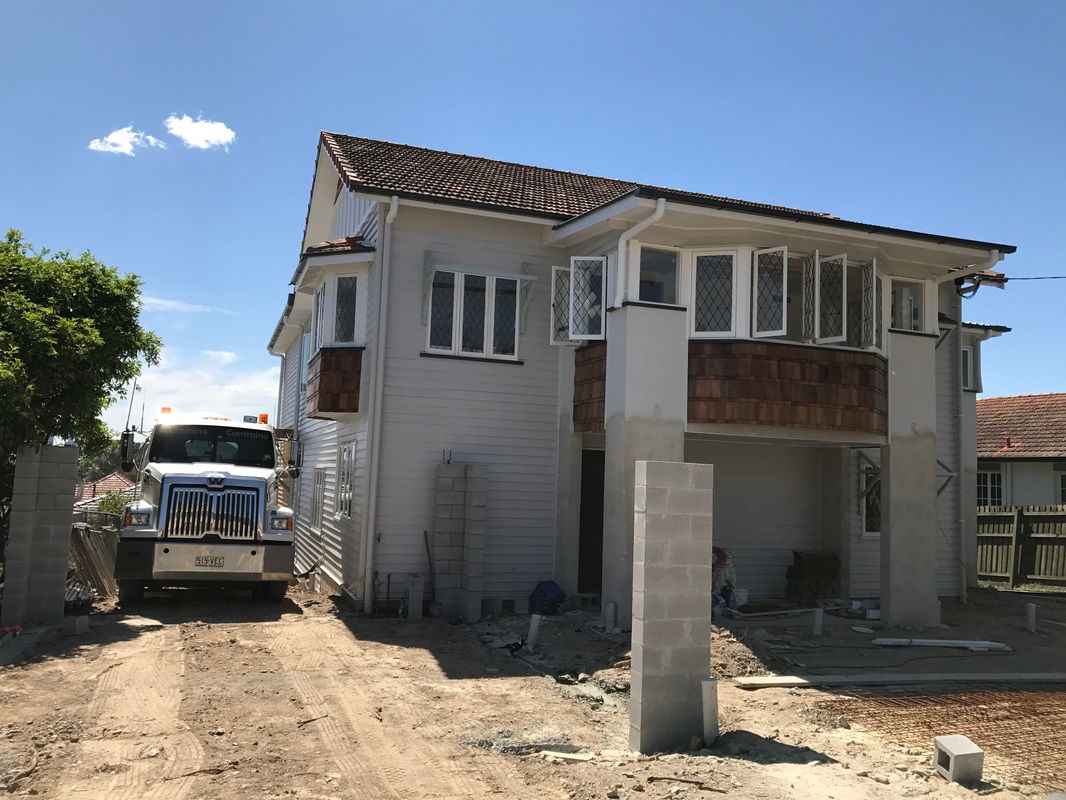
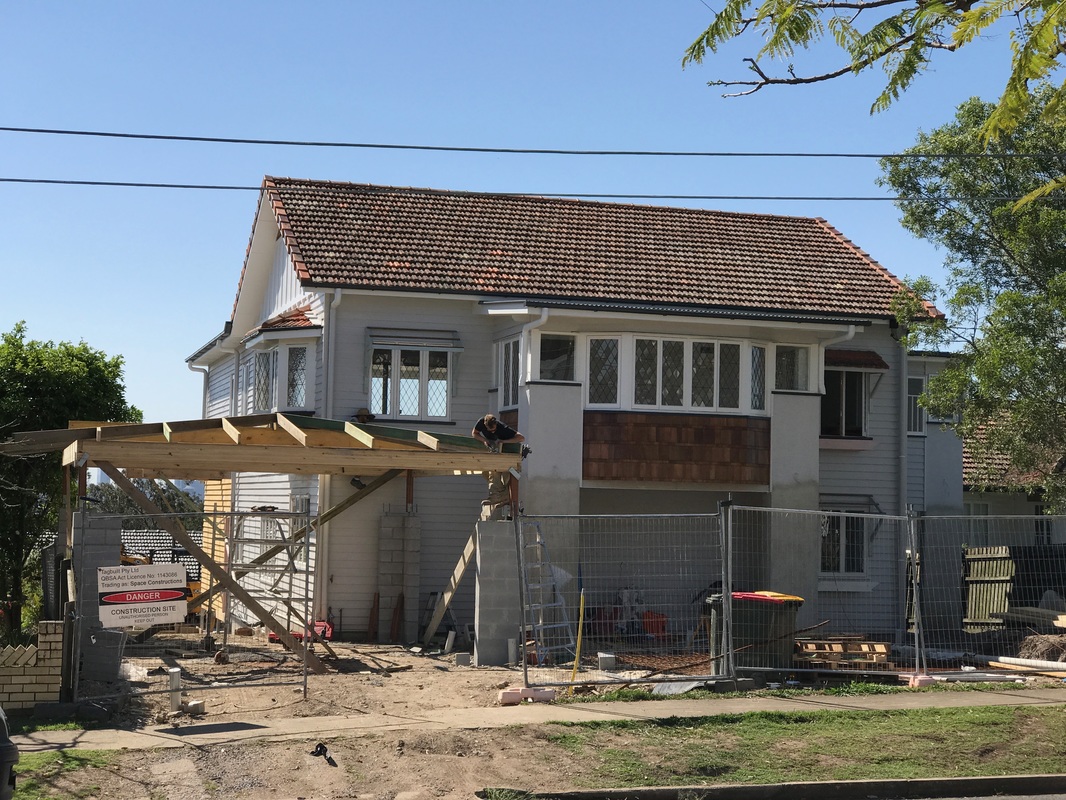
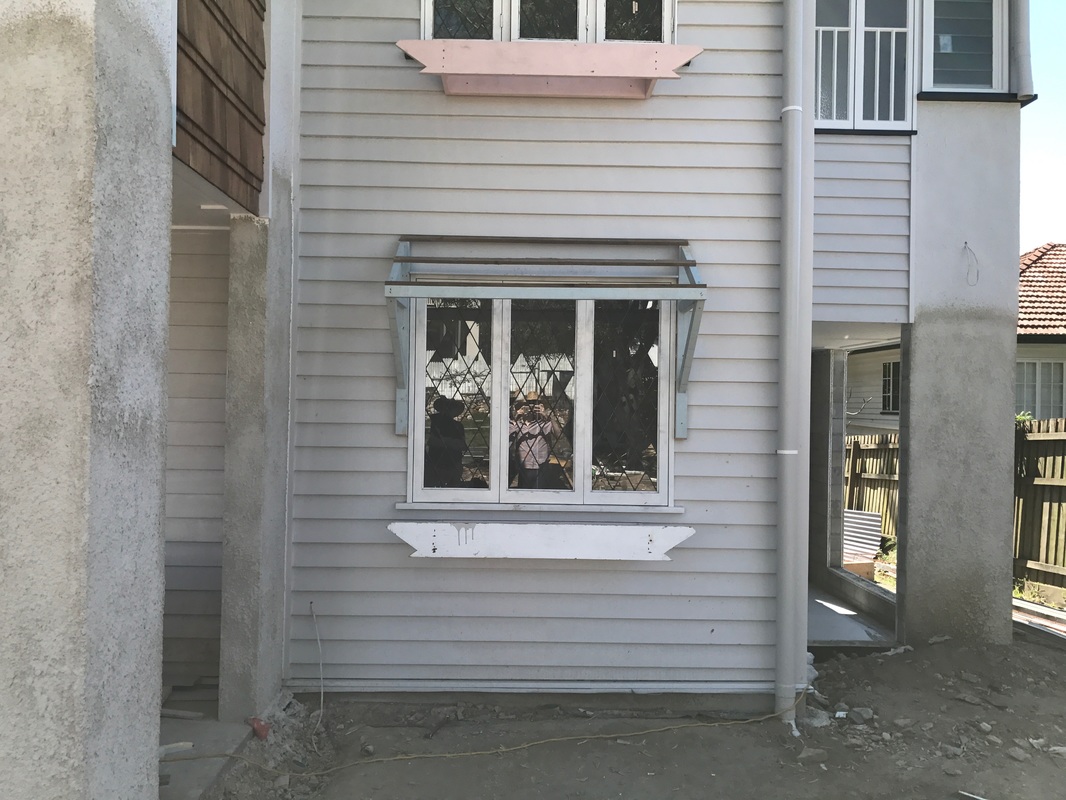
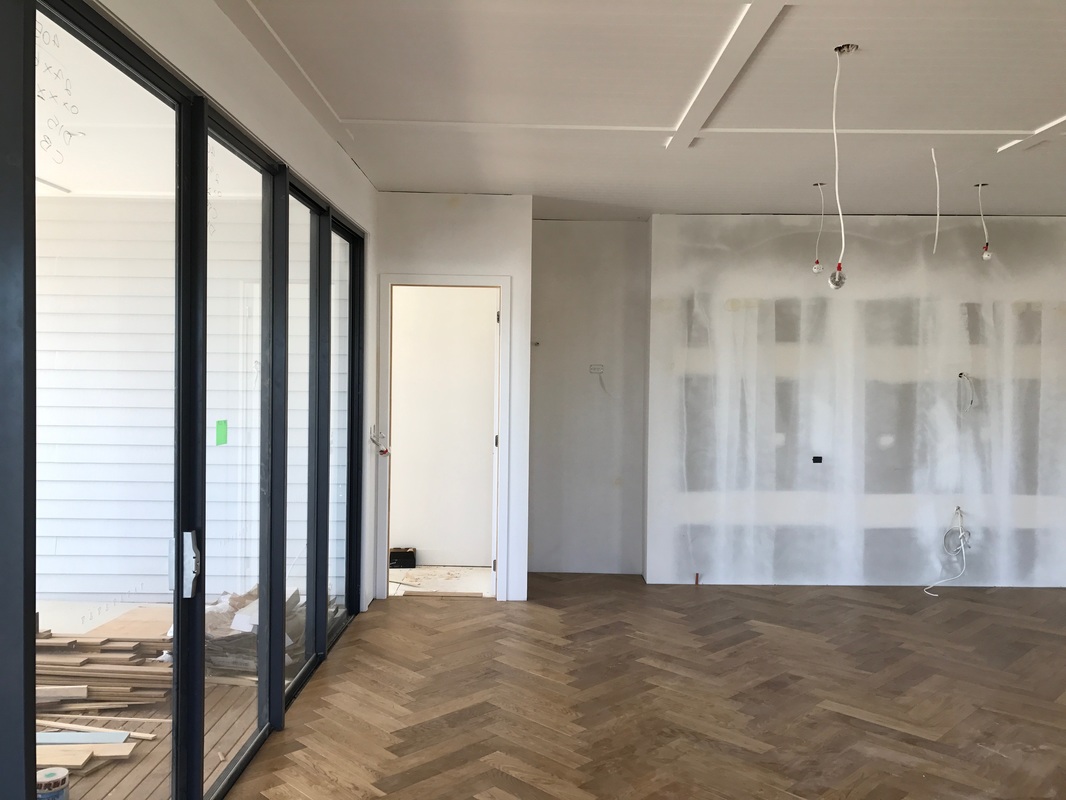
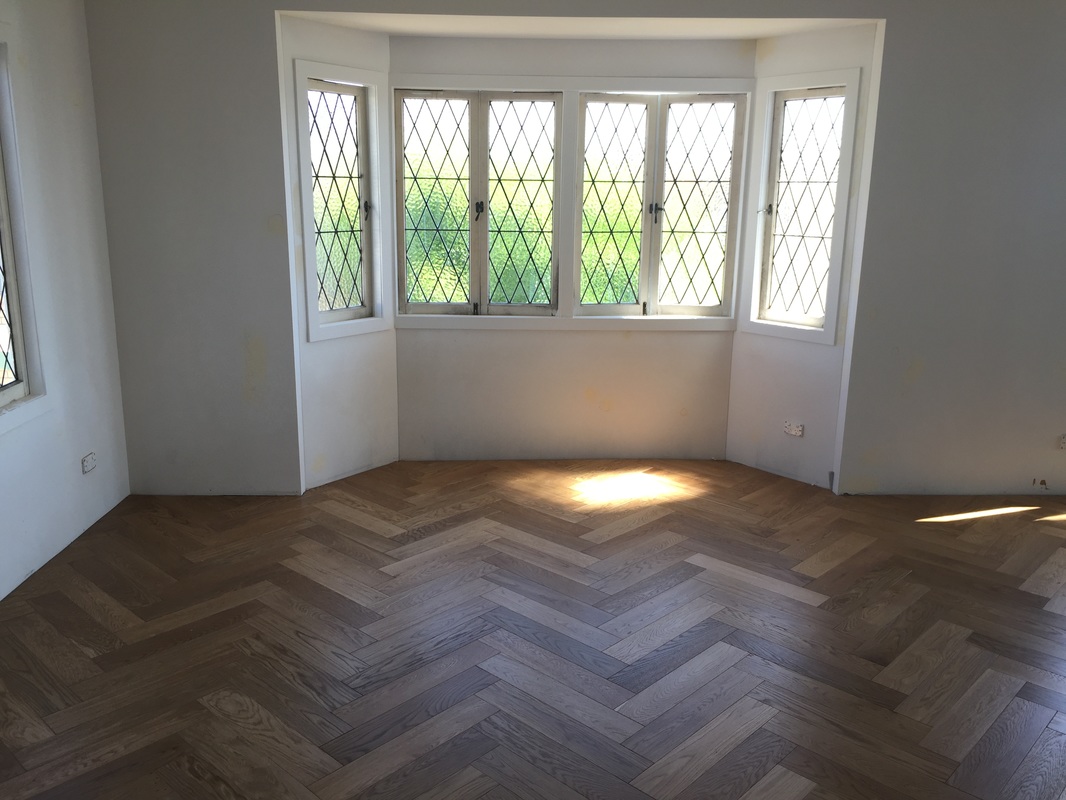
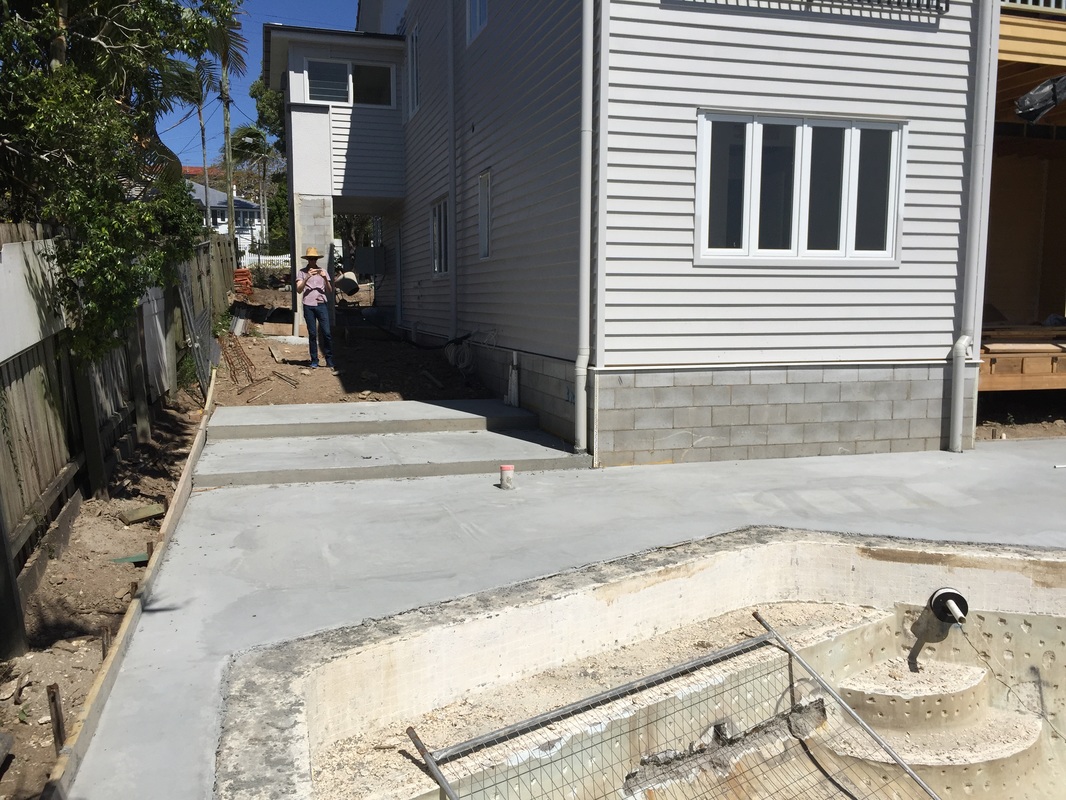
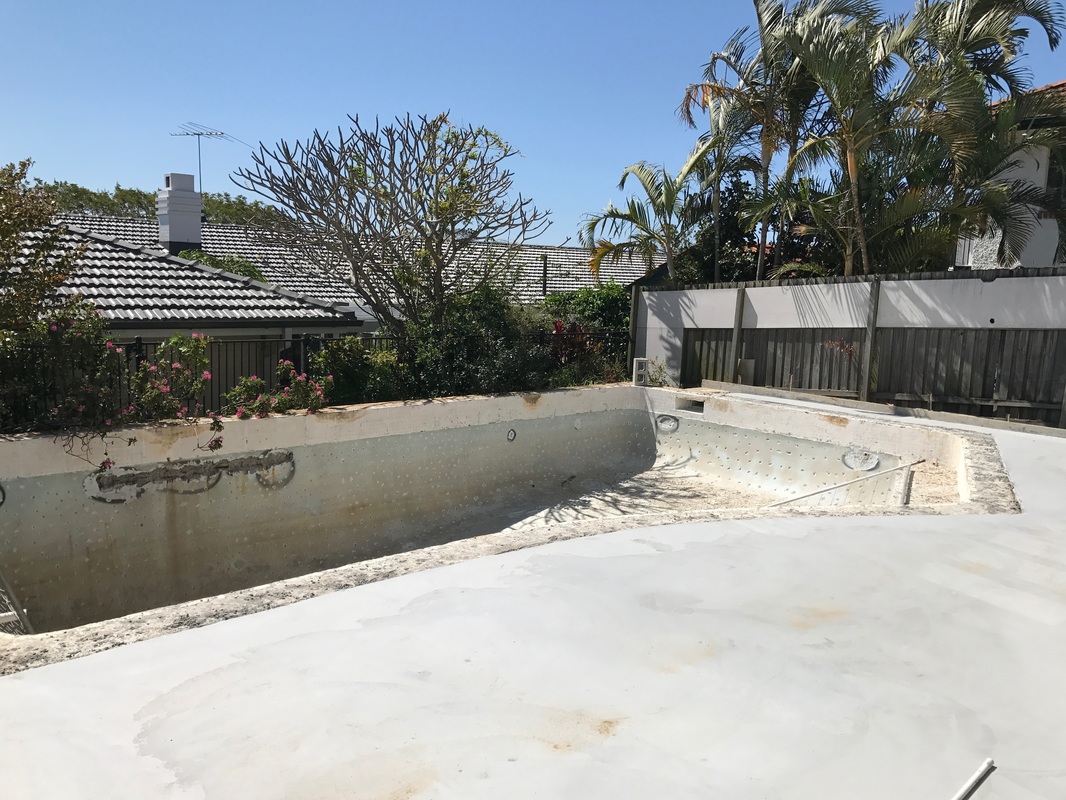
Ironically, on 'The Block' last week one of the contestants was lamenting that she had overlooked increasing the thickness of her kitchen bench tops. Ours were installed this week, and we chose to stick with the standard 20mm thickness instead of doubling or tripling the edge profile to make the stone look thicker. Our kitchen has a lot going on with the shaker cabinetry, and we really wanted the cabinetry to be the star of the show. Thicker bench tops would have just competed for attention. The saving of around $1,600 to keep the default 20mm thickness is also an added bonus. The brass chandelier is just the right amount of gold - but the electricians mixed them up, so that one is going to the dining room and the slightly larger one is moving to the kitchen. According to the designer of the chandelier, it was inspired by a prostitute's adjustable candelabra - who knew? Our upstairs downlights went in - they are from a proper architectural lighting supplier so we were able to specify the beam angle and colour temperature. Everyone looks better under soft gold lighting. We chose a recessed fitting so they will not glare into your eyes across the room like a standard diffused LED downlight tends to (especially after a few martinis). In the bathrooms the enamel porcelain vessel sinks were installed. They are a beautiful mirror finish, so we will have to brush our teeth with the hose in the backyard to avoid spoiling that mirror finish. The laundry cabinetry and the kitchenette were delivered and installed. These rooms missed out on the 2-Pac shaker treatment but got a complimentary coloured laminate finish that we are happy with. Again the quality of finish from the cabinet maker has elevated the look of these laminate units. We had originally chosen a granite coping tile and mosaic waterline tile for our pool. We would have done granite on the whole pool surround slab, but we couldn't afford it. At the last minute our builder suggested just using the porcelain tile right up to the edge of the pool - and grinding back the edge so that it has a slight bullnose. We're glad that they made that suggestion because now that it is in, it looks seamless. The tiles still need to be trimmed to the pool shape and bullnosed, but they have already made the pool look new (we think). Inside, the electricians were ready for our pendant lights and chandeliers (but we weren't quite ready, whoops). Over the weekend I spray painted one of the original light fittings in the house; the surface was in bad condition, but we liked the shape so it got a fresh coat of paint and now it's as good as new. I also painted a big wall light for our front entrance - it's new but we didn't love the faux-antique brass colour, so that got a matching paint job. I had to re-wire the old pendant, harvesting the materials and fittings from a $20 pendant kit from Bunnings. We opened the box of our new designer chandeliers - I knew we would have to assemble them but didn't realise that they needed to be wired also. Might leave that job for the electricians. Back outside and the landings off the back deck have been built - to accommodate the stairs down to the pool area. The carport has been roofed, and the formwork is nearly finished for the concrete driveway, carport slab and pathways around the sides. We reached a milestone this week! The main kitchen went in! The kitchen was supplied and installed by Garsden & Clarke (in Capalaba, Brisbane). We were really impressed by Susan (the owner), we had already put a lot of thought into the design, and it was a really simple process to translate that to proper plans with them. I'd say that we're generally difficult to impress, so that's a recommendation not given lightly. The job isn't finished yet, but no signs of faltering so far. Our spokesmodel Michael features in the first photo to give the island bench some scale. We are sadly lacking a butler's pantry, which is becoming the norm for houses like ours. We figured that we will never be able to afford a butler, and we didn't want to eat into our ensuite space to cram it in. The trade off is a 4.5 metre island with seating on the back. In terms of style, we wanted a classic look (that hopefully we won't regret in 3 years) - so we opted for a 'shaker' profile door. Often I find that shaker kitchens look fussy and old-fashioned, which I think has a lot to do with the size of the shaker panels. I made sure that our panels are all very tall, which modernises the pattern and makes it feel current. Colour-wise it is two-tone (the island is light grey, the main wall is off-white), but it's hard to see in the sunset light. To avoid it looking too 1860s we used a simple stainless steel handle on the lowers, and the upper cabinets are the 'push and pop out' variety. Our champagne closet (fridge) and other appliances are en-route, and the stone was templated too, so that's probably a week or so away. My hot kitchen tip is to hide the microwave under the bench. Ours is under the island on the working side, so it can't be seen from the open plan living/dining space. Microwaves are ugly, and the built-in models are really expensive for a microwave. This way we can just plonk a standard microwave in the space, replace it easily if it breaks, and it doesn't spoil the look. On the other side of the hallway we designed a tall narrow cupboard for appliances like the kettle, toaster and coffee machine. I don't like looking at appliances and cords, so the goal is to keep the benches clear of junk. The cabinetmakers also installed the mirrors on the bathroom upper cabinets (mirrors are the most important part of any room, naturally), and the shower glass also arrived. Next week we're looking forward to some more lighting, work on the carport and some external bits and pieces. The timber framed carport is taking shape. It instantly balanced the left hand side of the house, which had looked very bare until now. We have echoed the front stucco columns in the design of the carport, and it will have a very low pitched metal roof. We wanted to avoid a gabled roof (which was Council's preference) as it wouldn't have looked right on our Californian bungalow. The builders also replaced our rotten front window planter box, and made a new one to match on the new window, which is also getting a tiled window hood. The carport will prevent any big trucks from getting down the side, which means the back yard is also getting close to being finished. There is a set of external steps to go down that side off the deck, so they will be the last bit of 'building' work. The herringbone oak flooring was installed this week. The colour really warms up the room, and the pattern adds a lot of character. It's a nice contrast to the very contemporary grey doors. The skirting boards are yet to be done, which will finish off the edges but we are thrilled with it so far. It looks like it will hide dirt so well that we'll only need to sweep it every 12 months or so, haha. Out the back the pool surround slab was poured. Previously the pool stuck out a foot (so you had to step up onto the edge and then down into the pool). We have raised the surround height which has modernised it and now our retro 1970s pool looks like it was designed this century. The slab, which is getting tiled, will also make for a perfect spot for some summer afternoon lounging. |


 RSS Feed