|
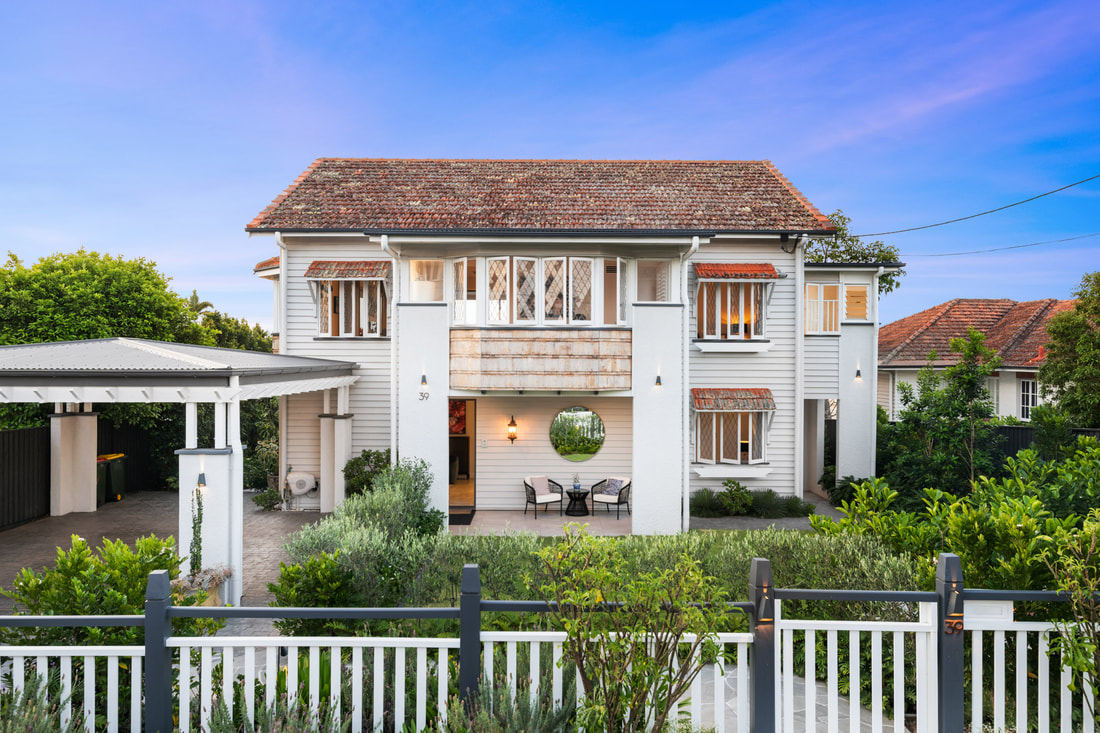
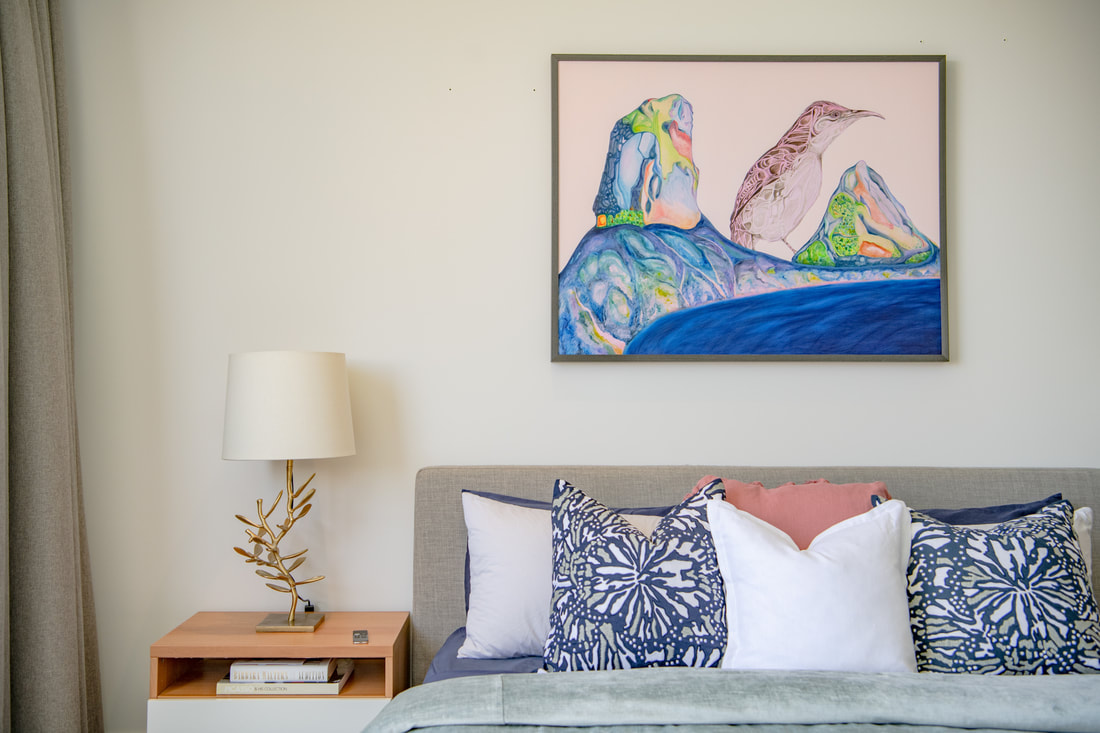
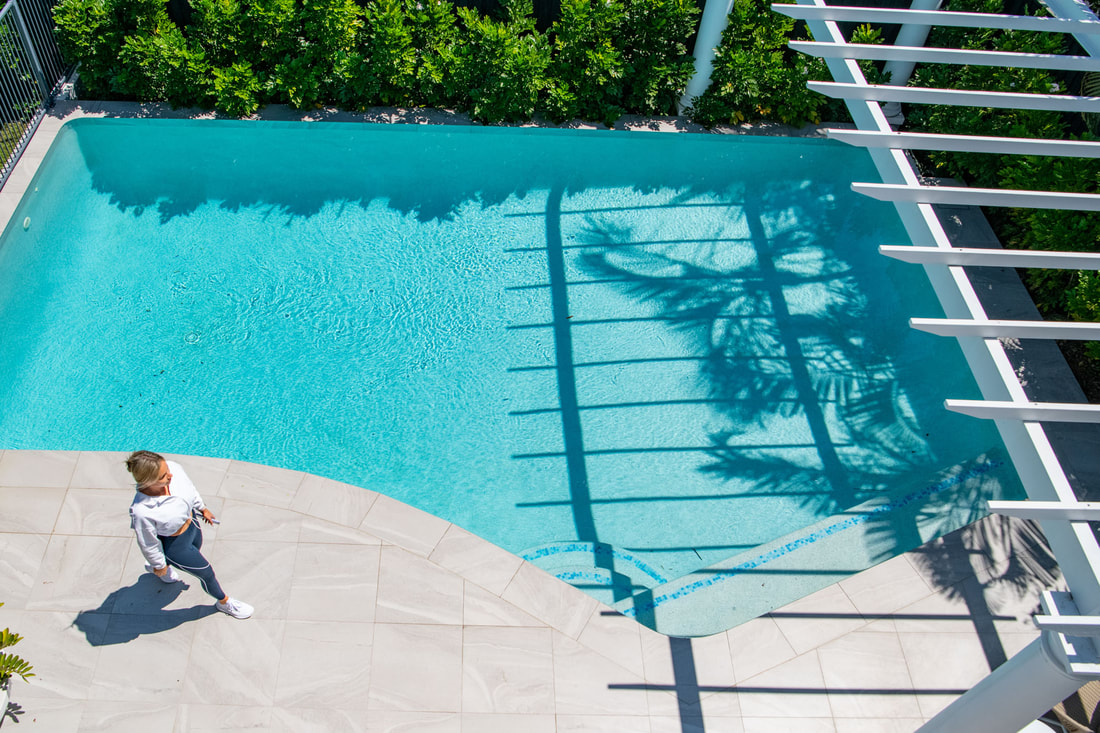
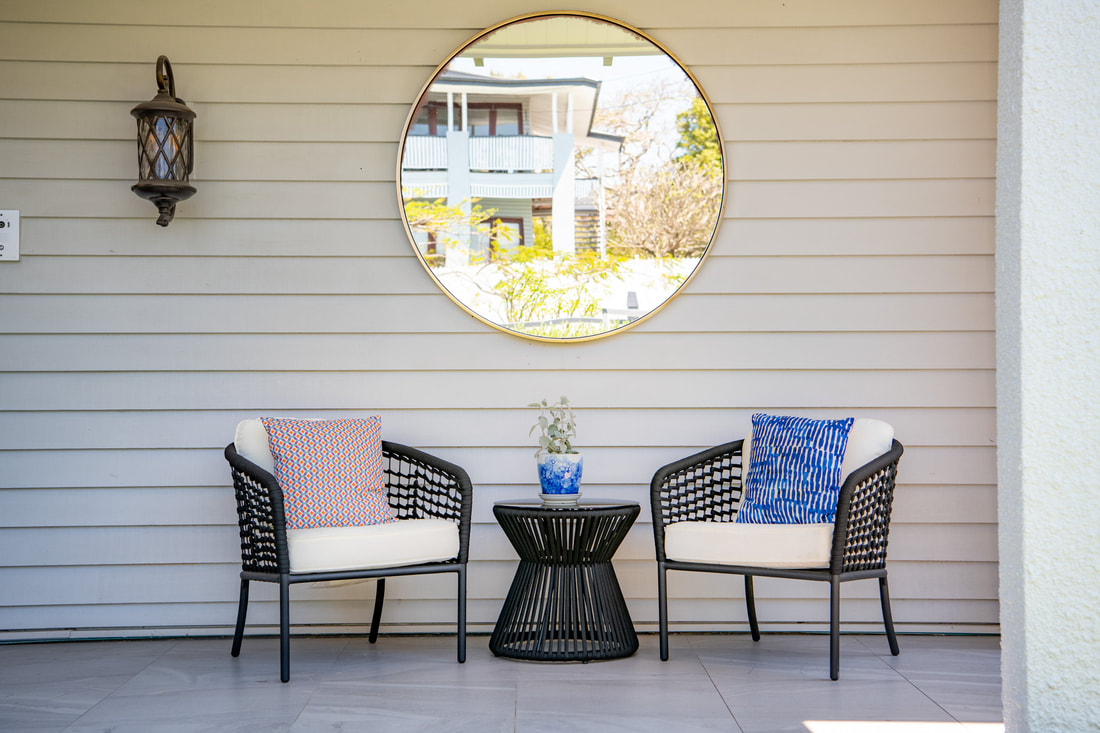
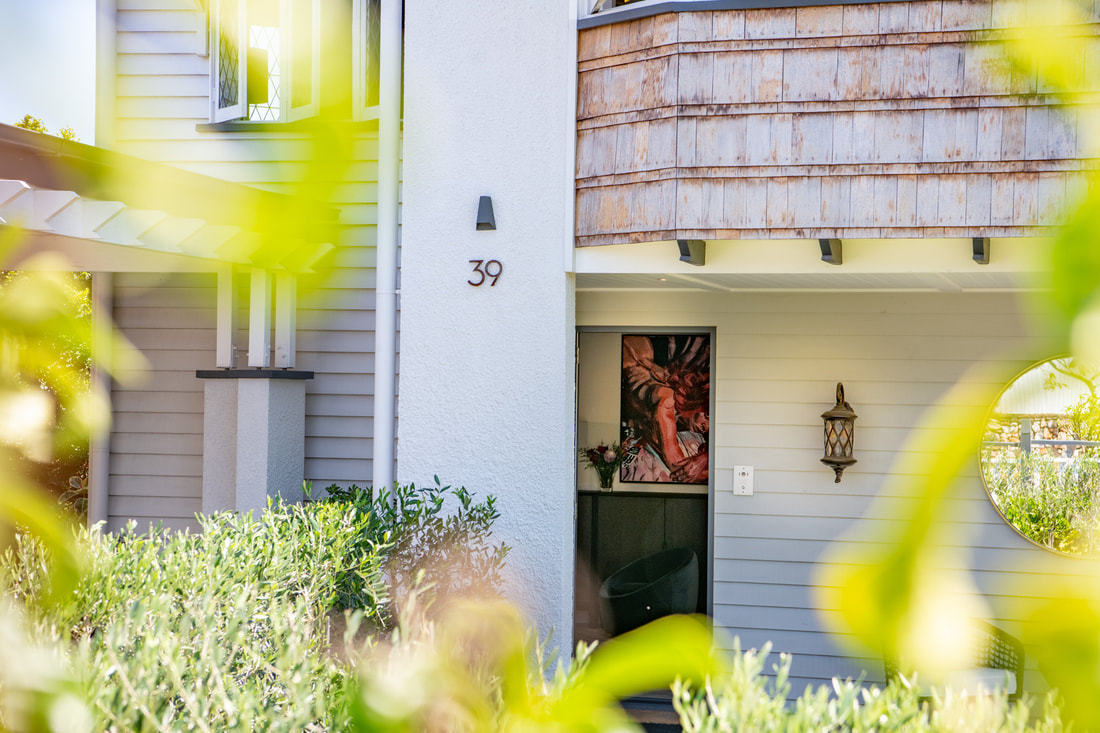
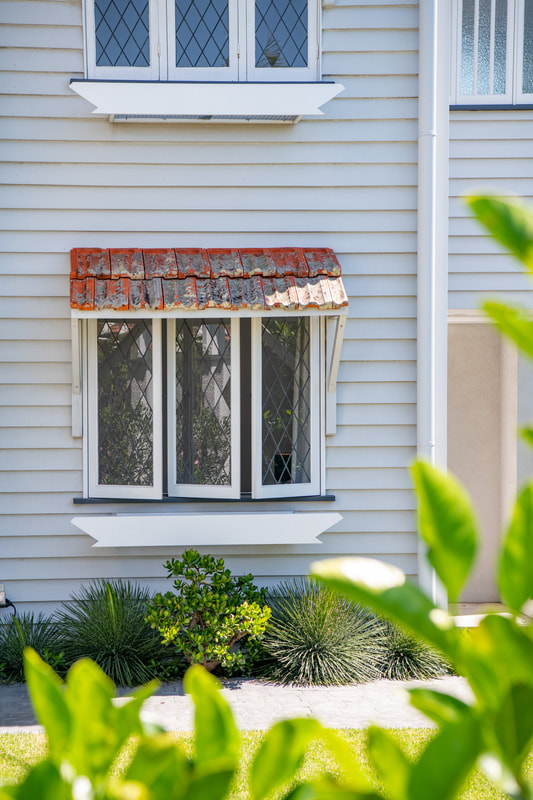
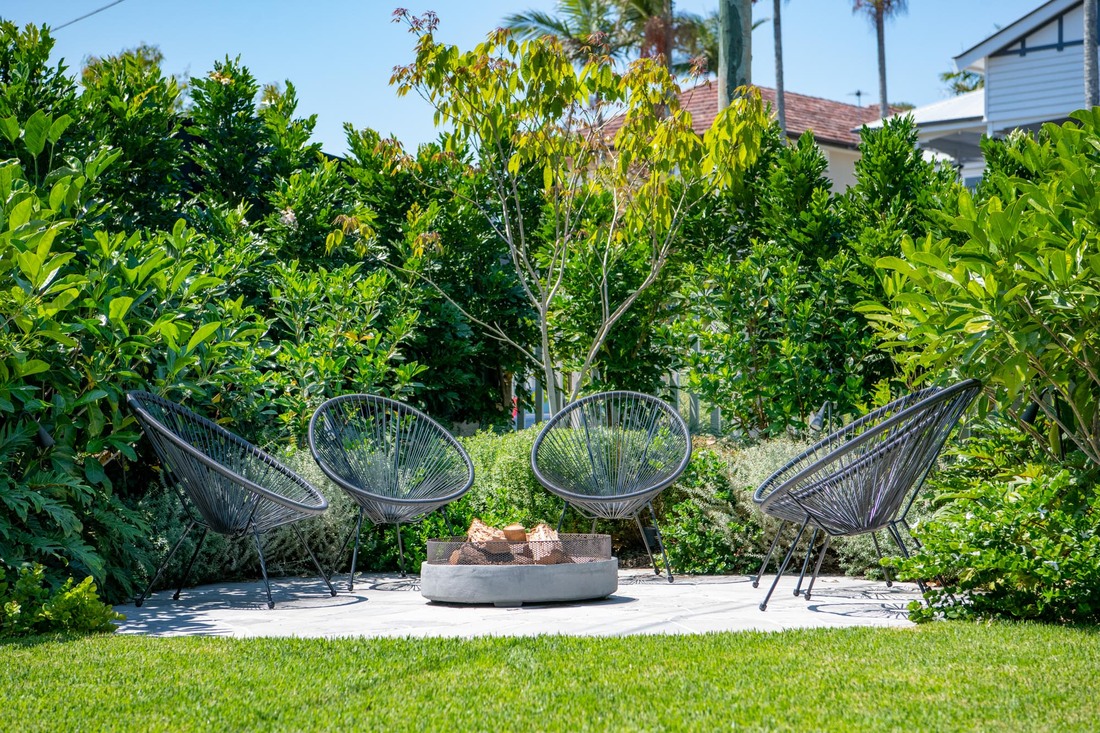
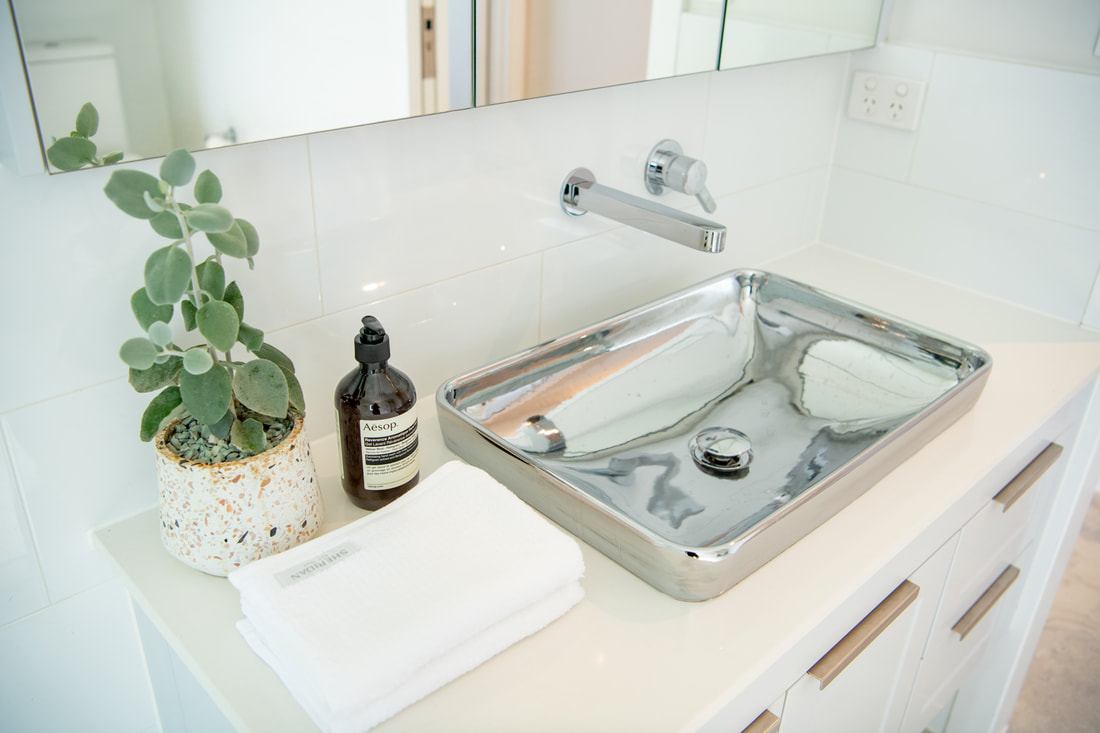
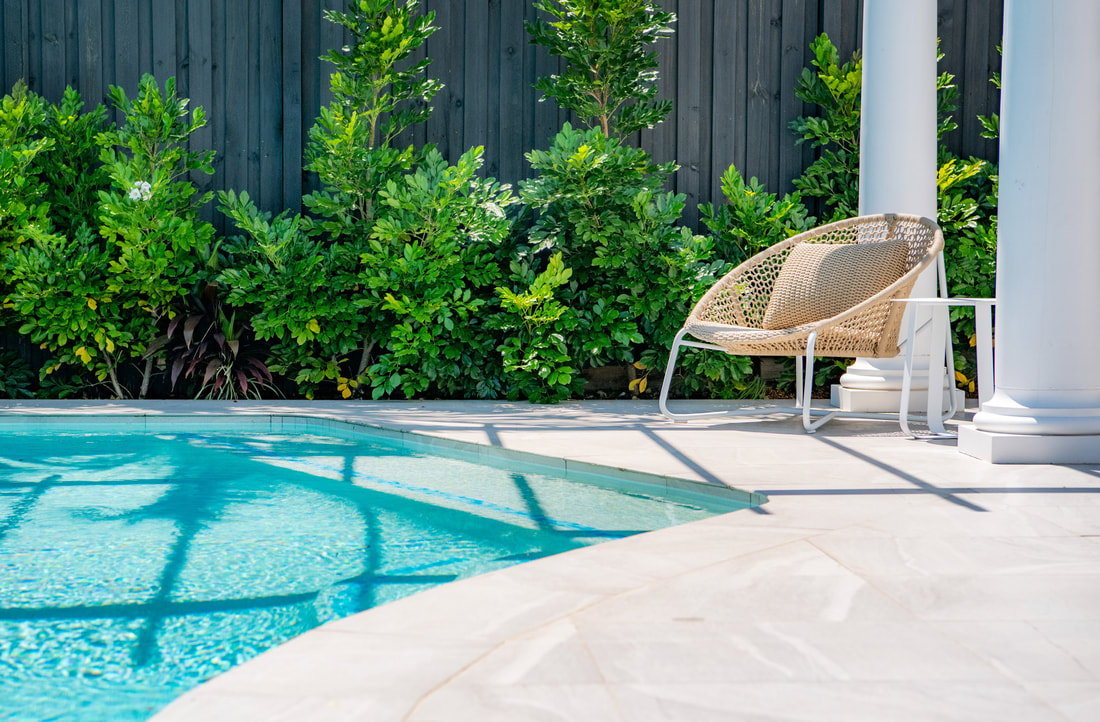
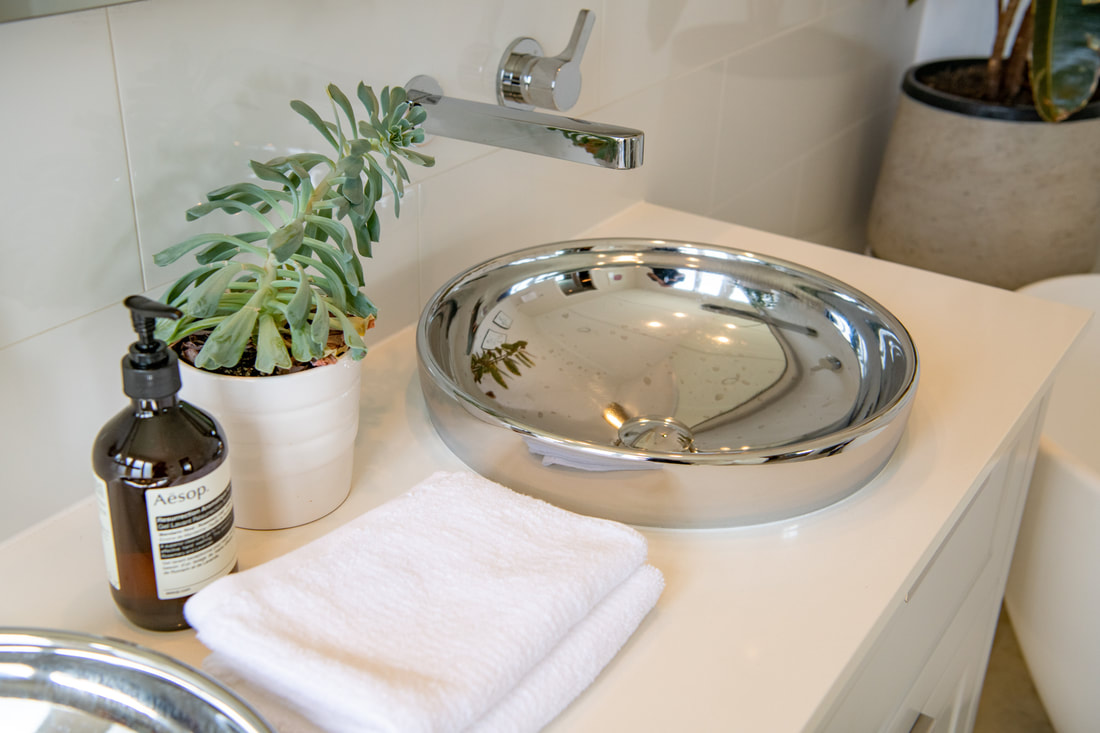
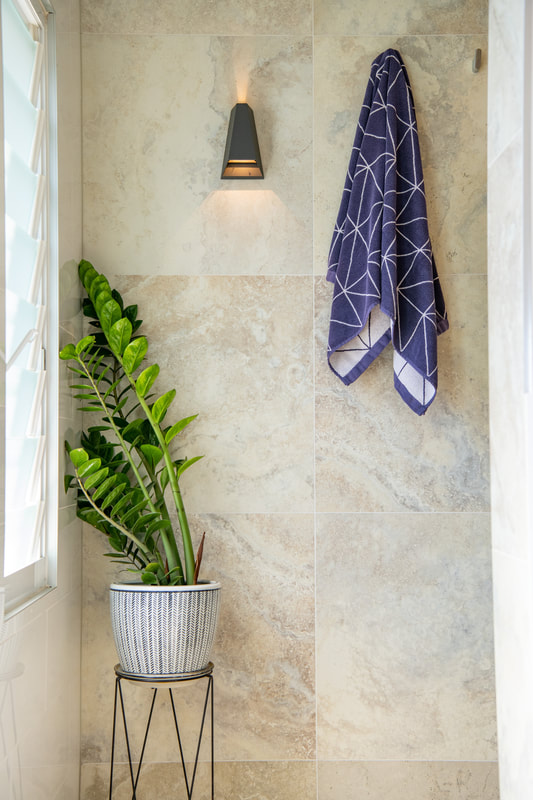
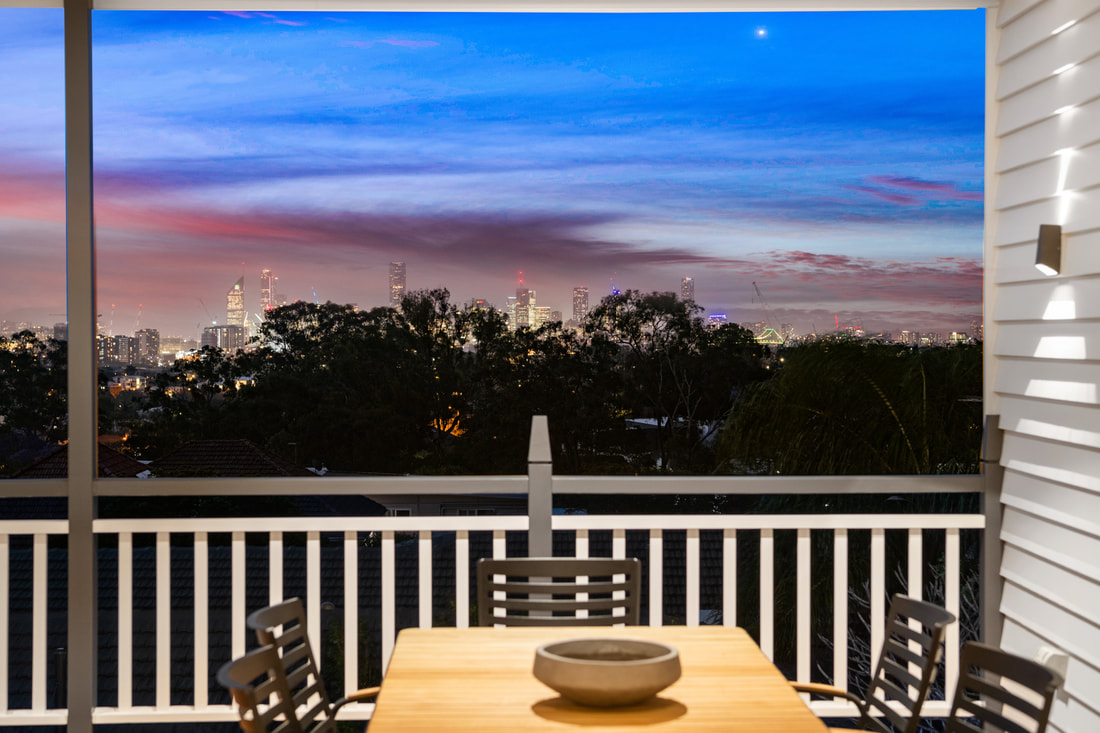
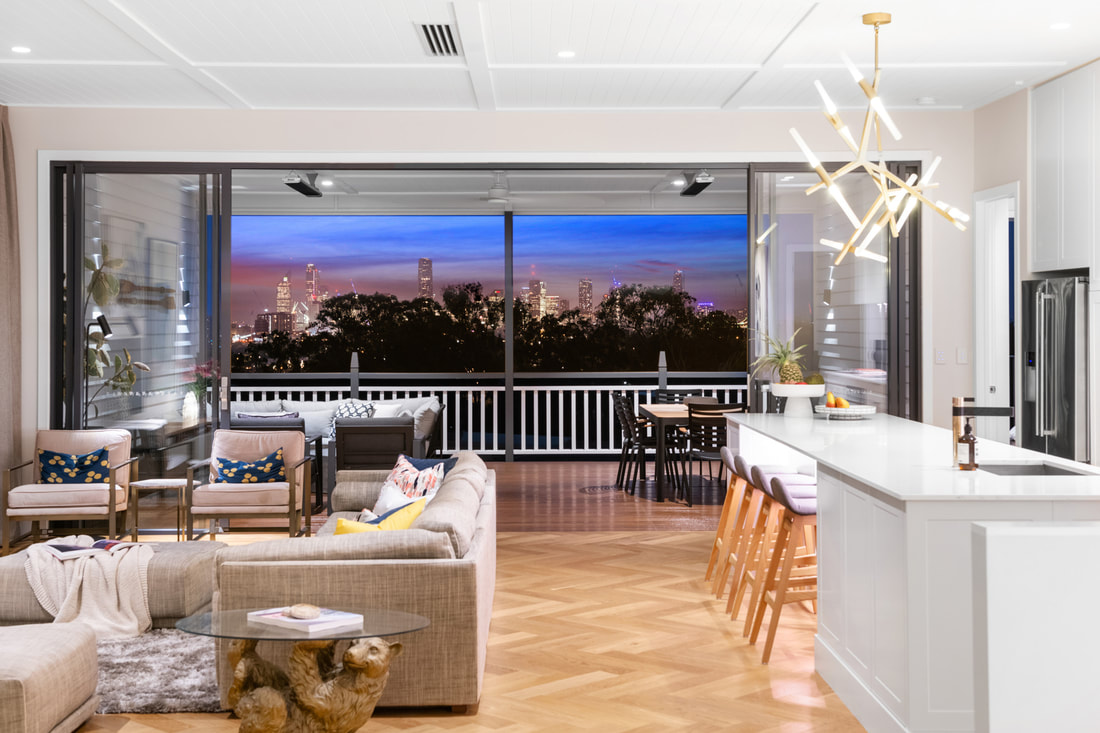
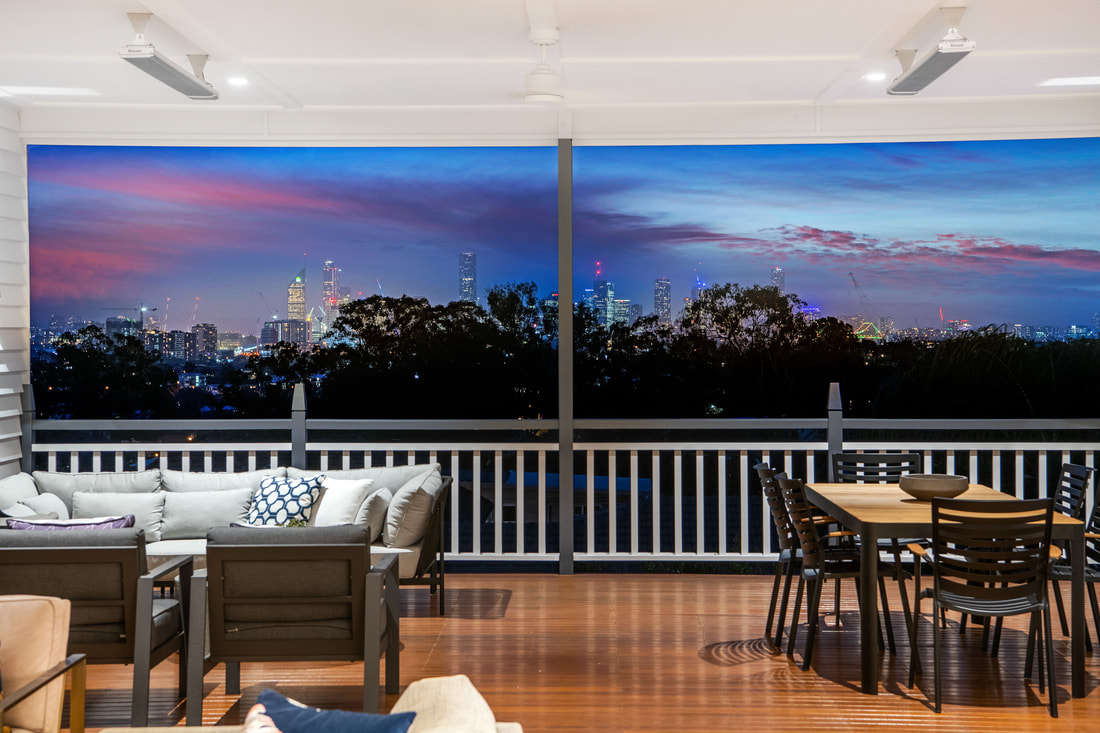
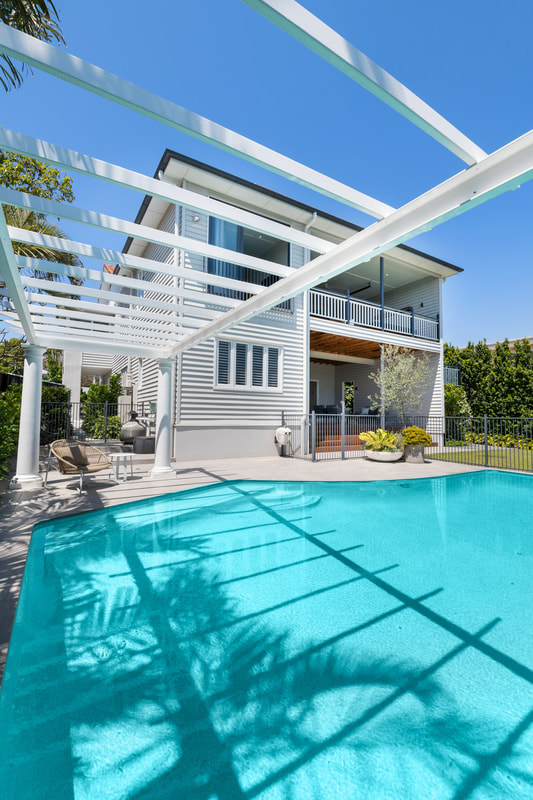
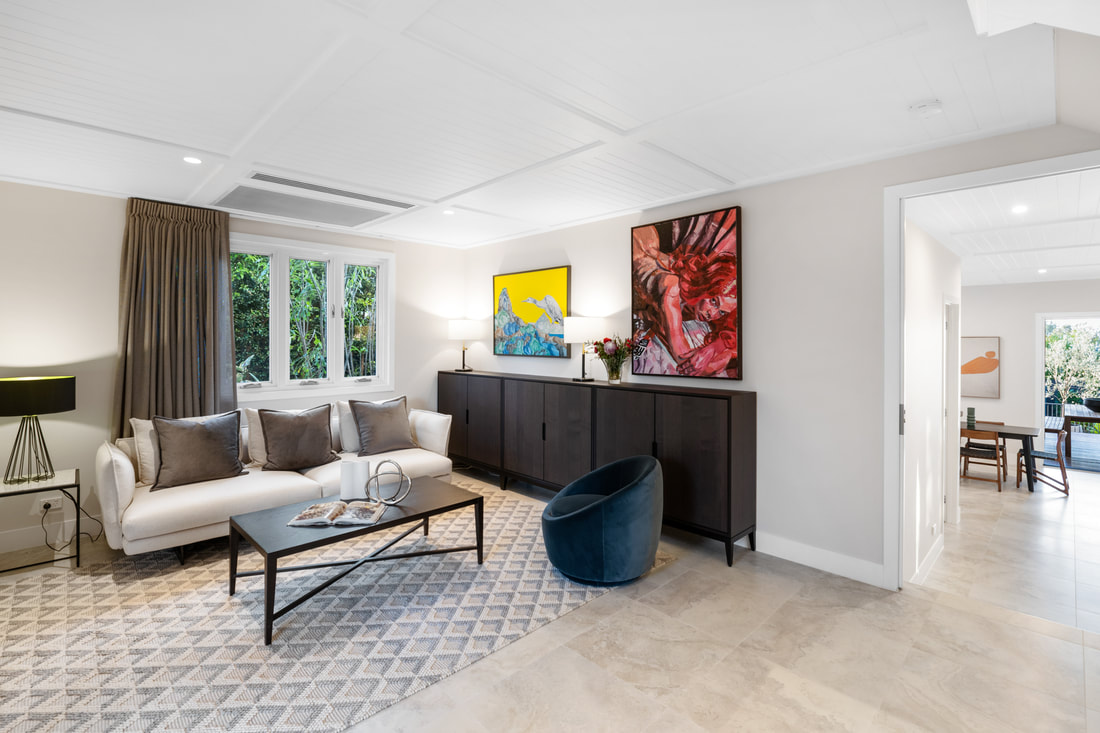
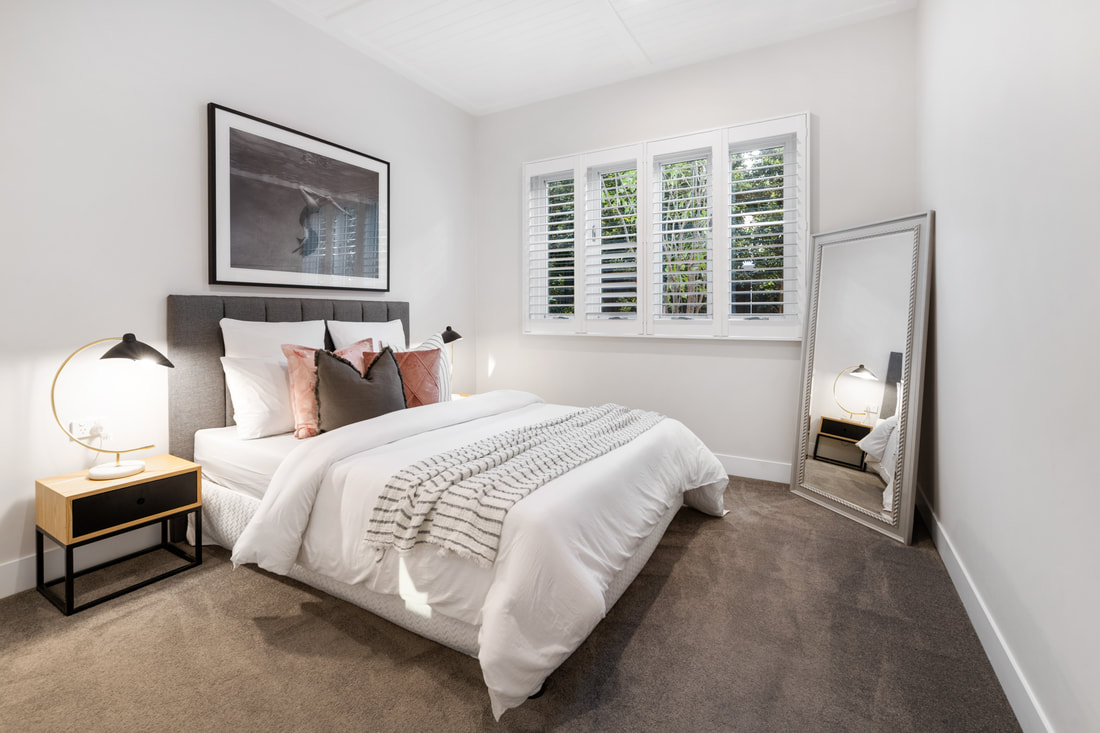
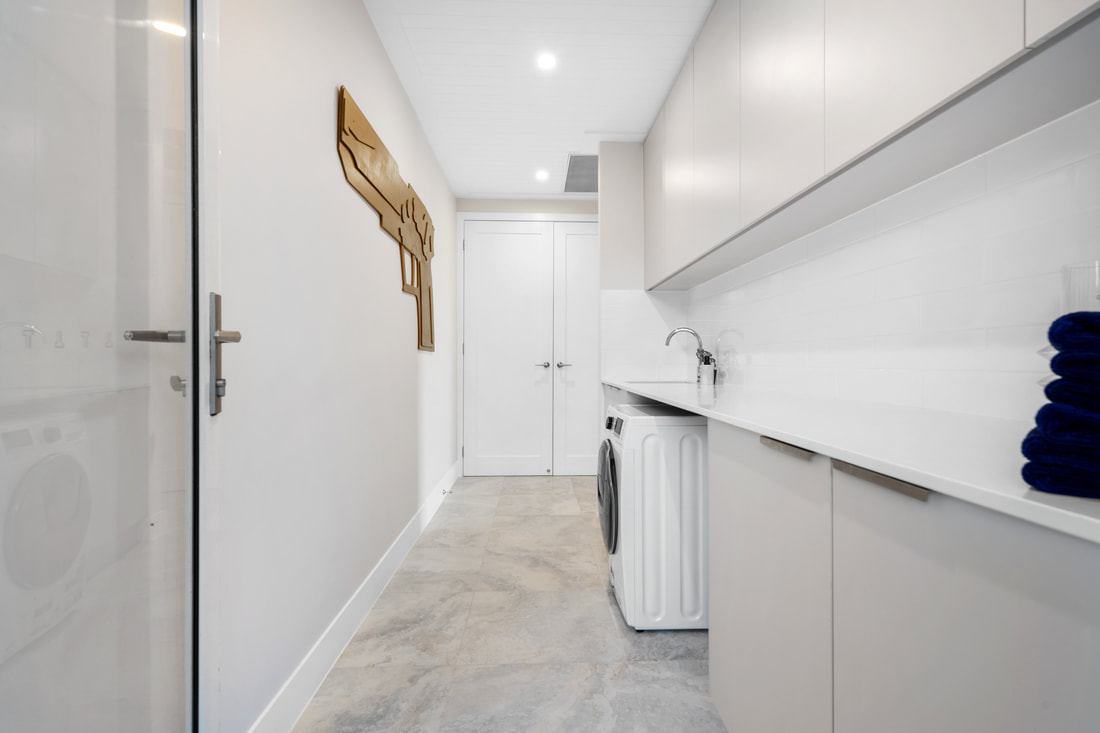
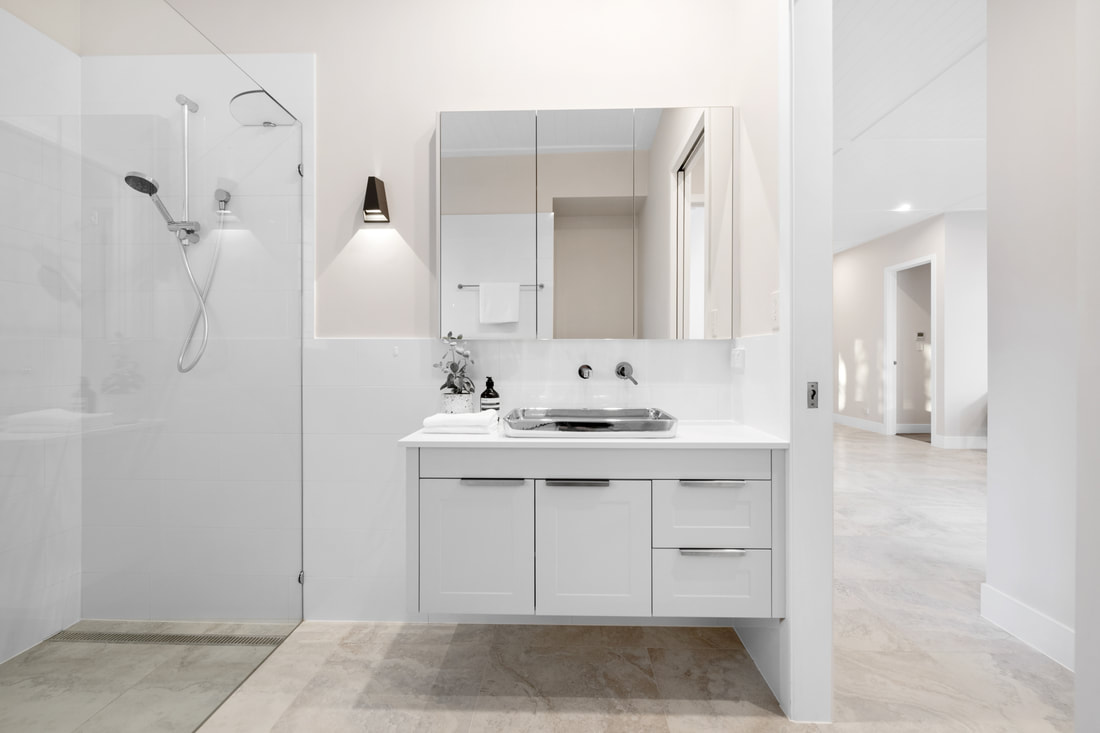
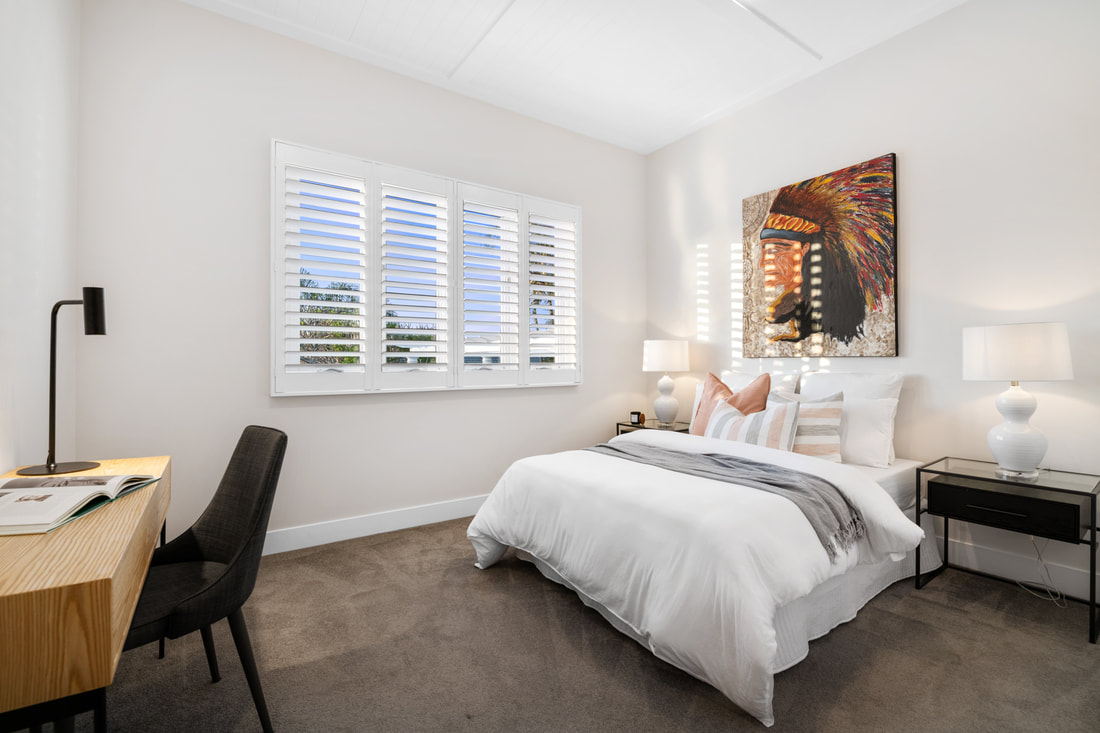
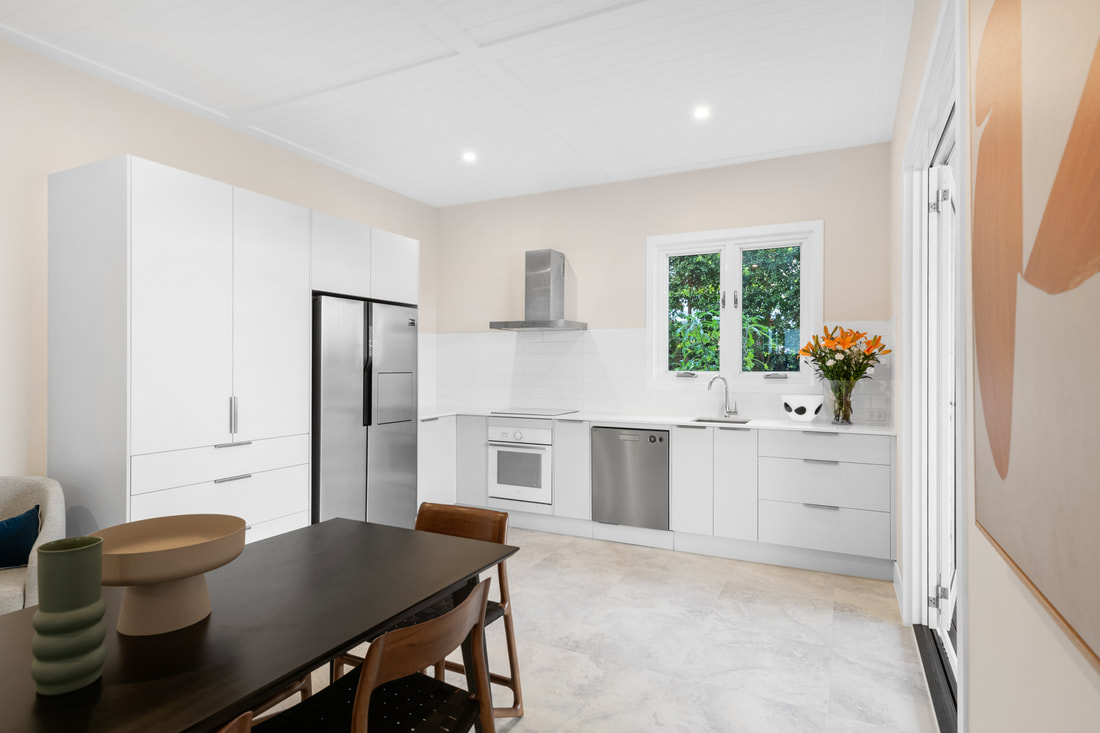
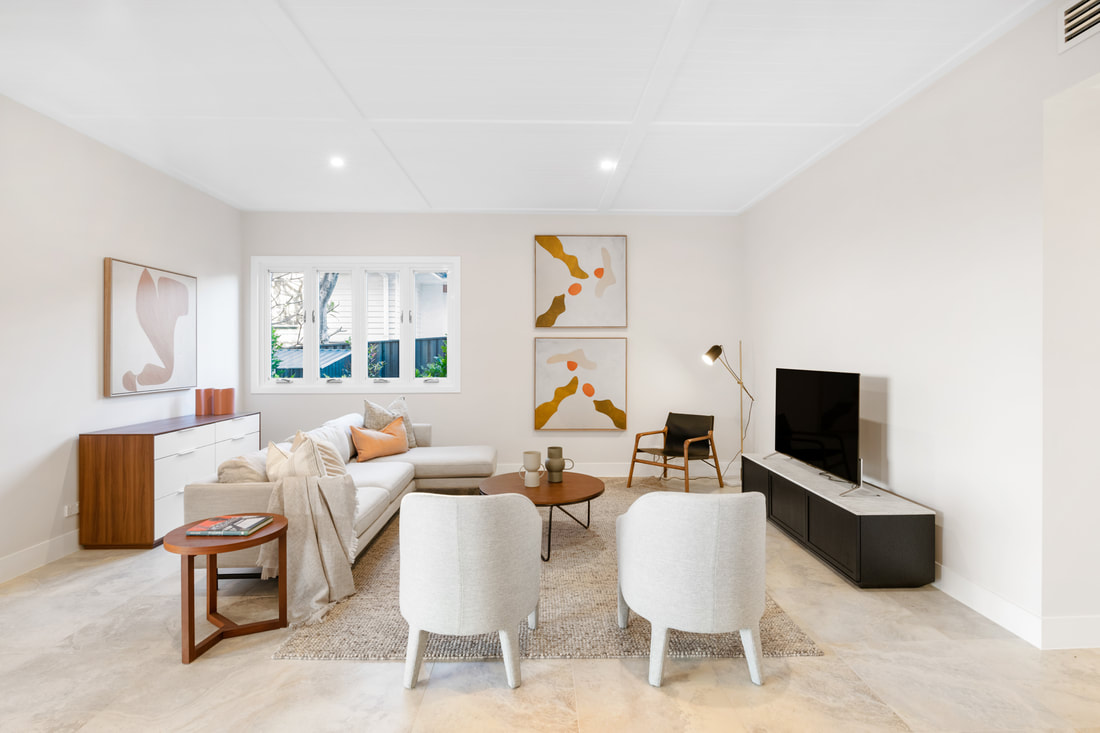
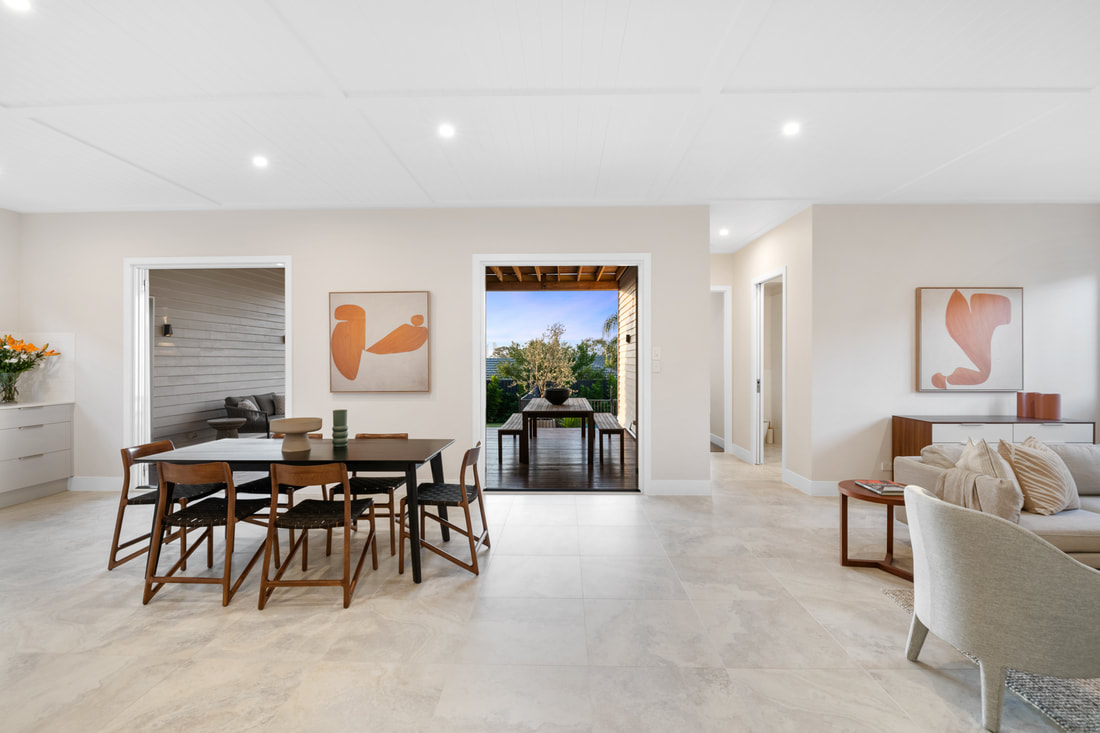
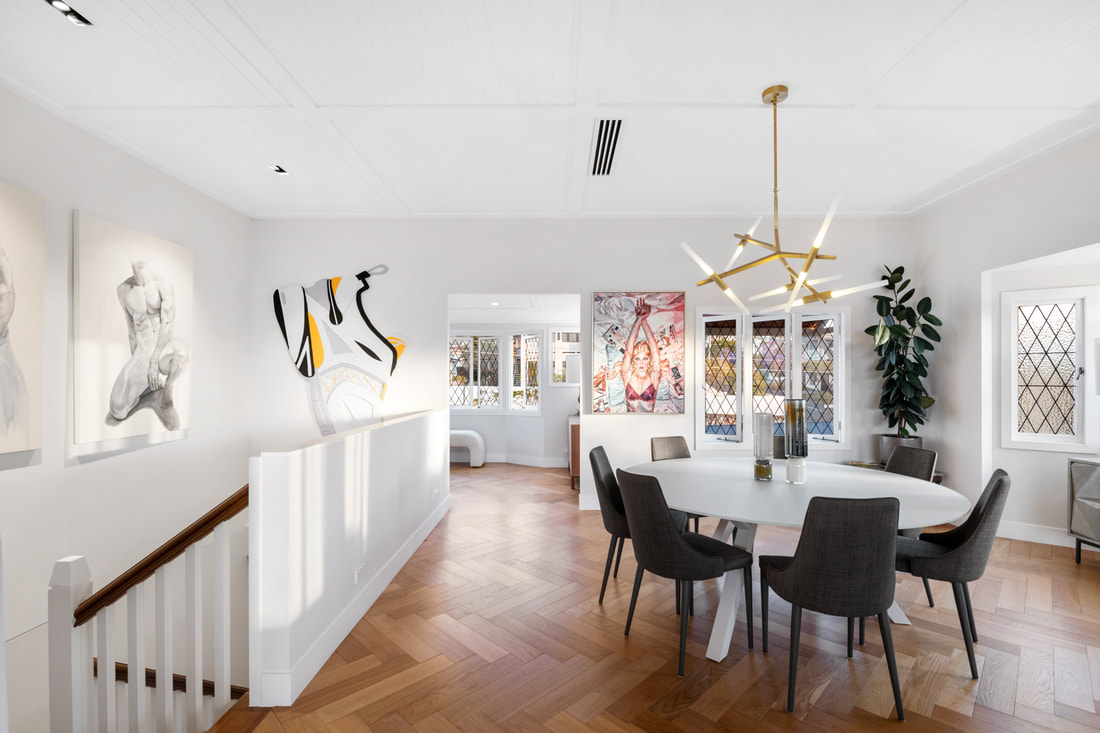
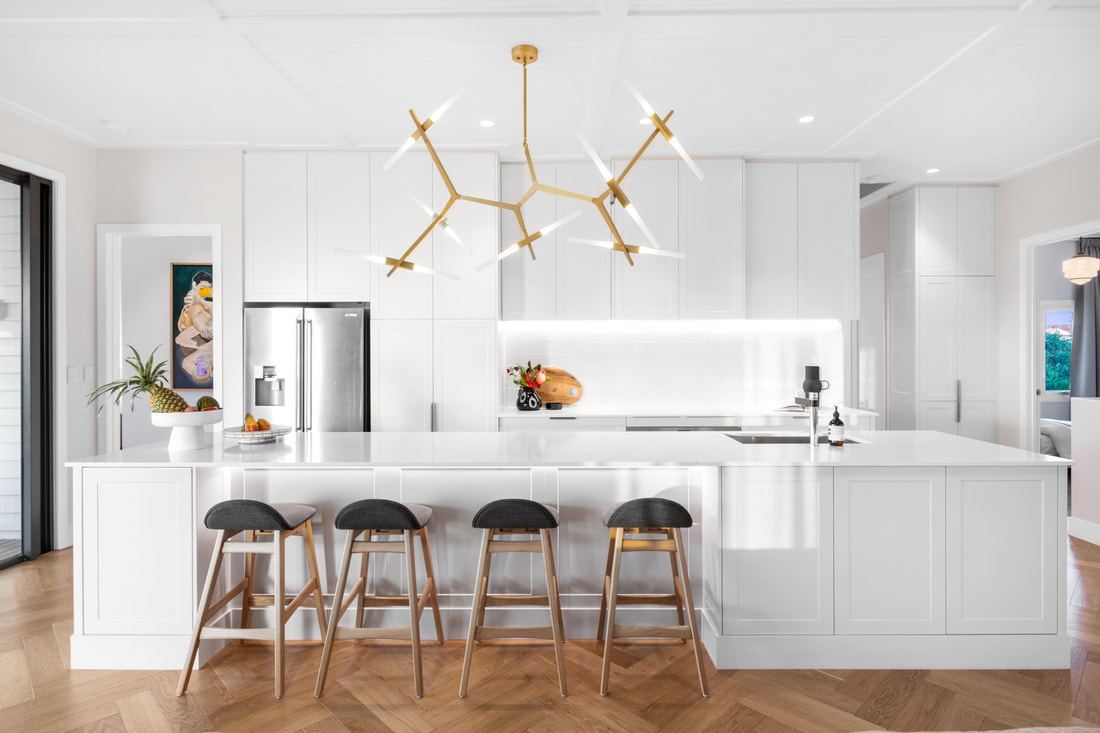
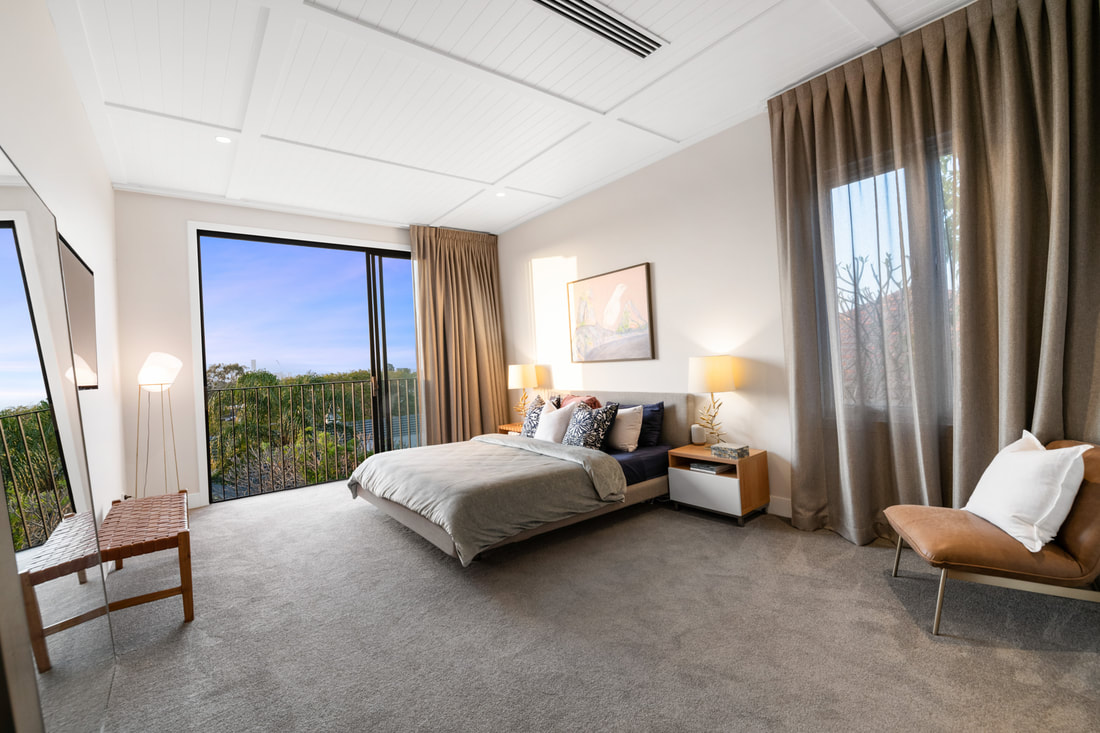
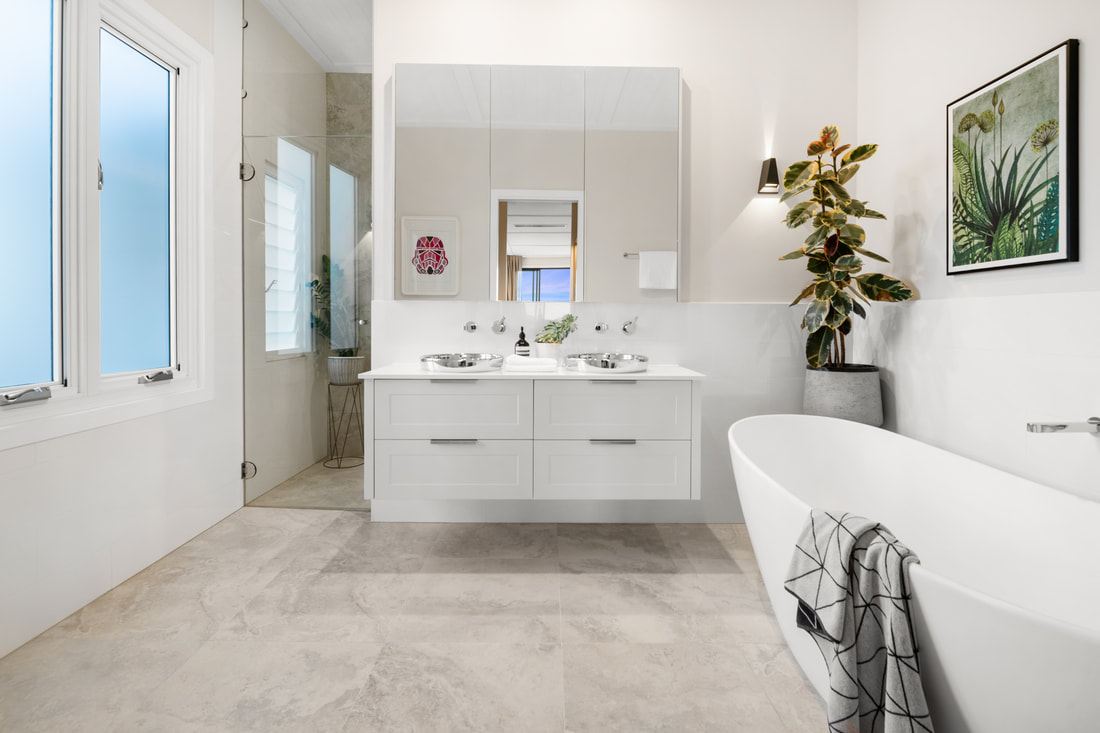
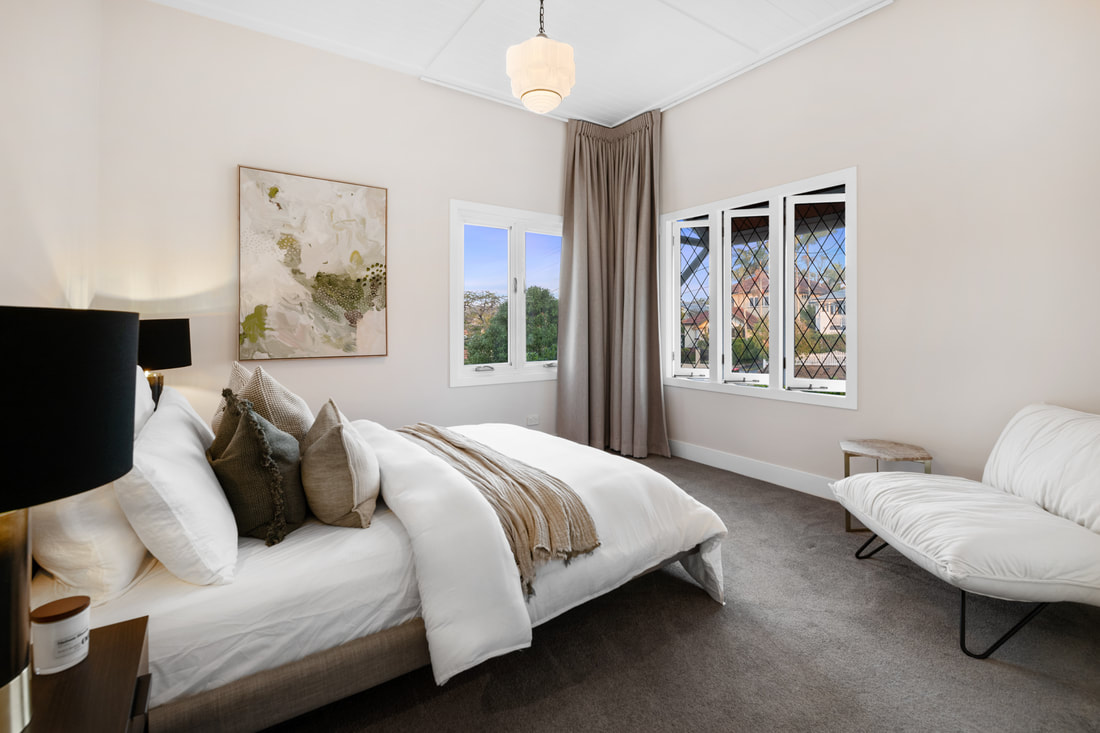
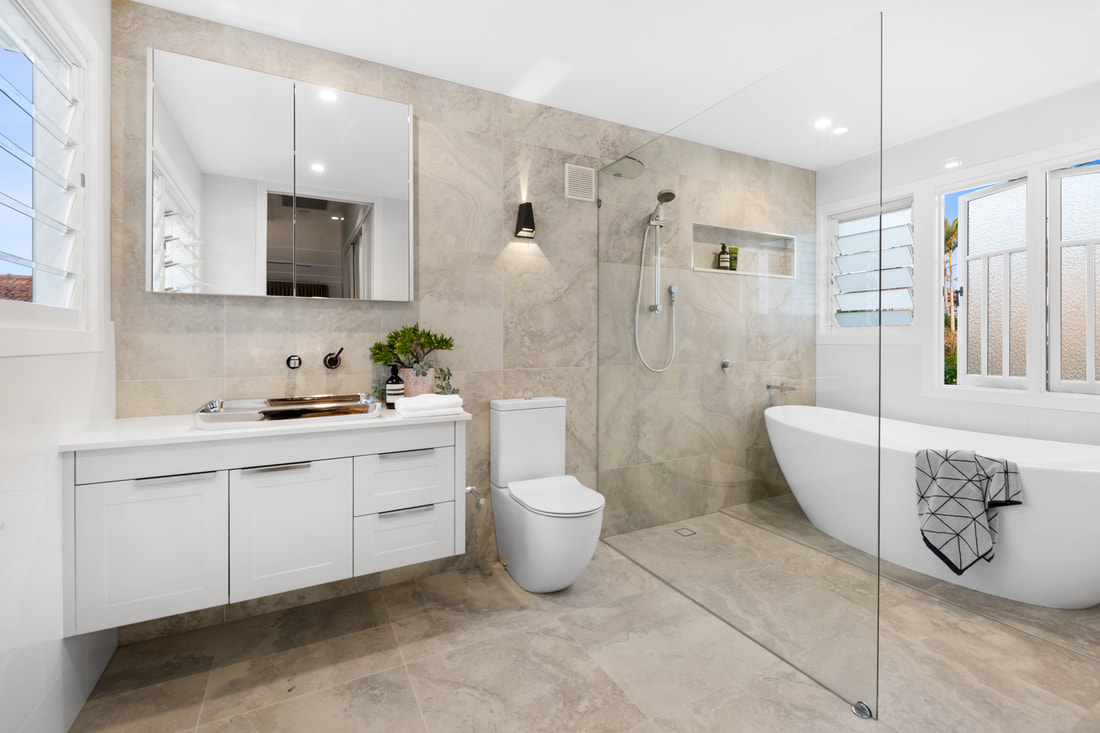
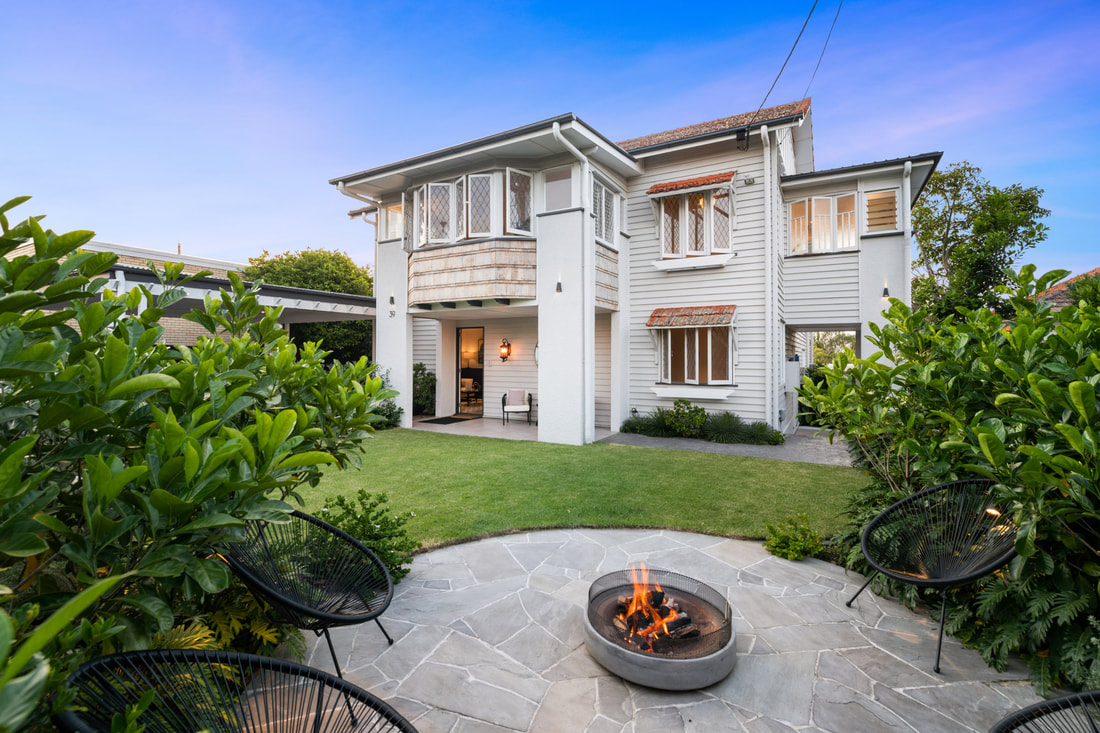
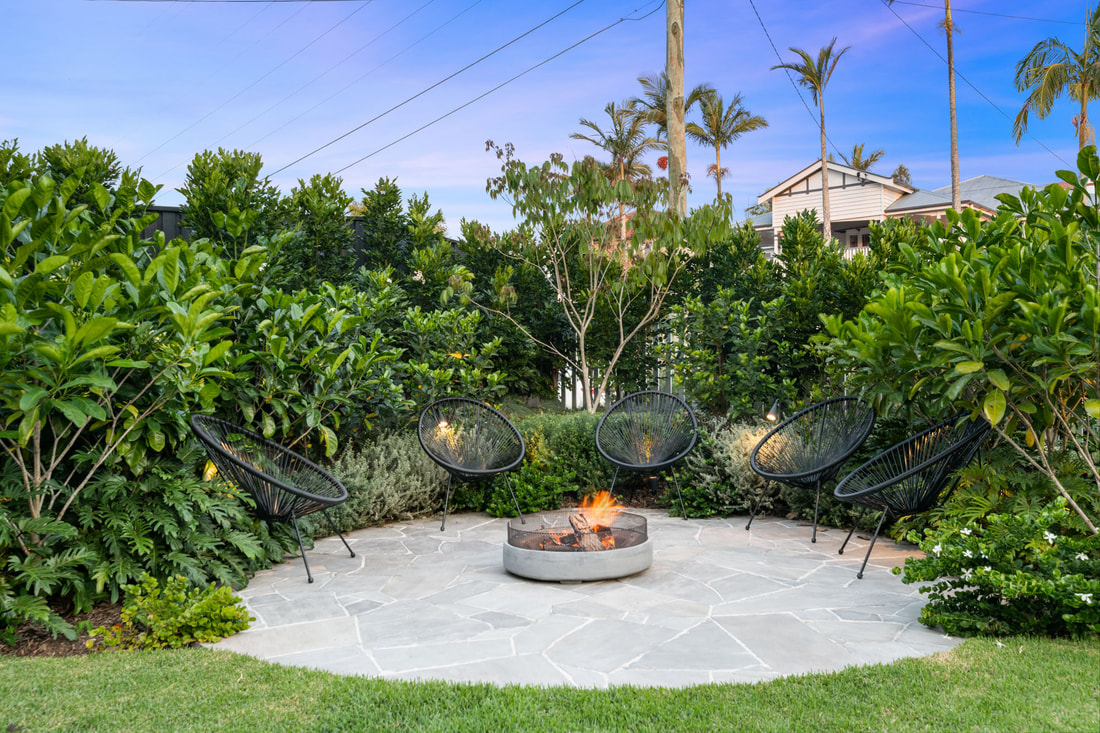
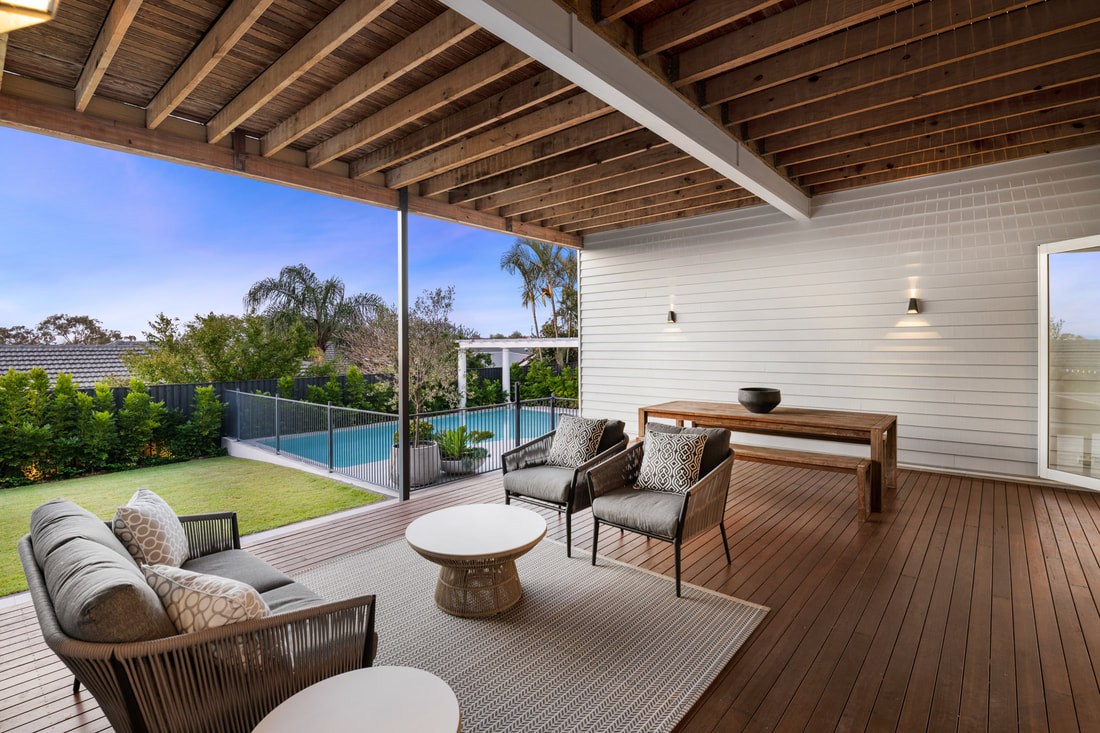
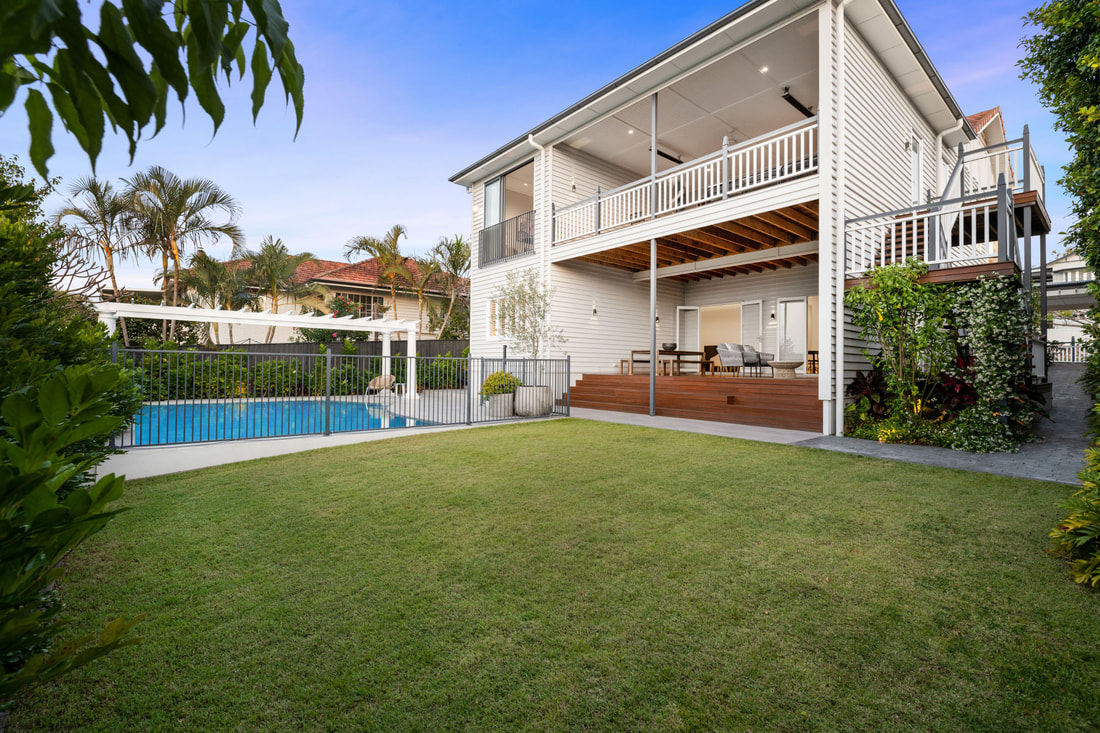
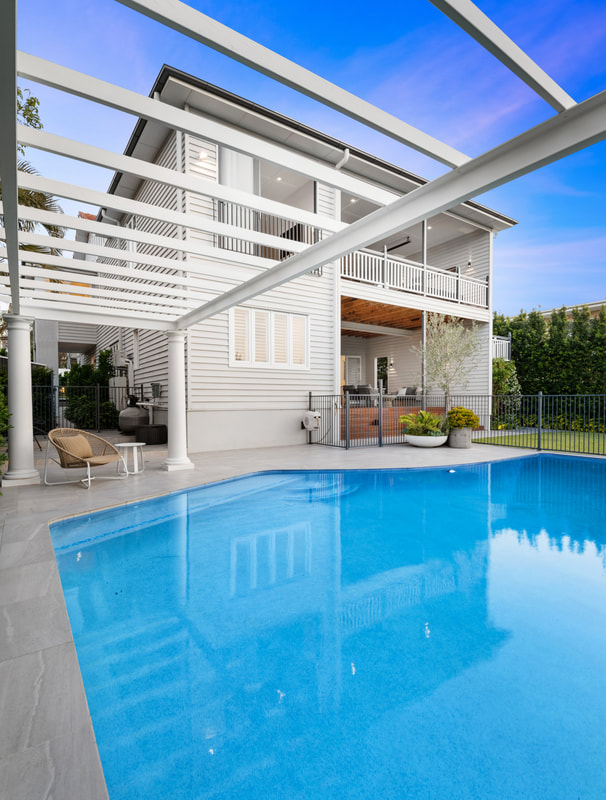
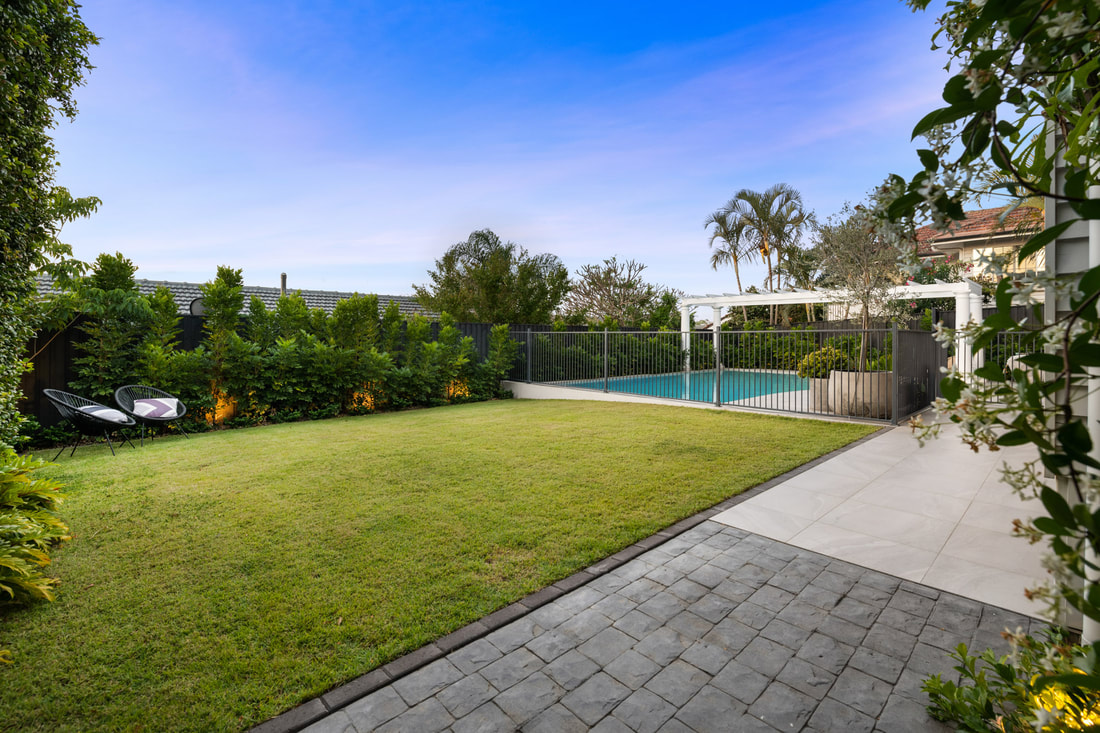
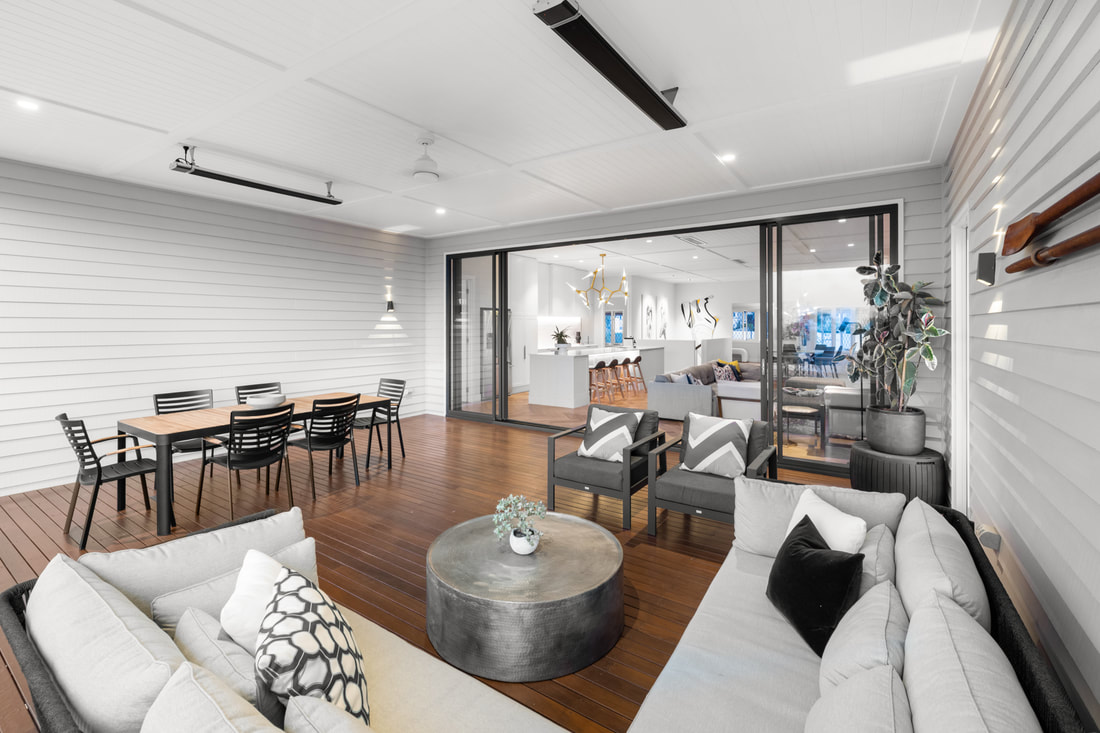
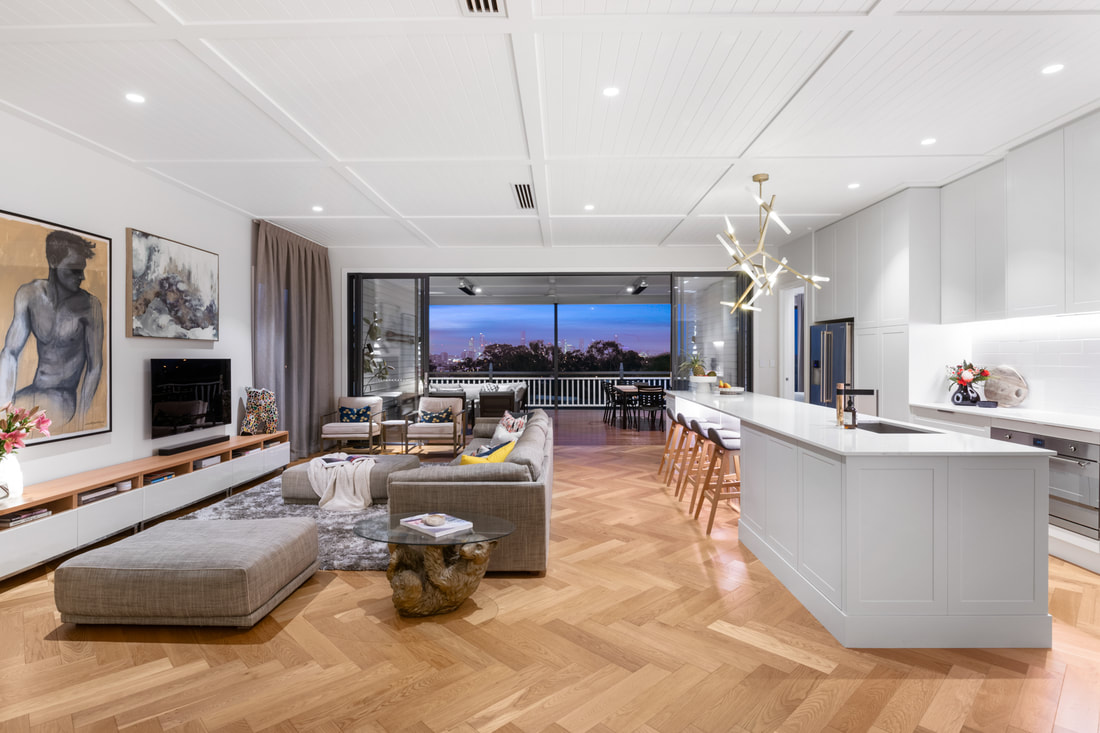
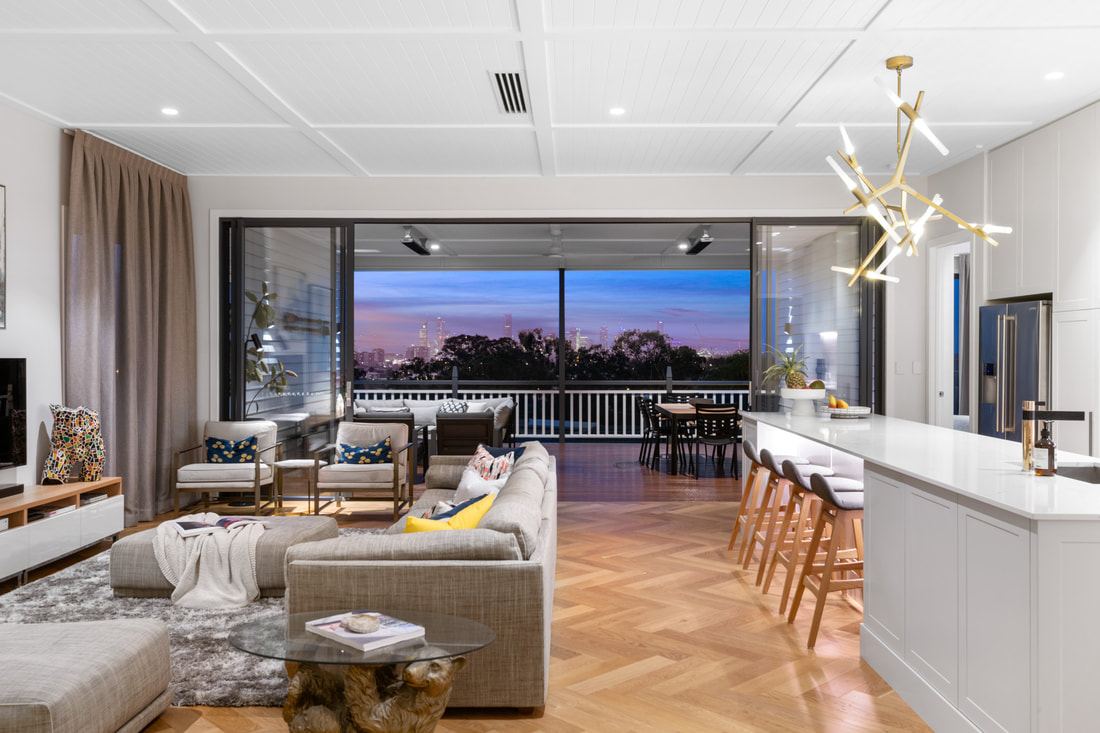
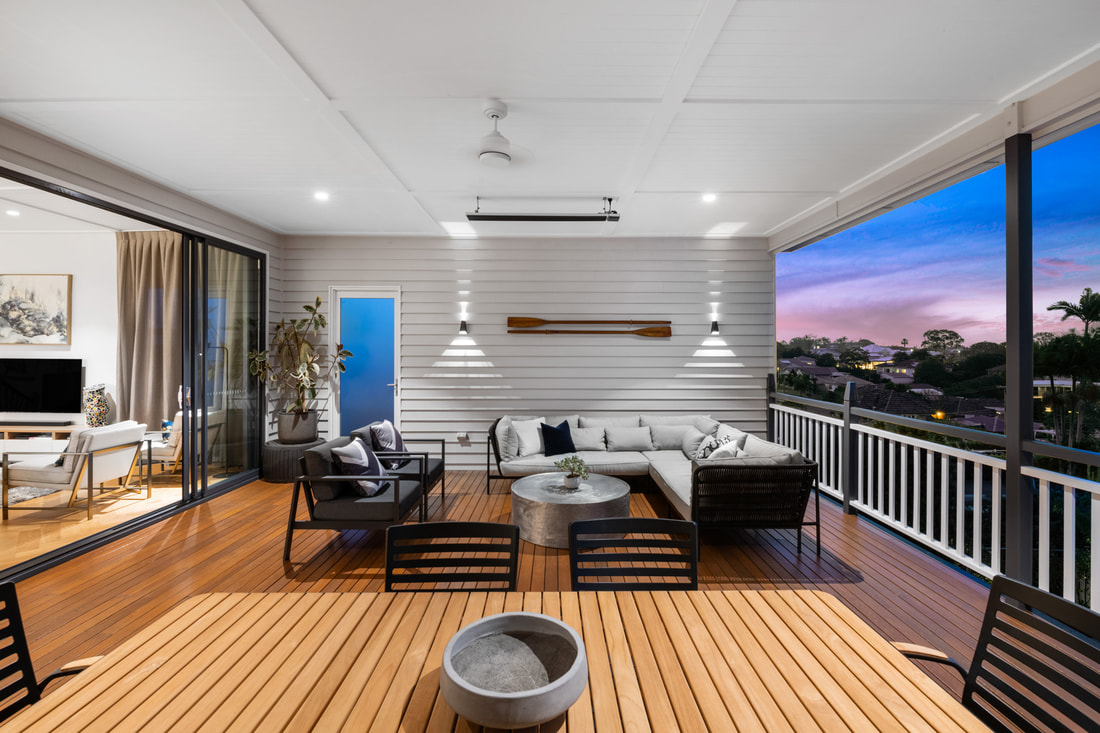
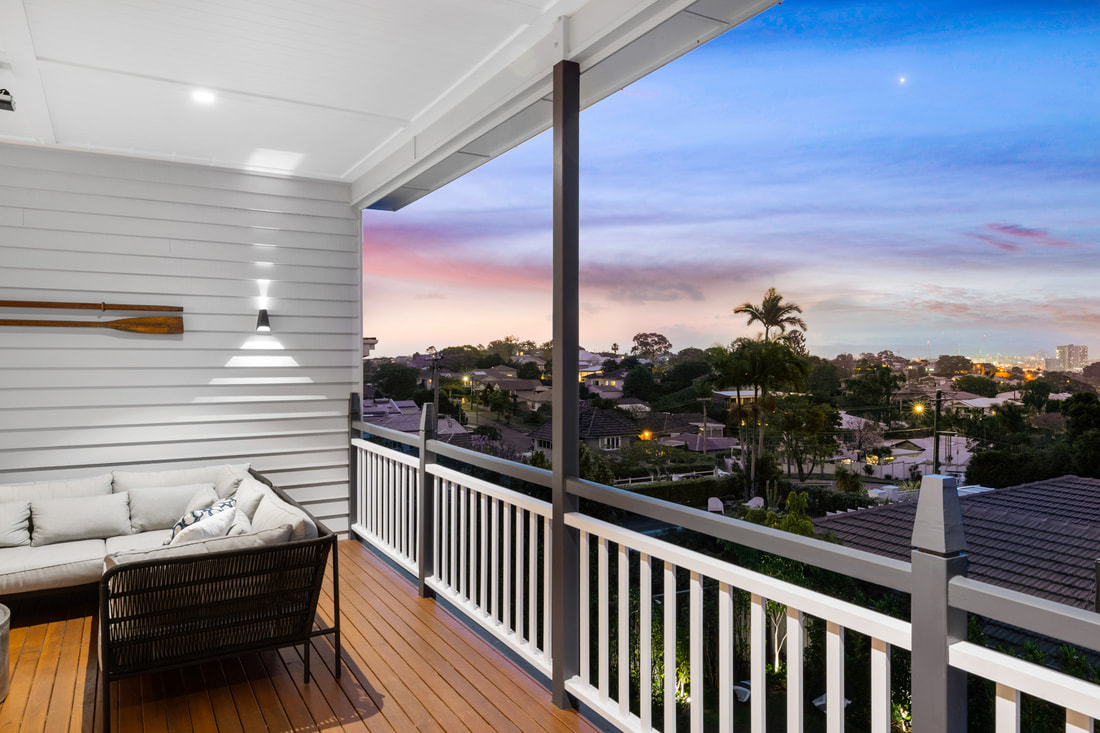
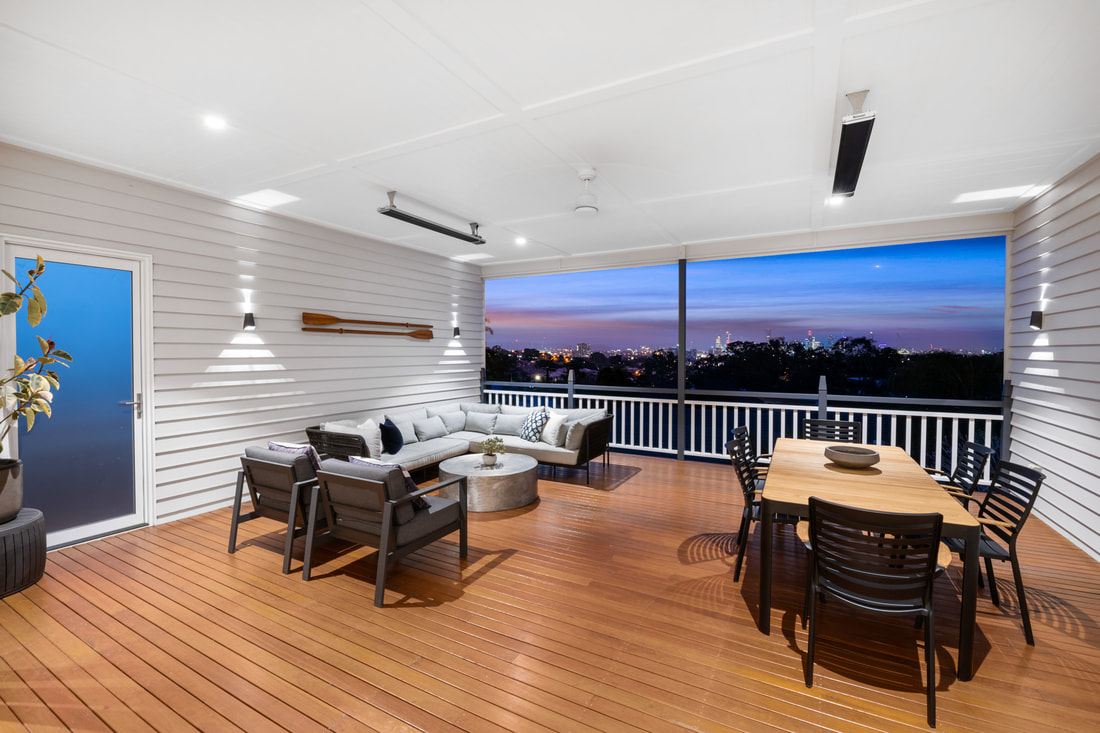
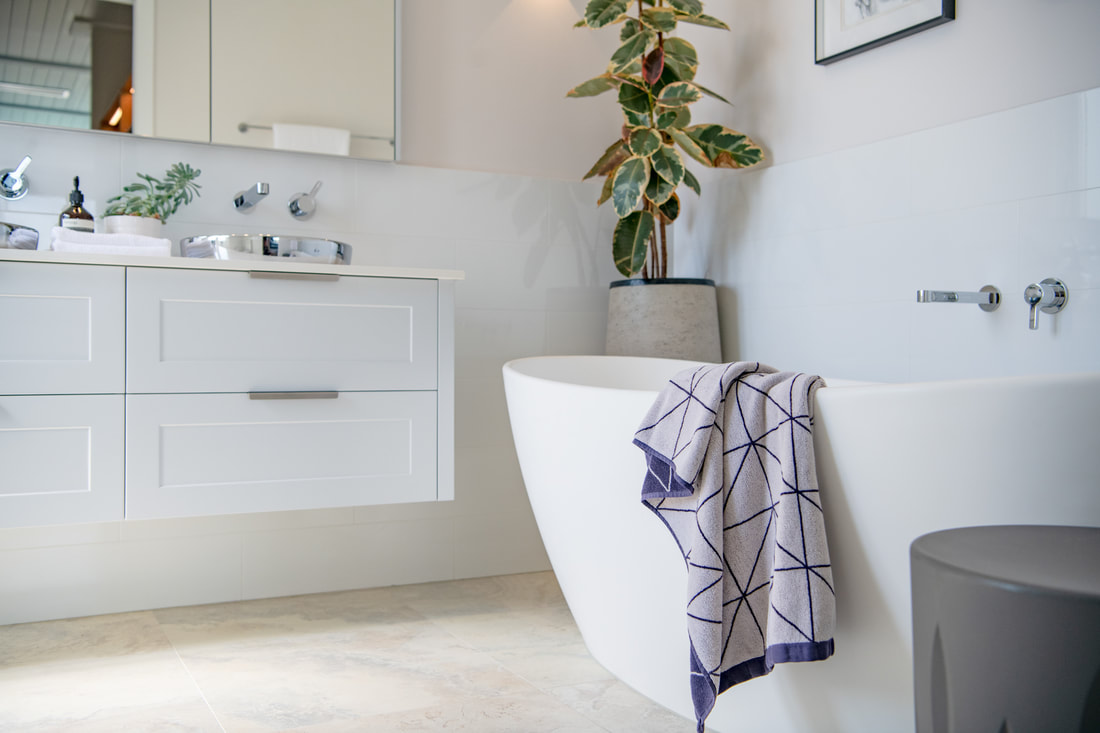
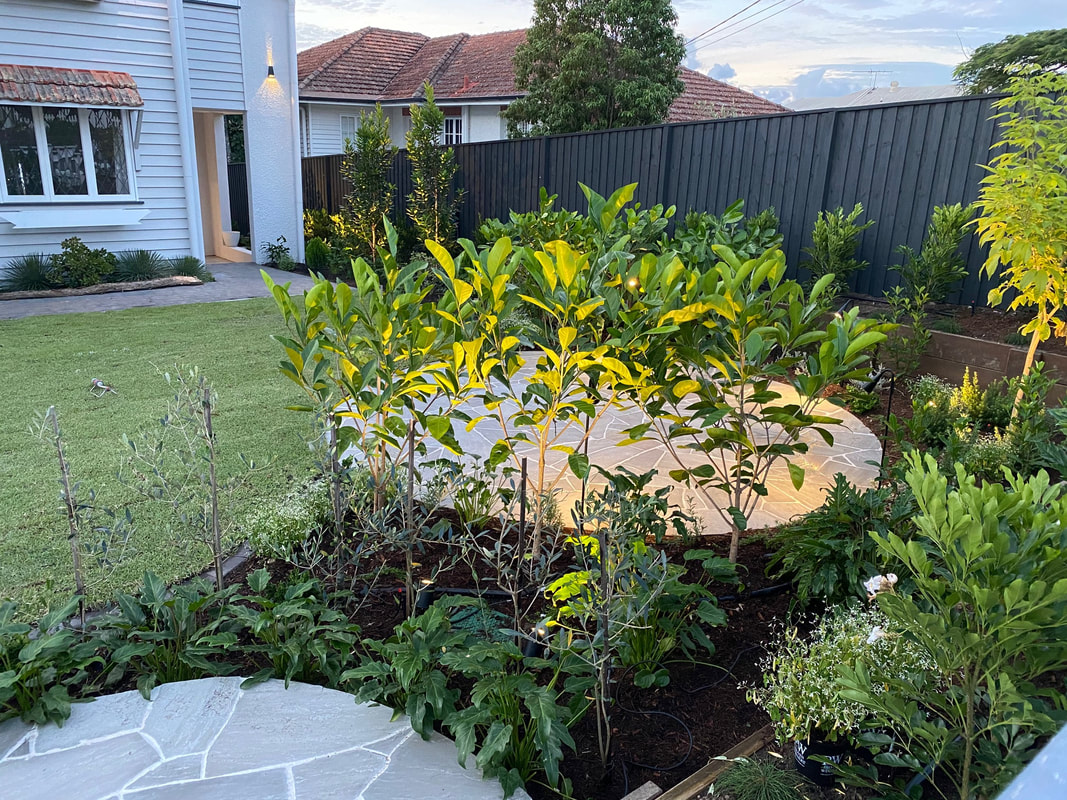
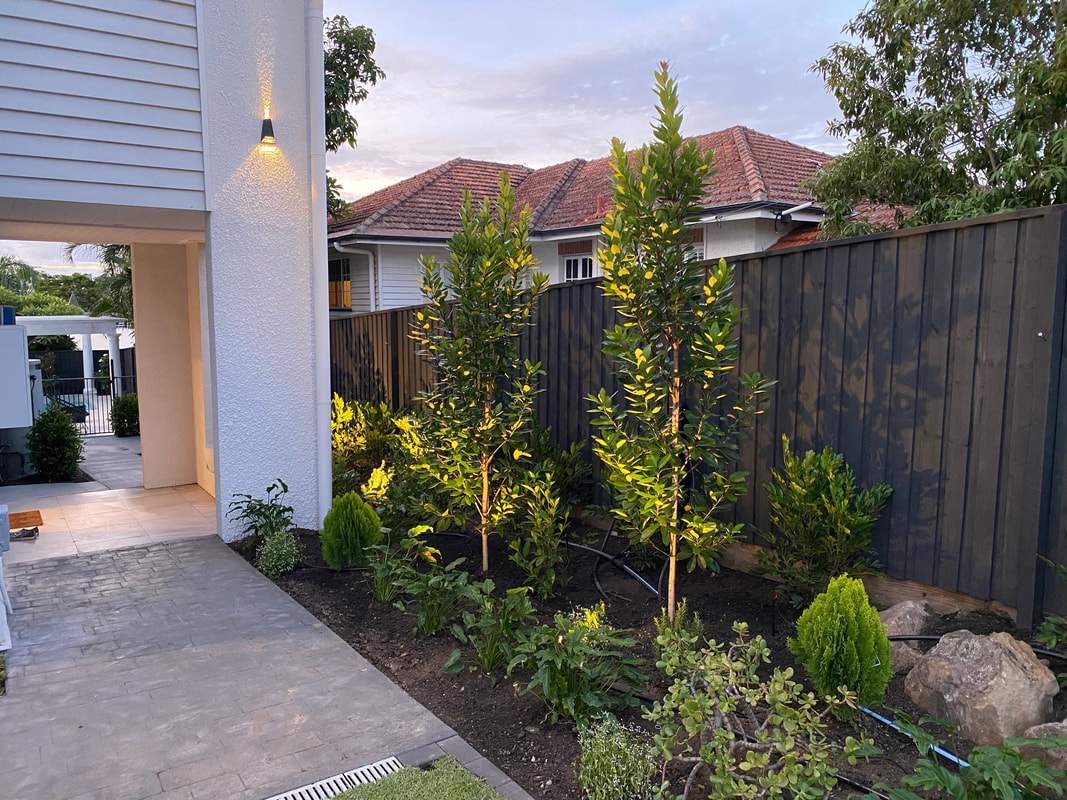
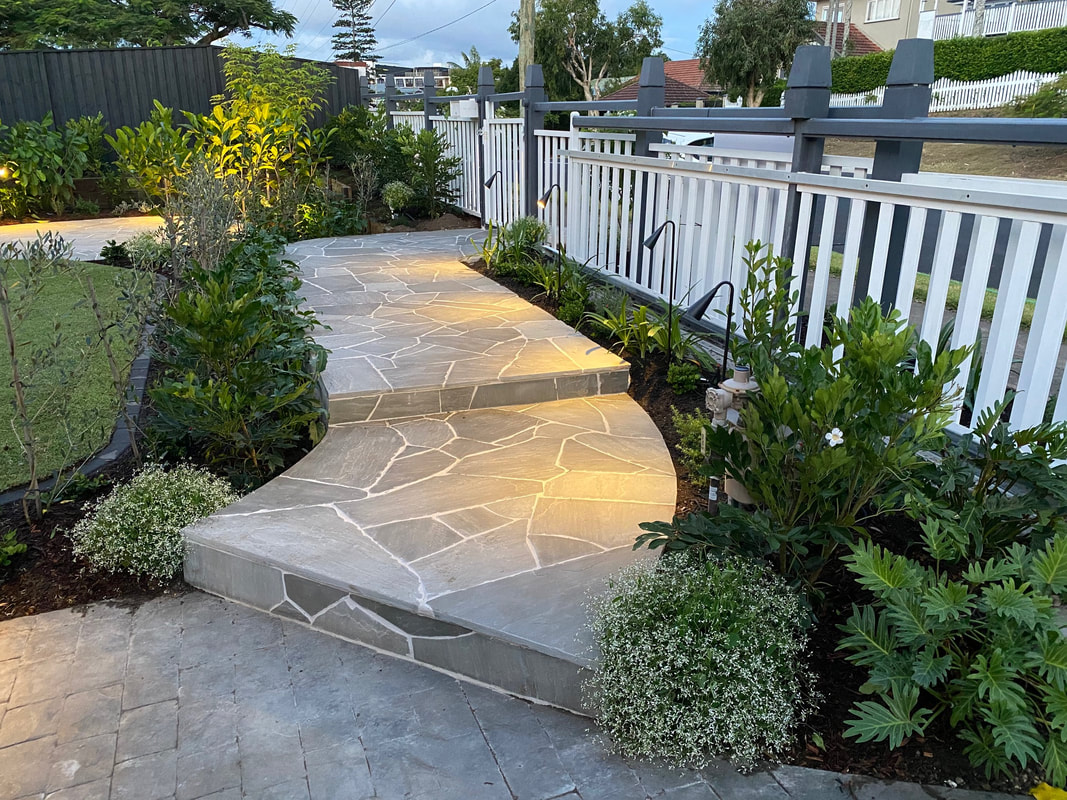
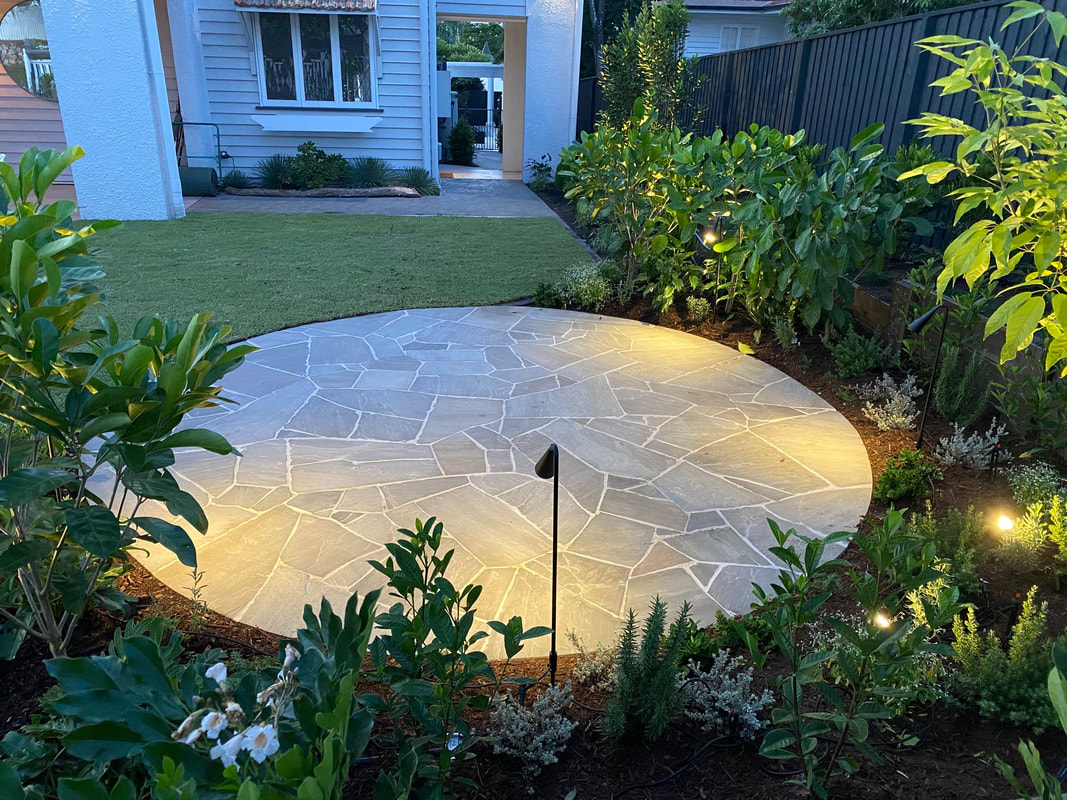
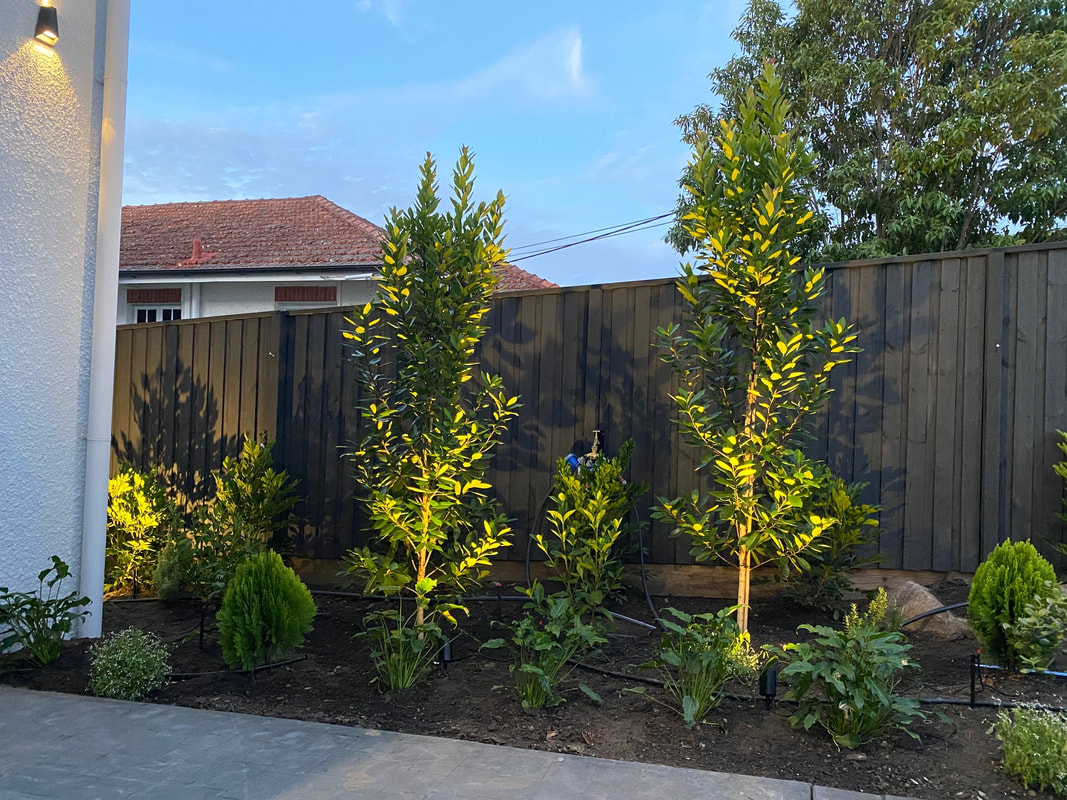
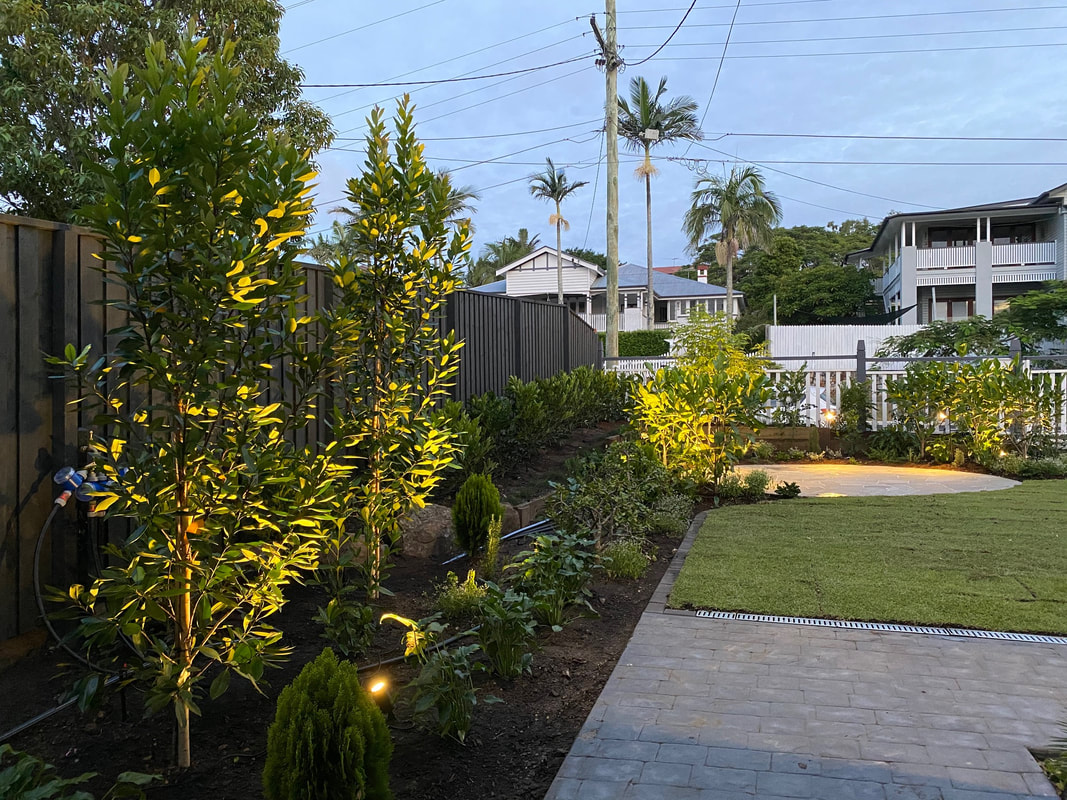
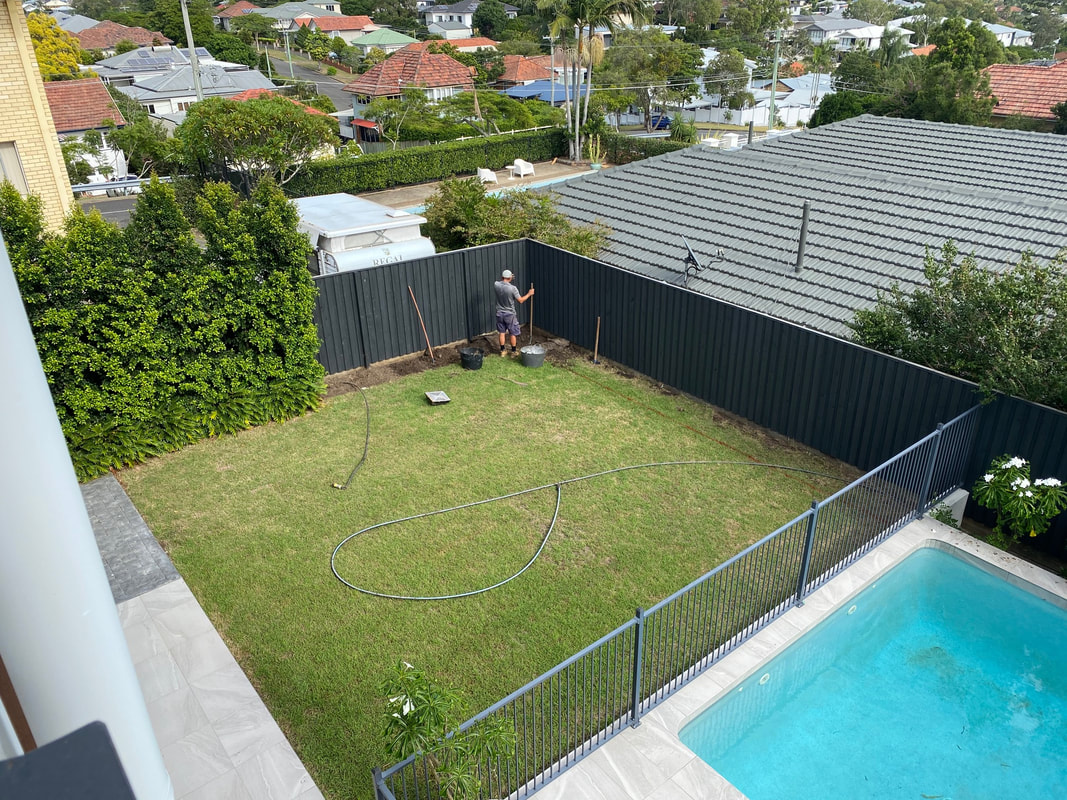
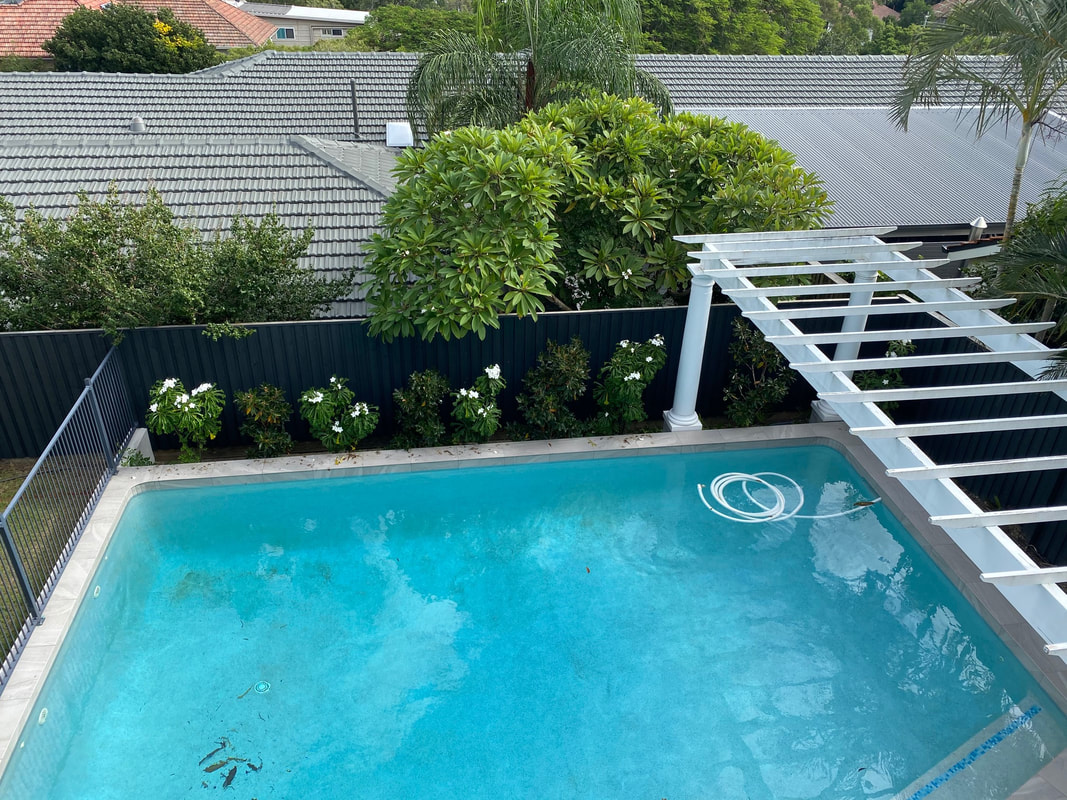
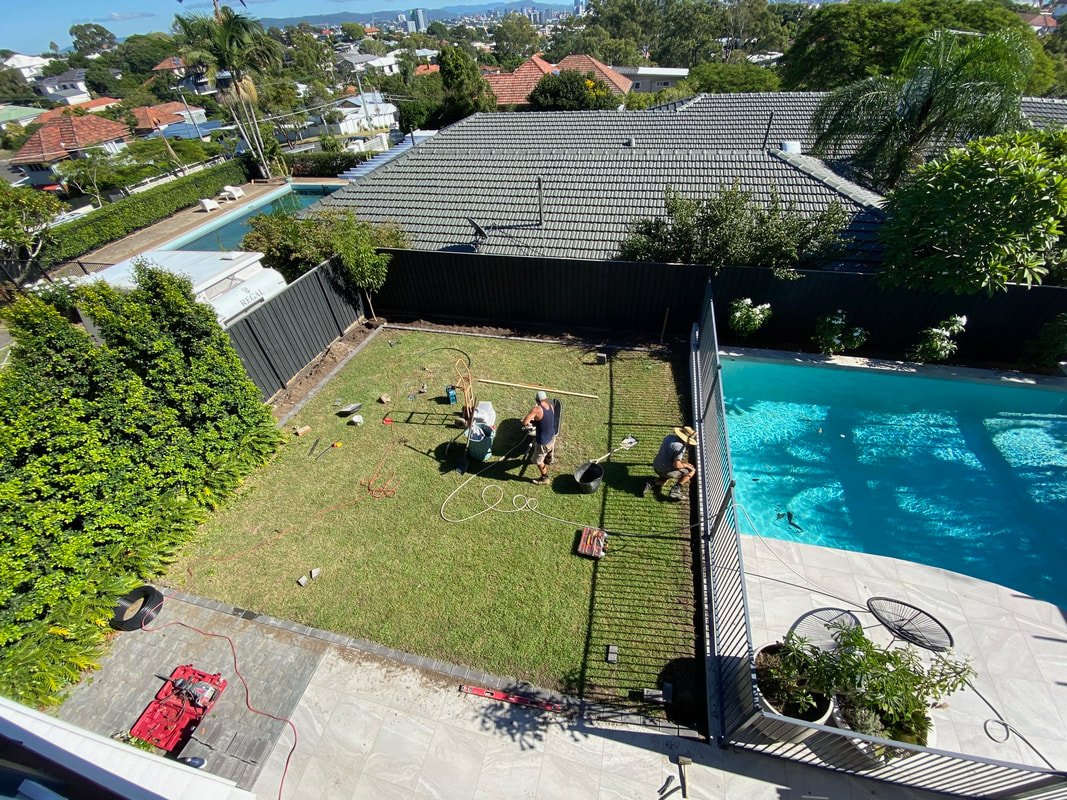
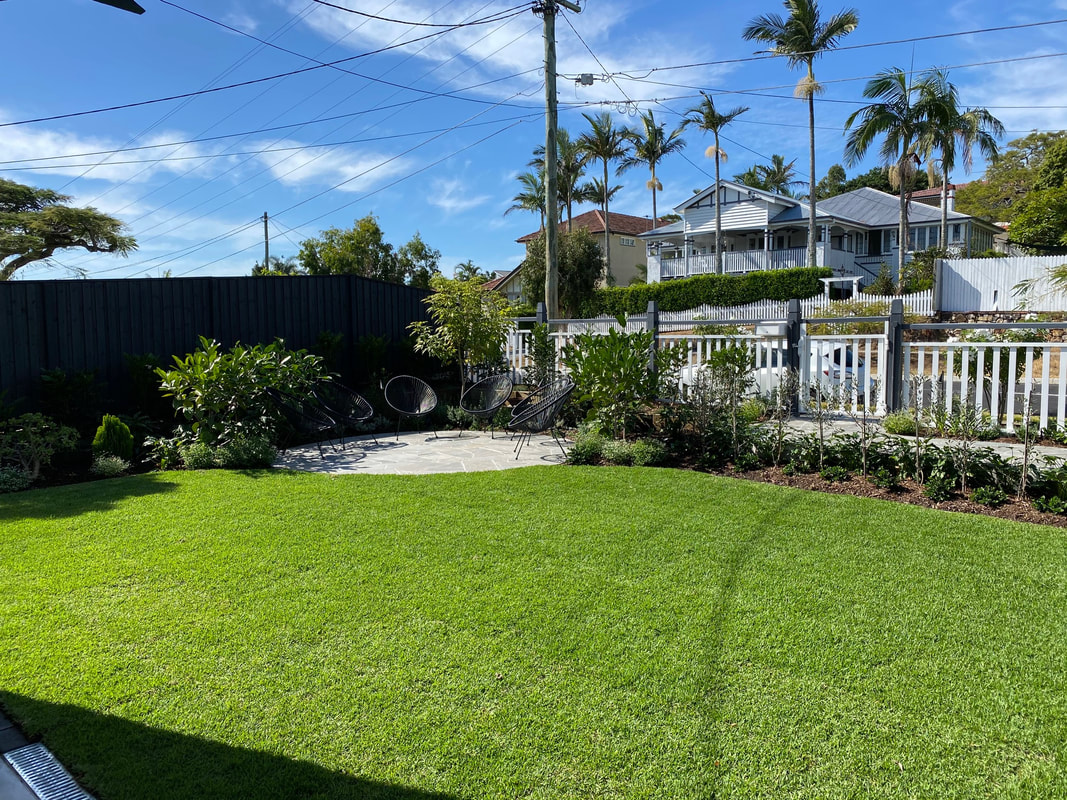
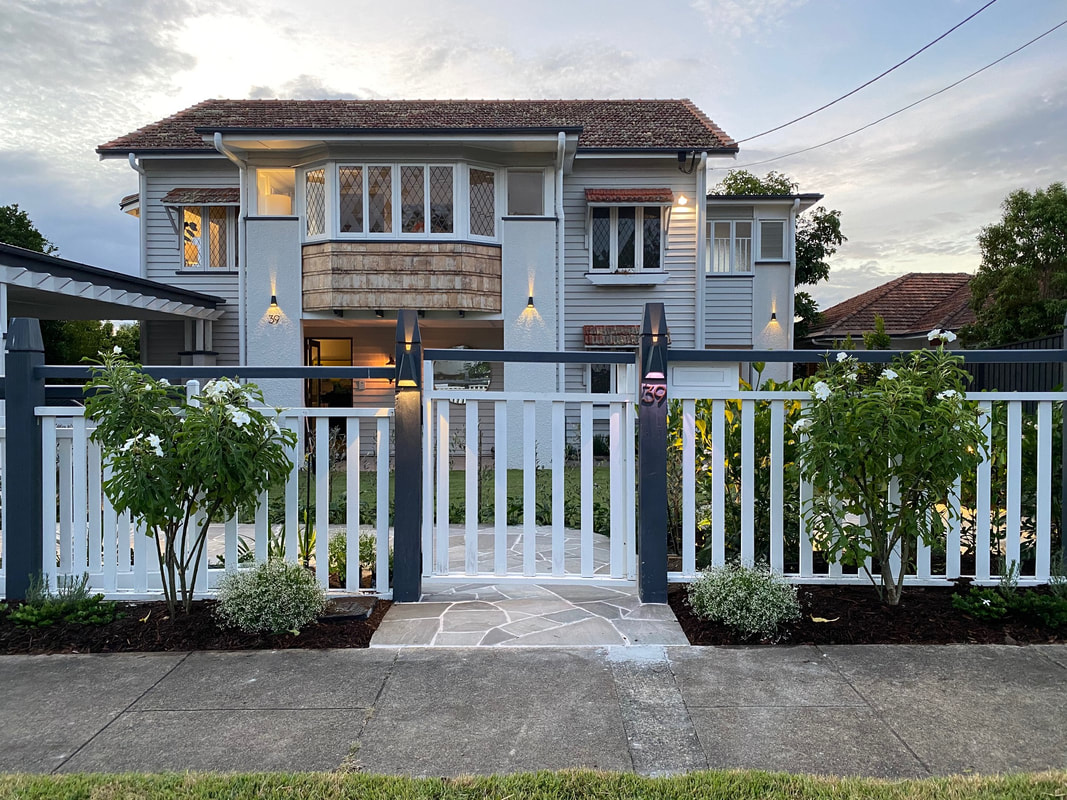
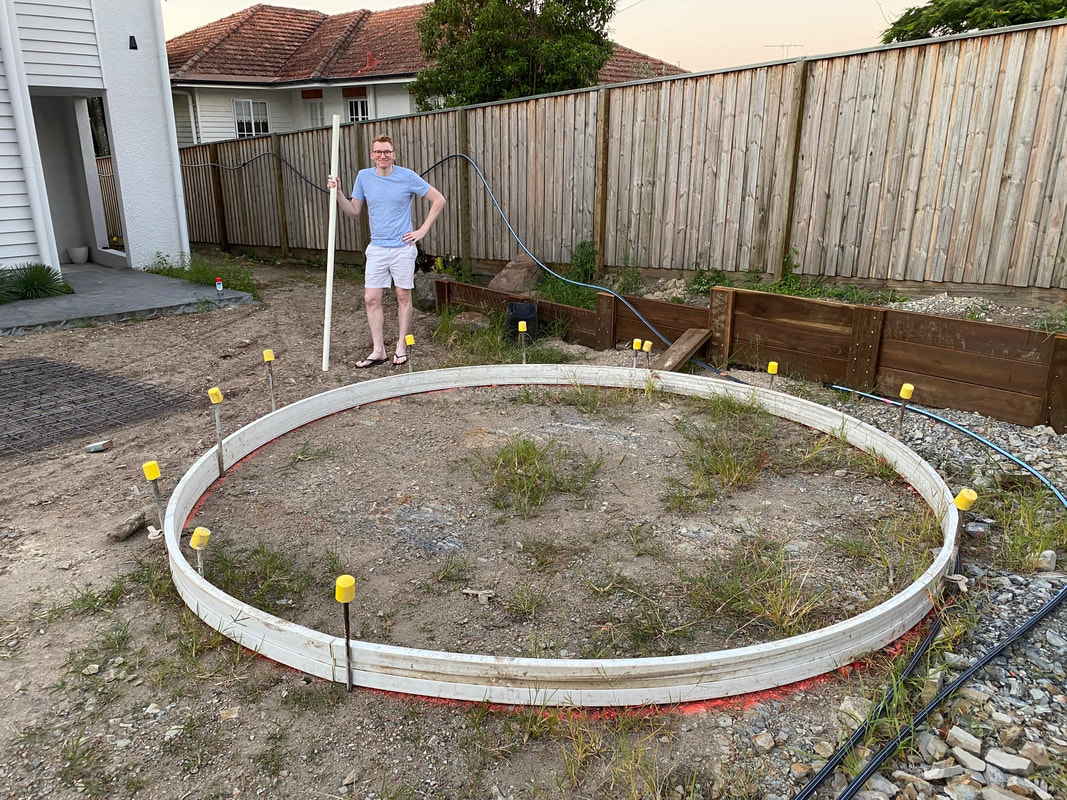
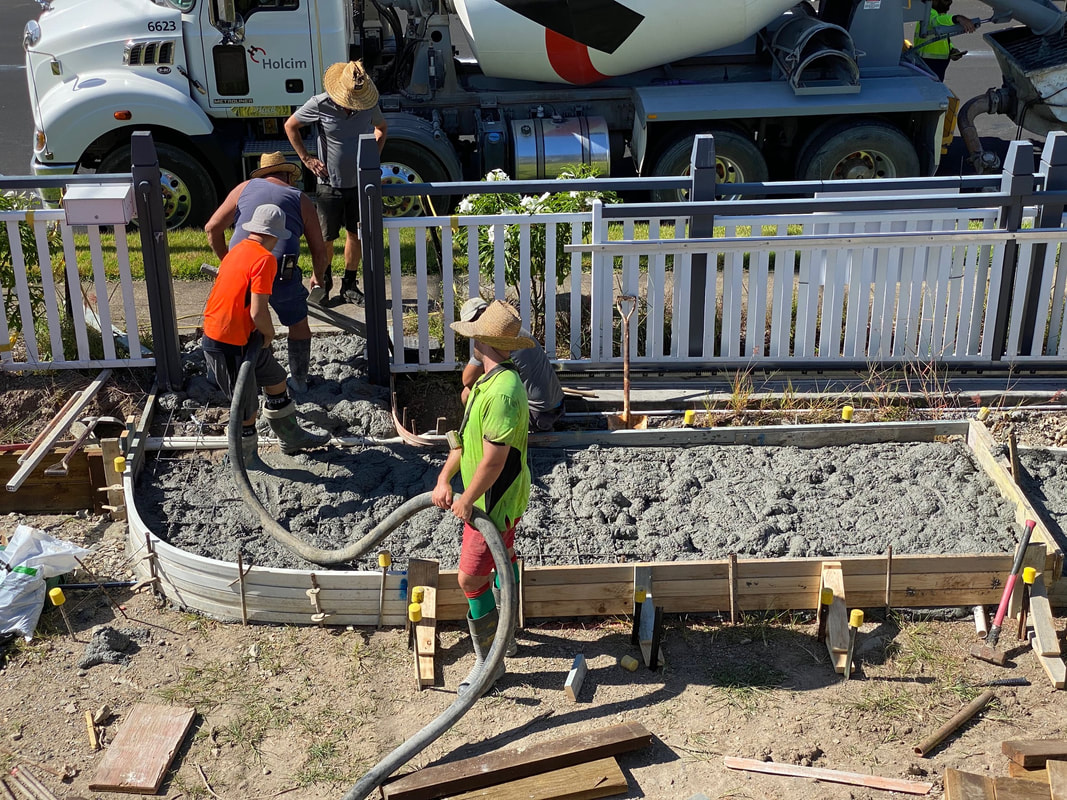
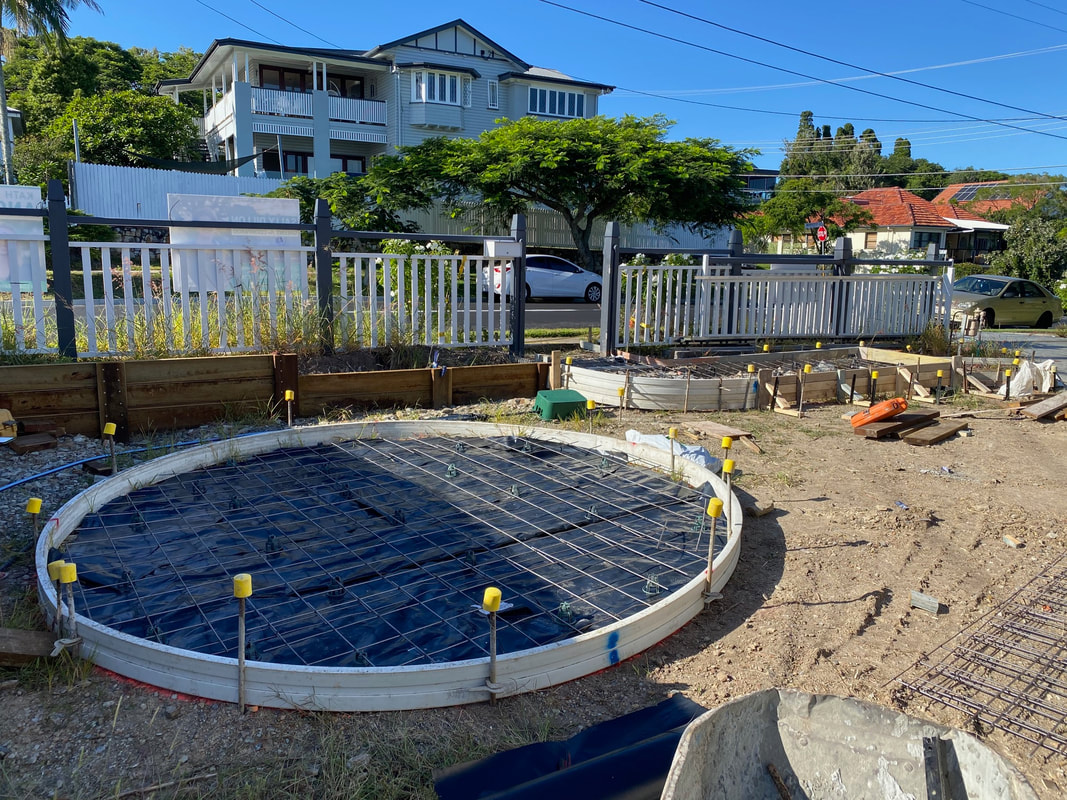
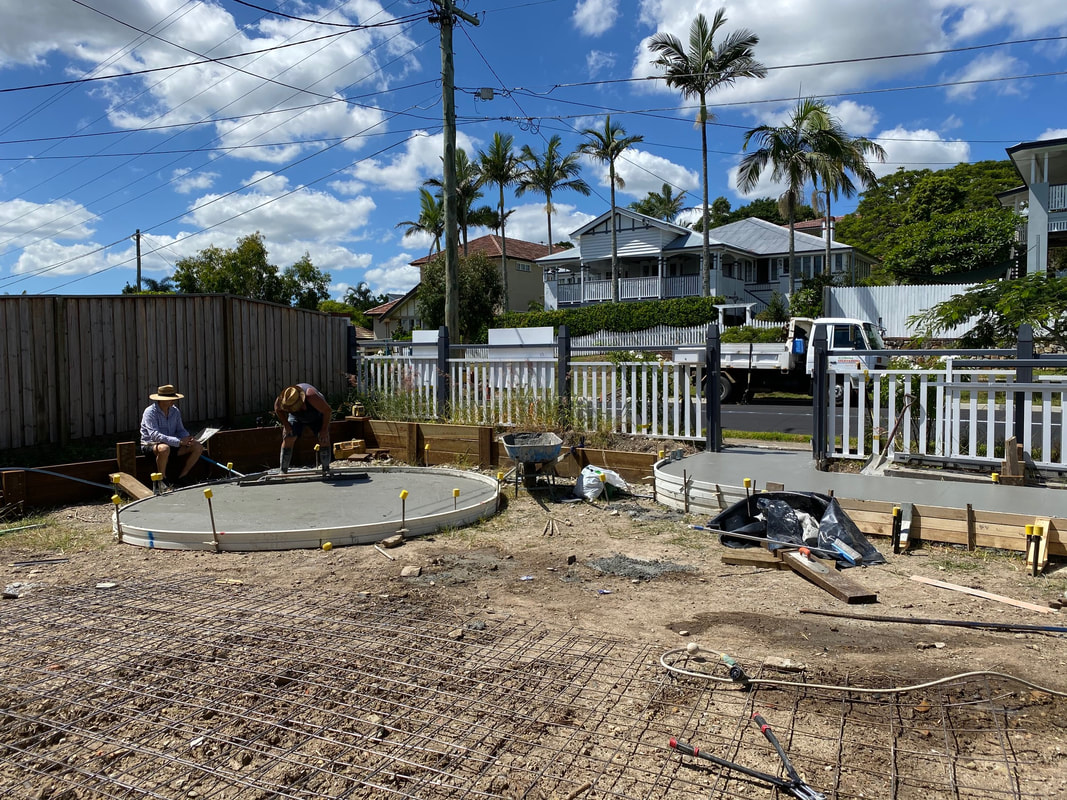
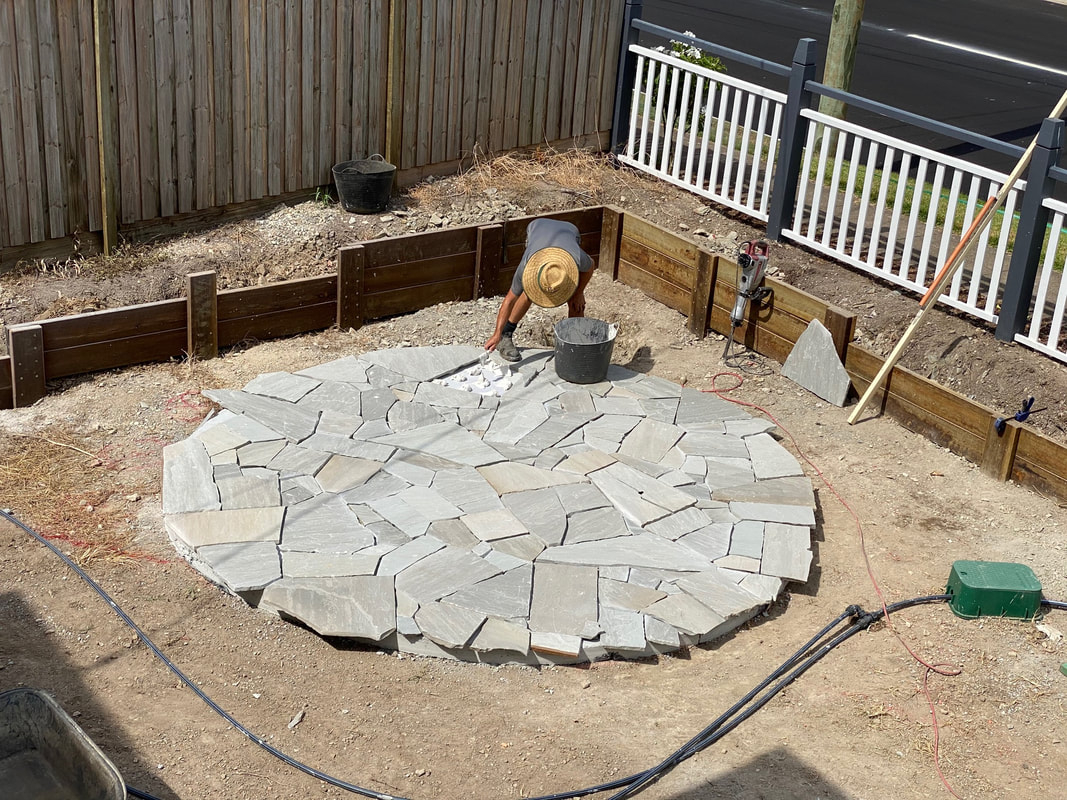
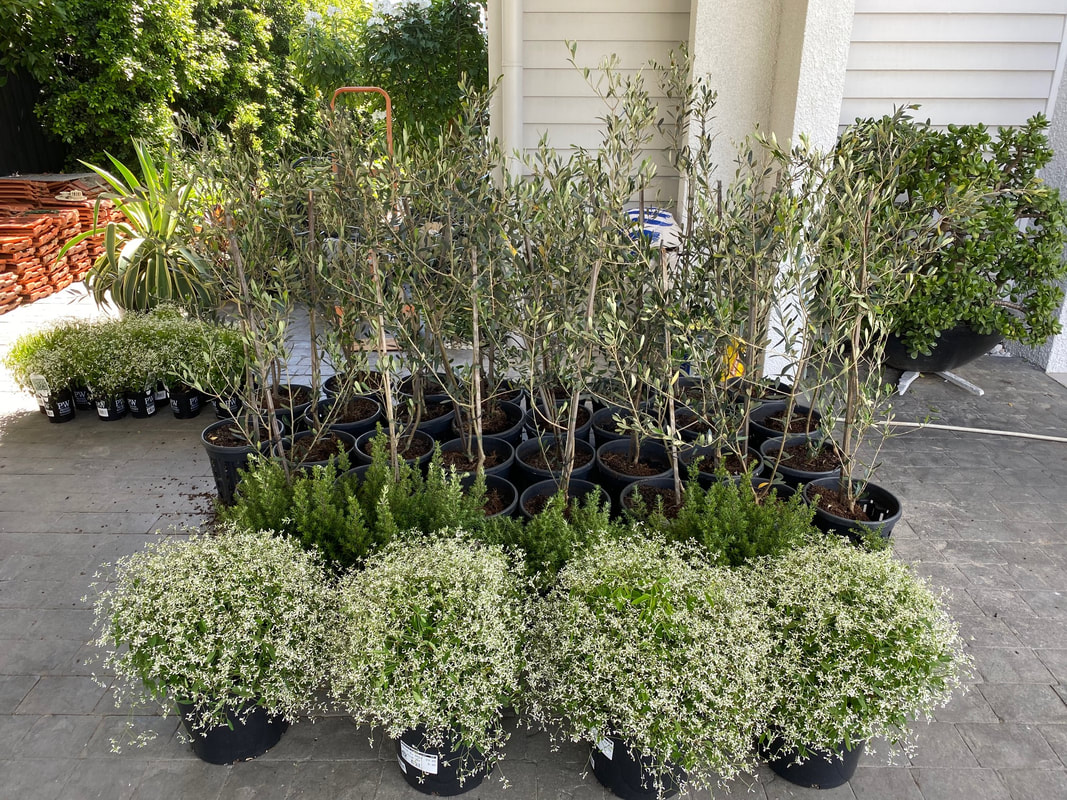
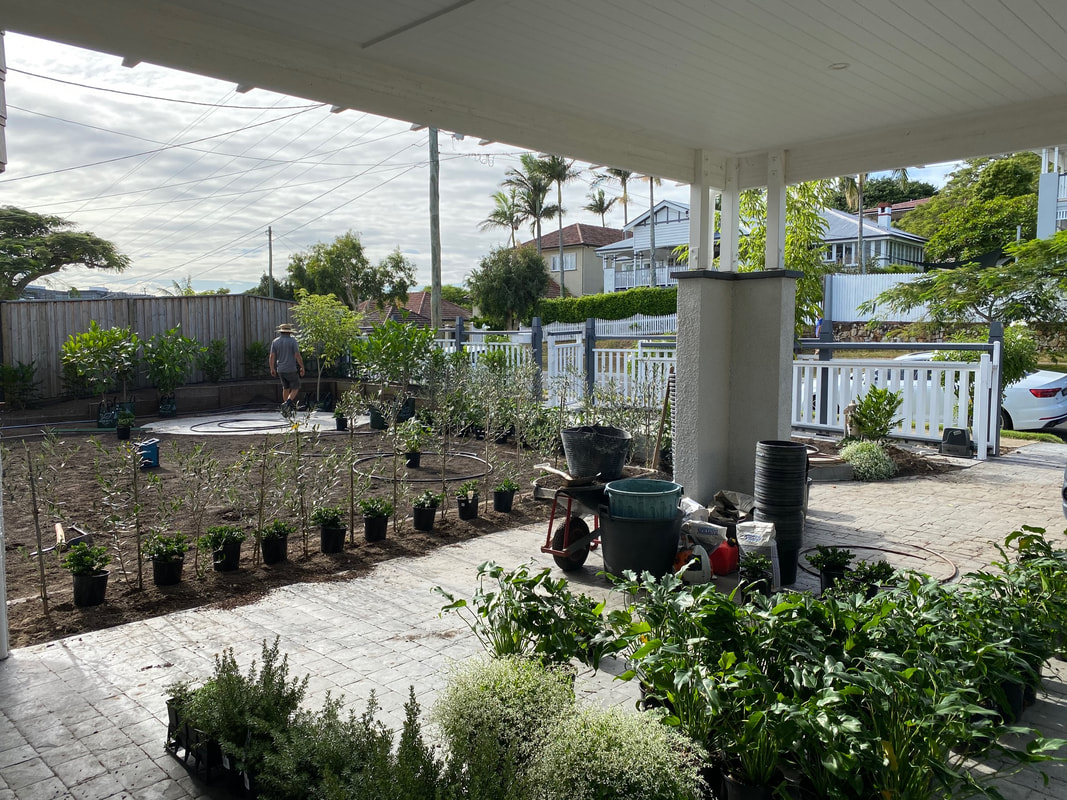
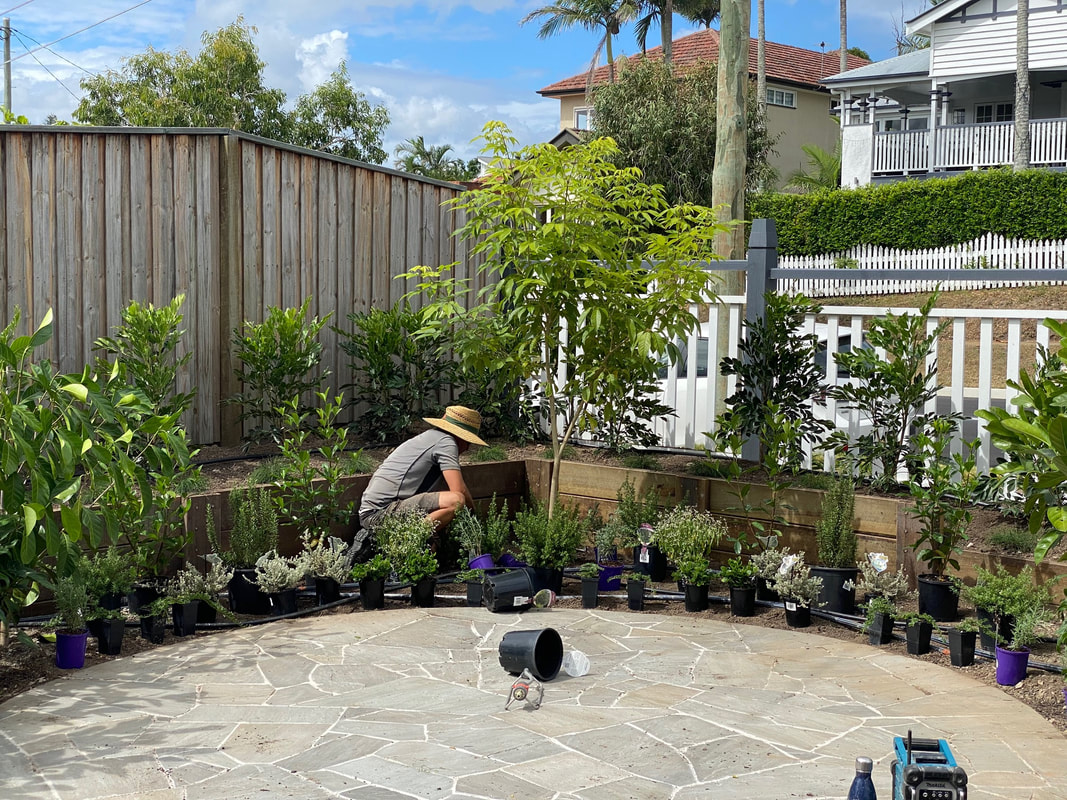
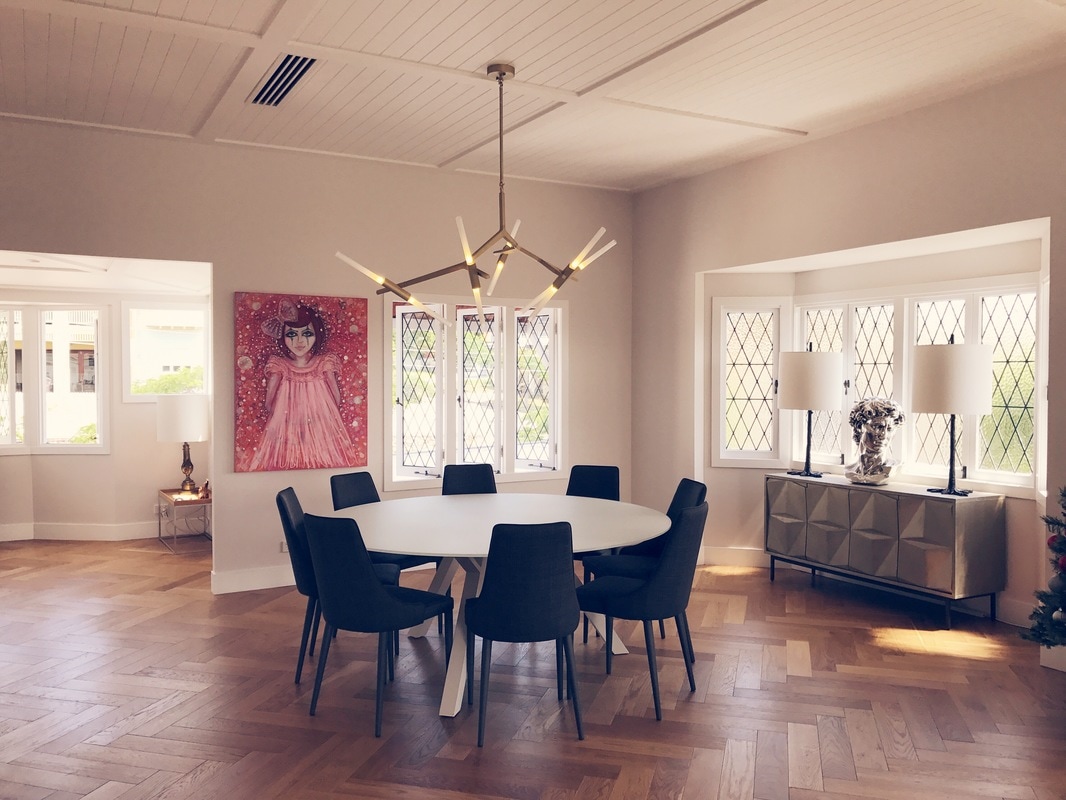
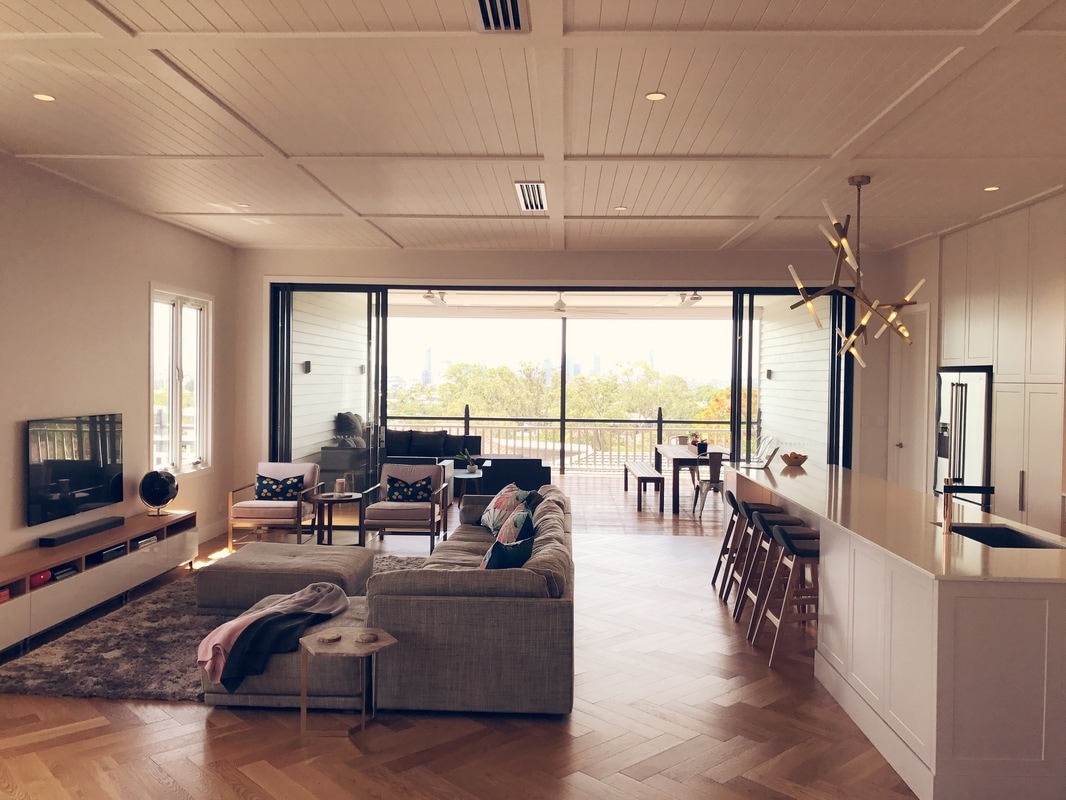
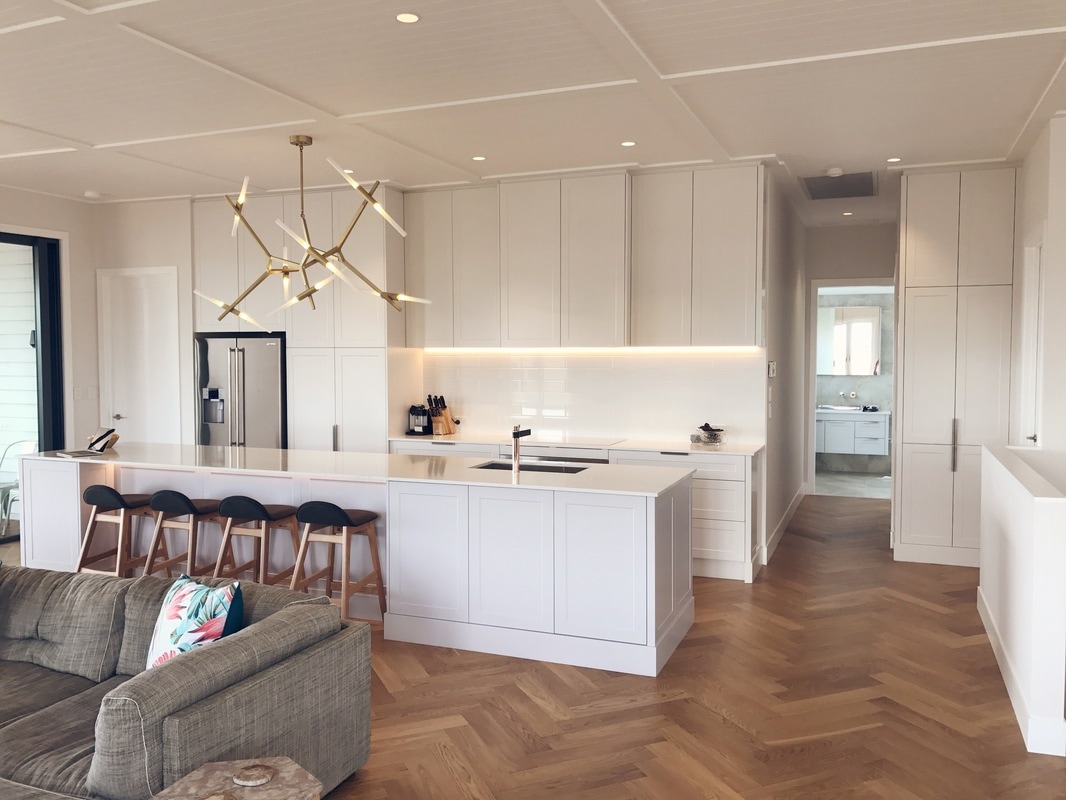
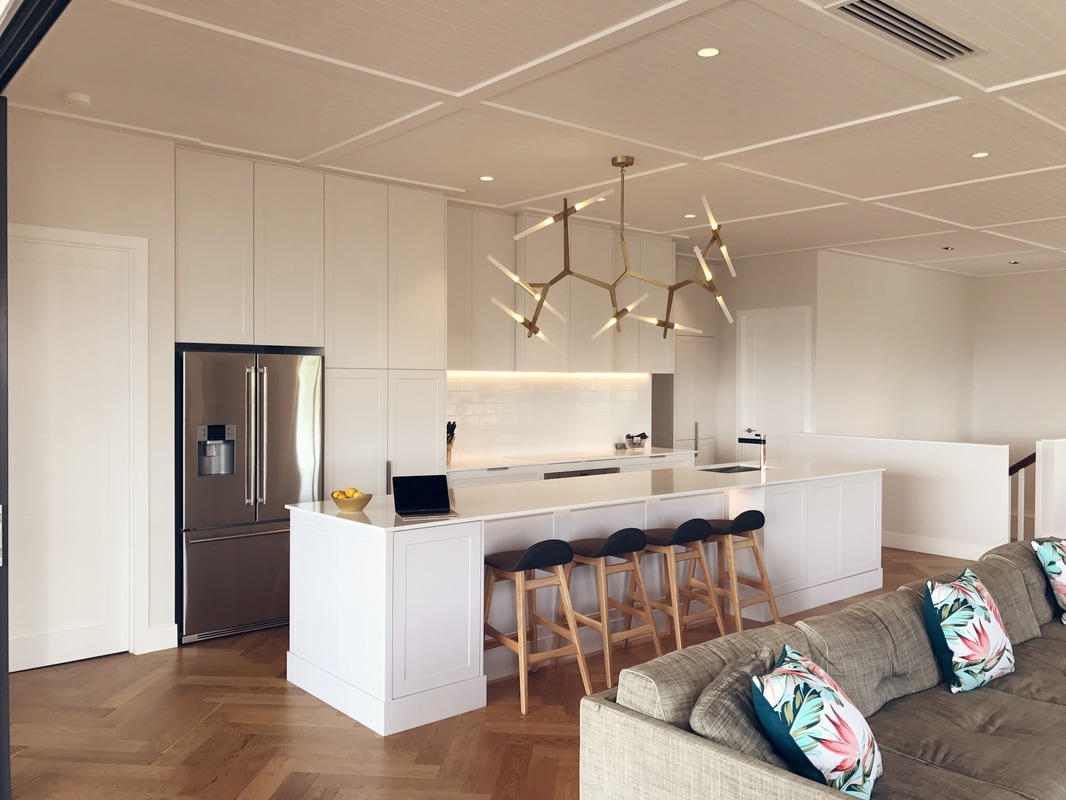
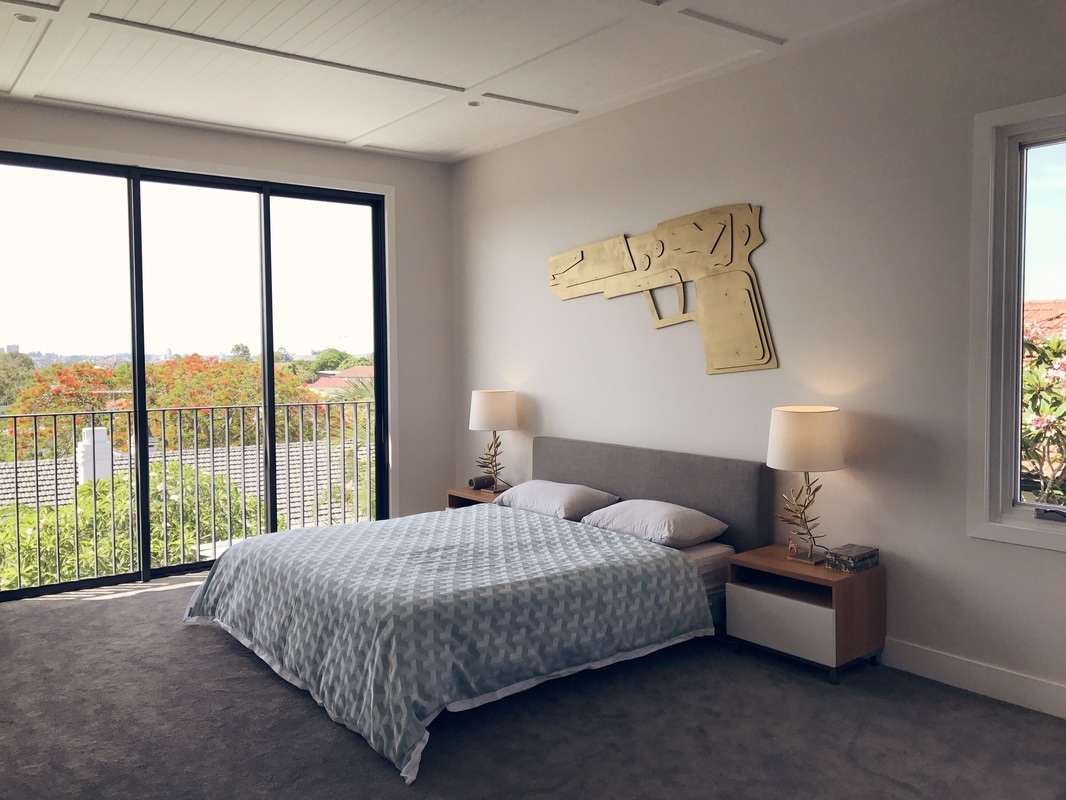
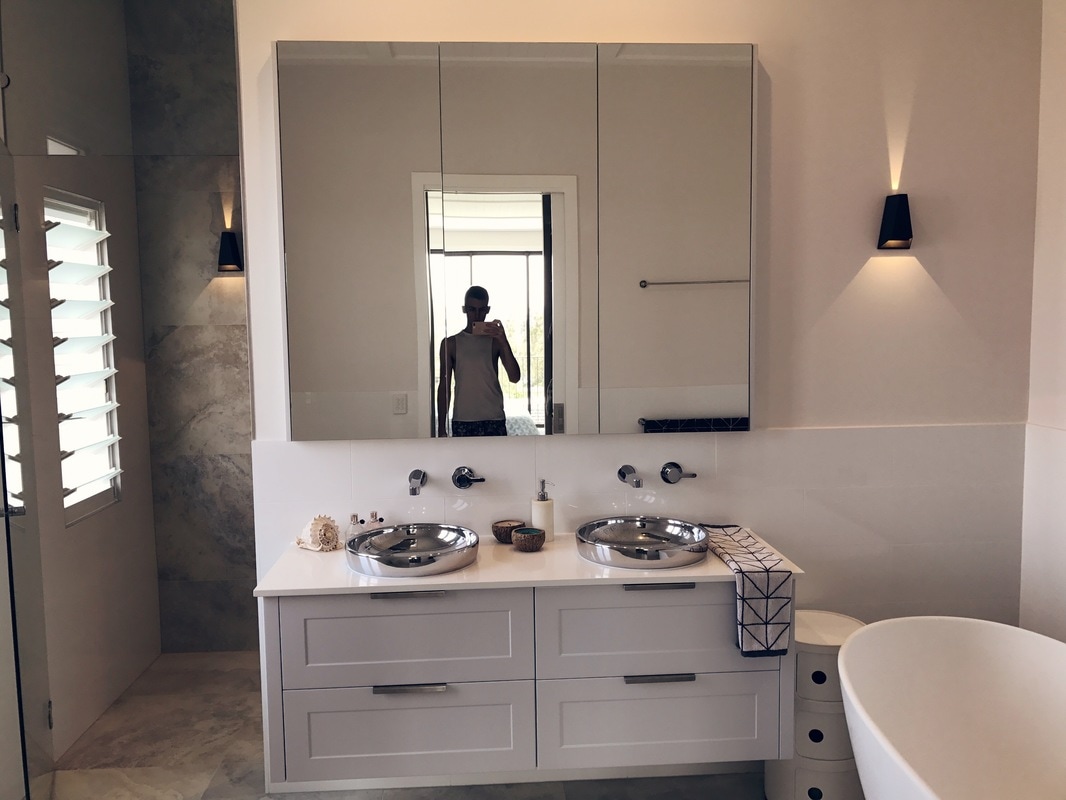
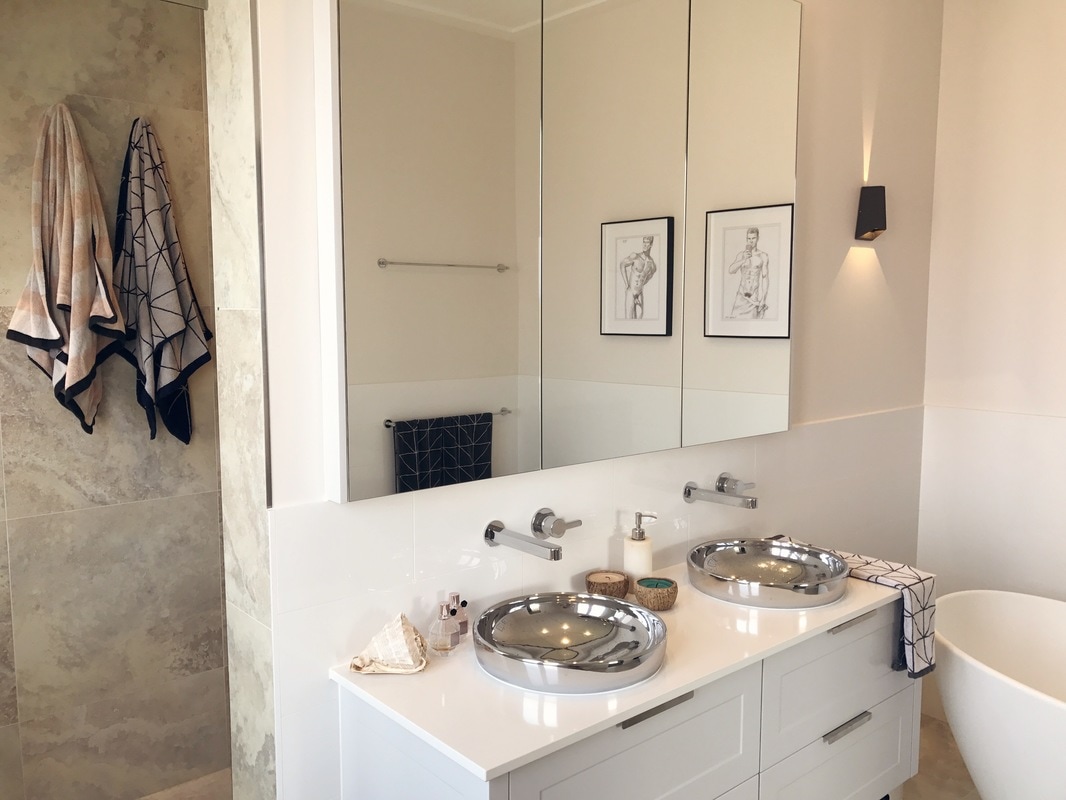
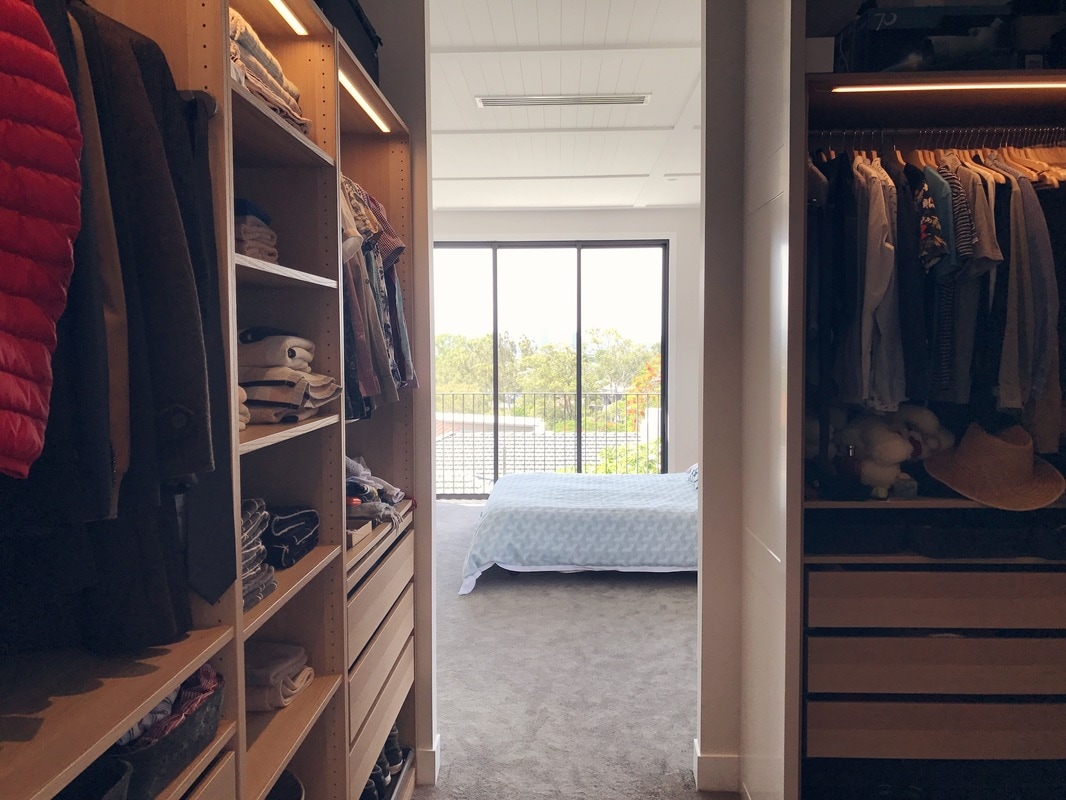
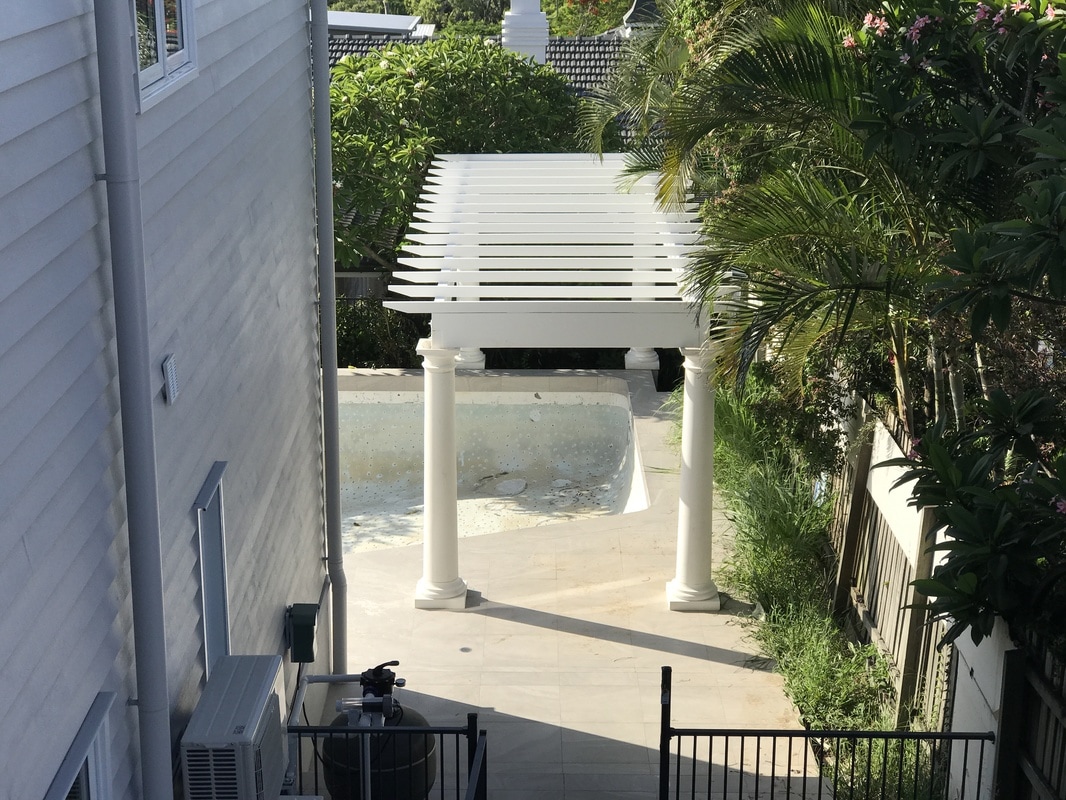
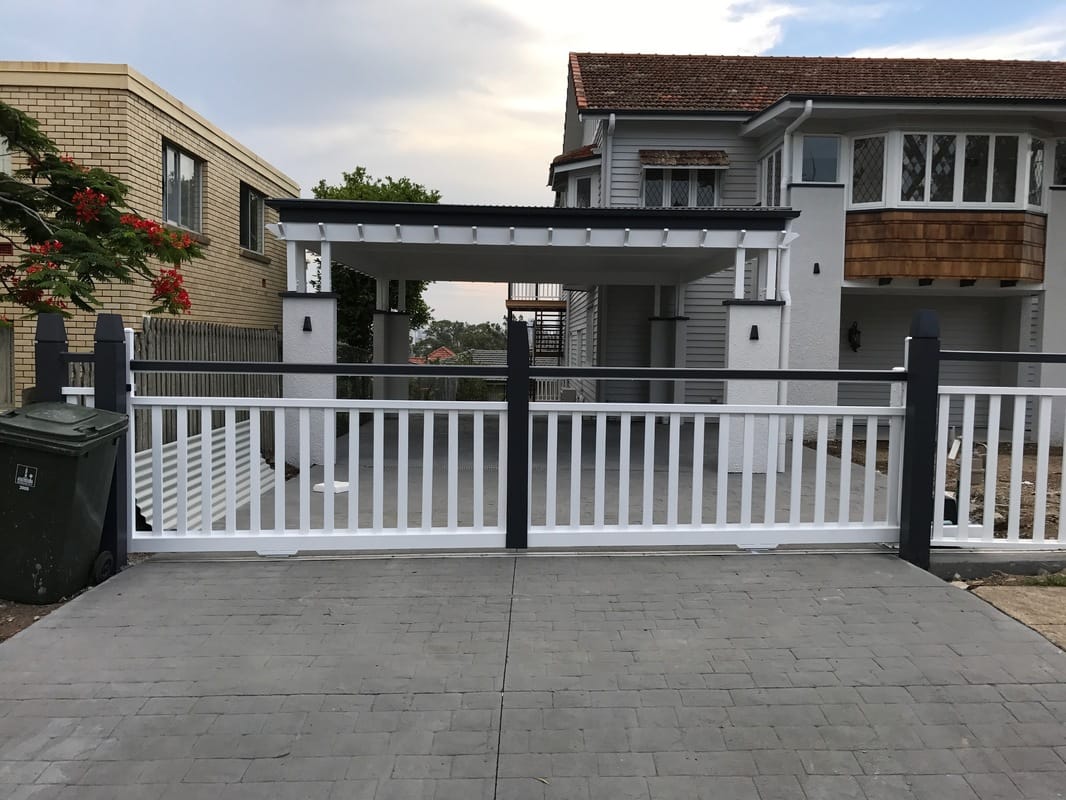
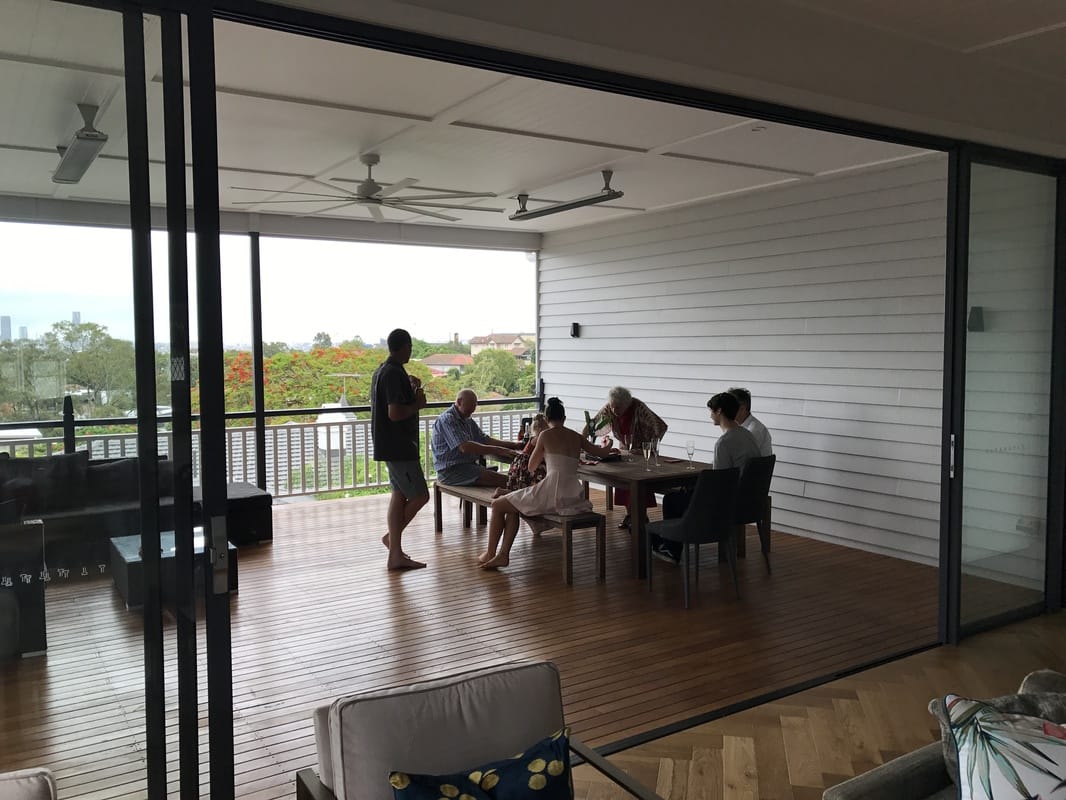
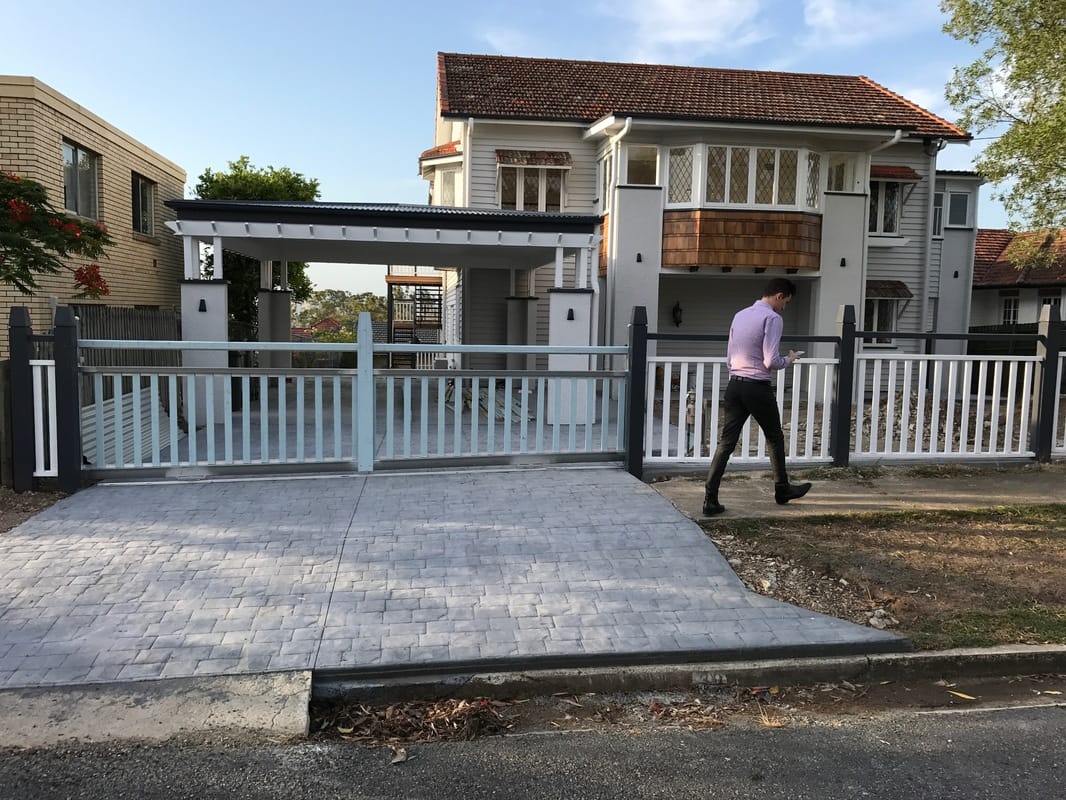
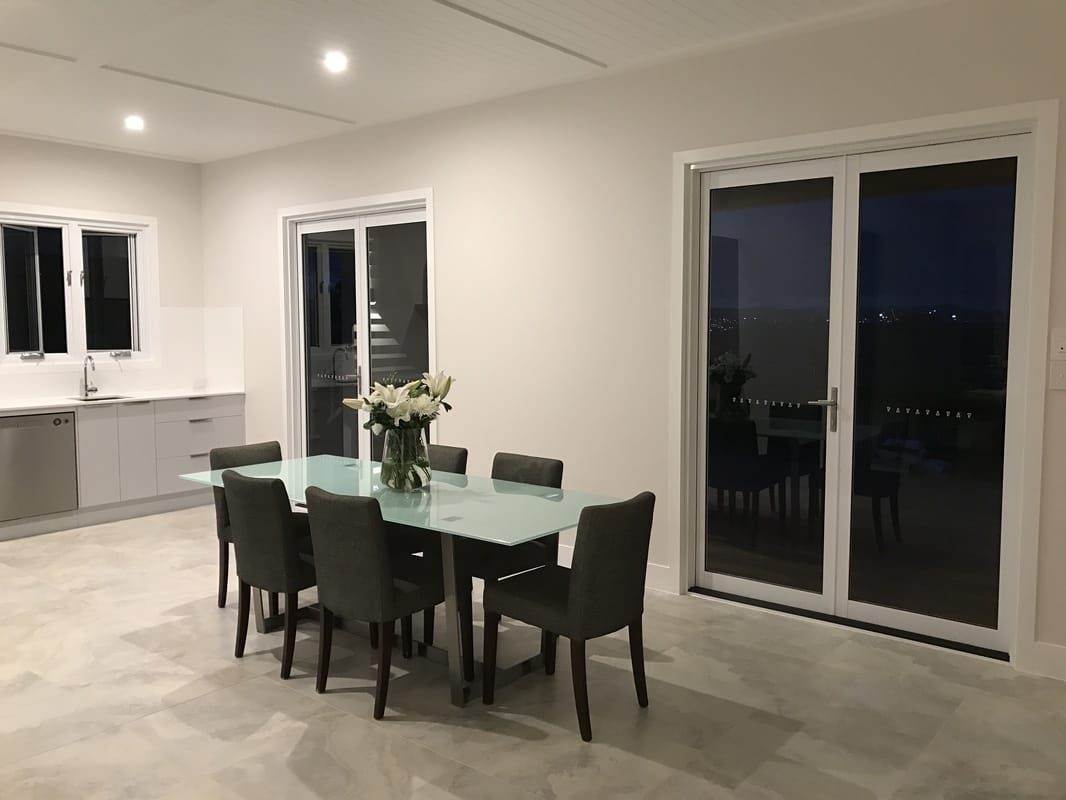
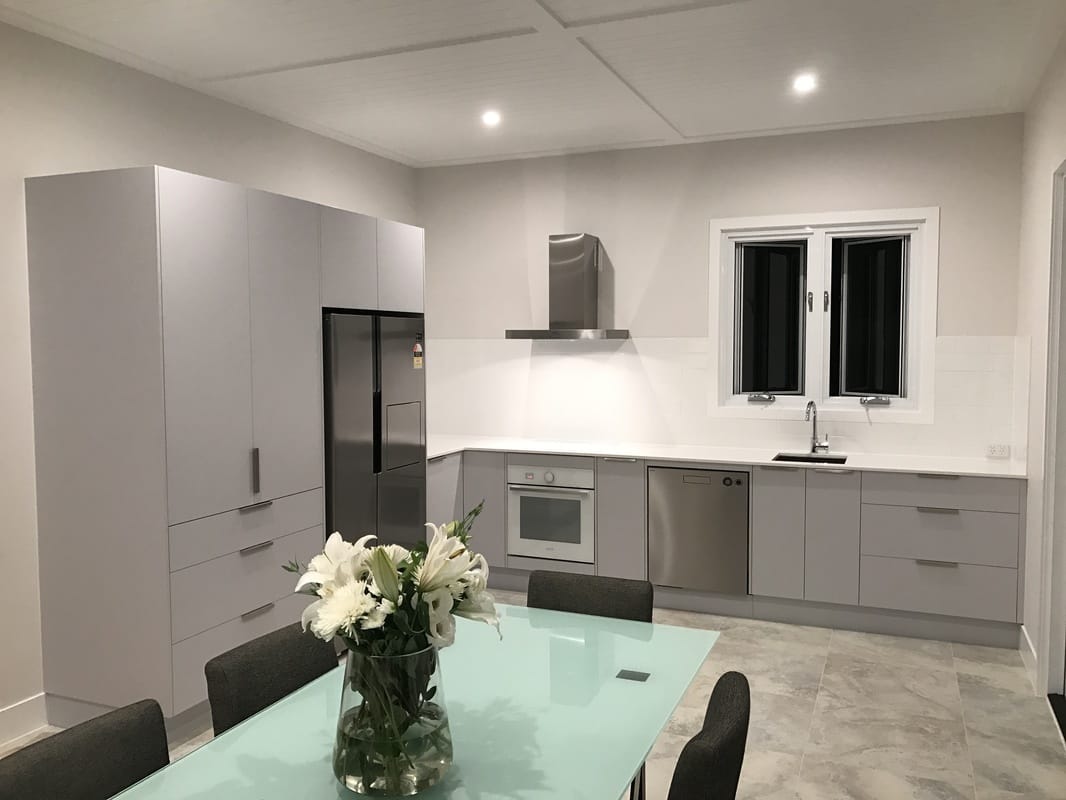
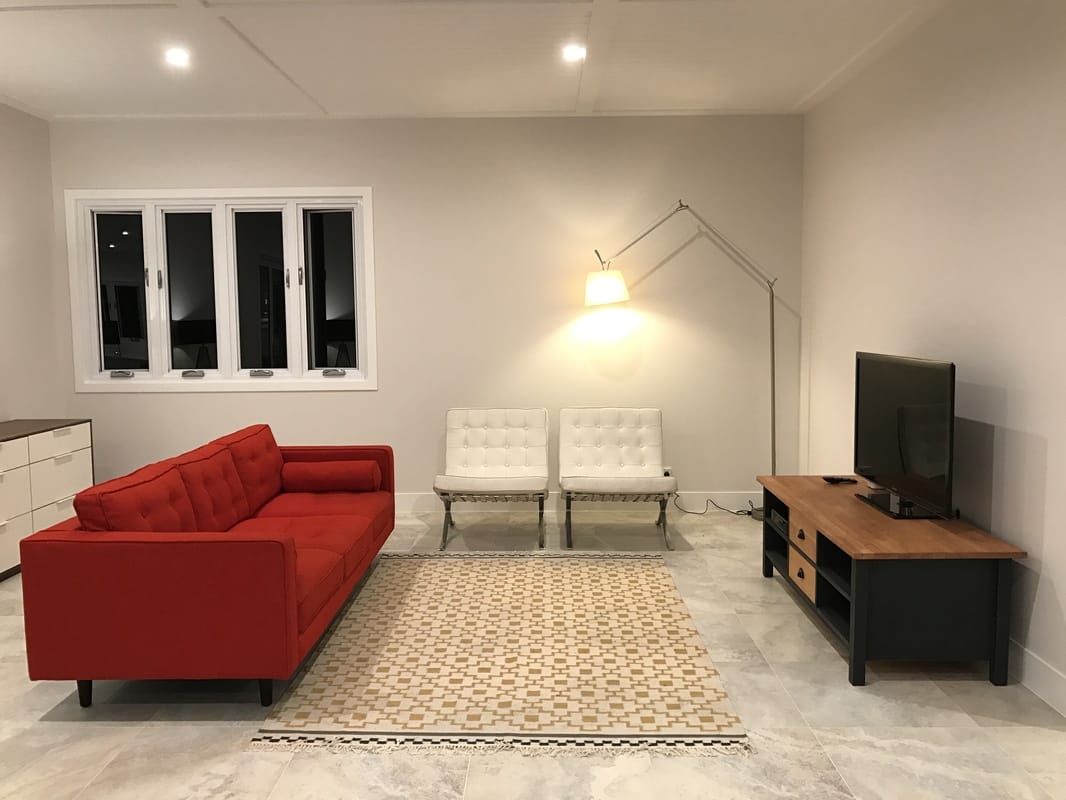
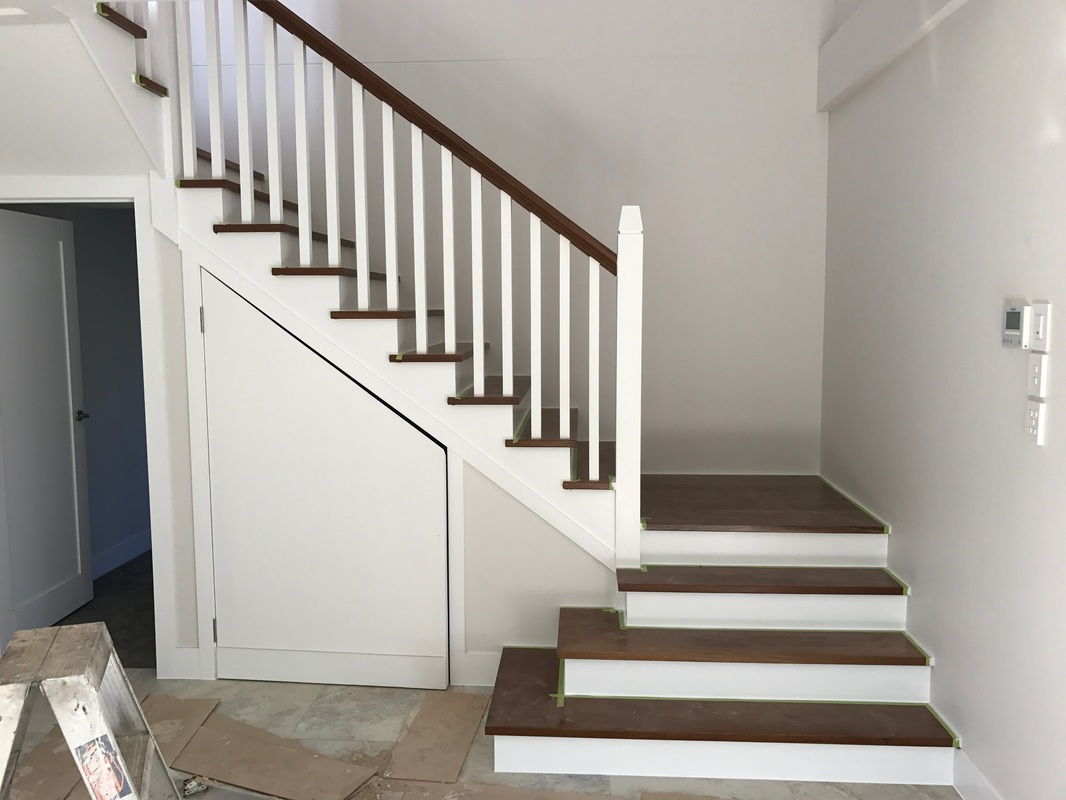
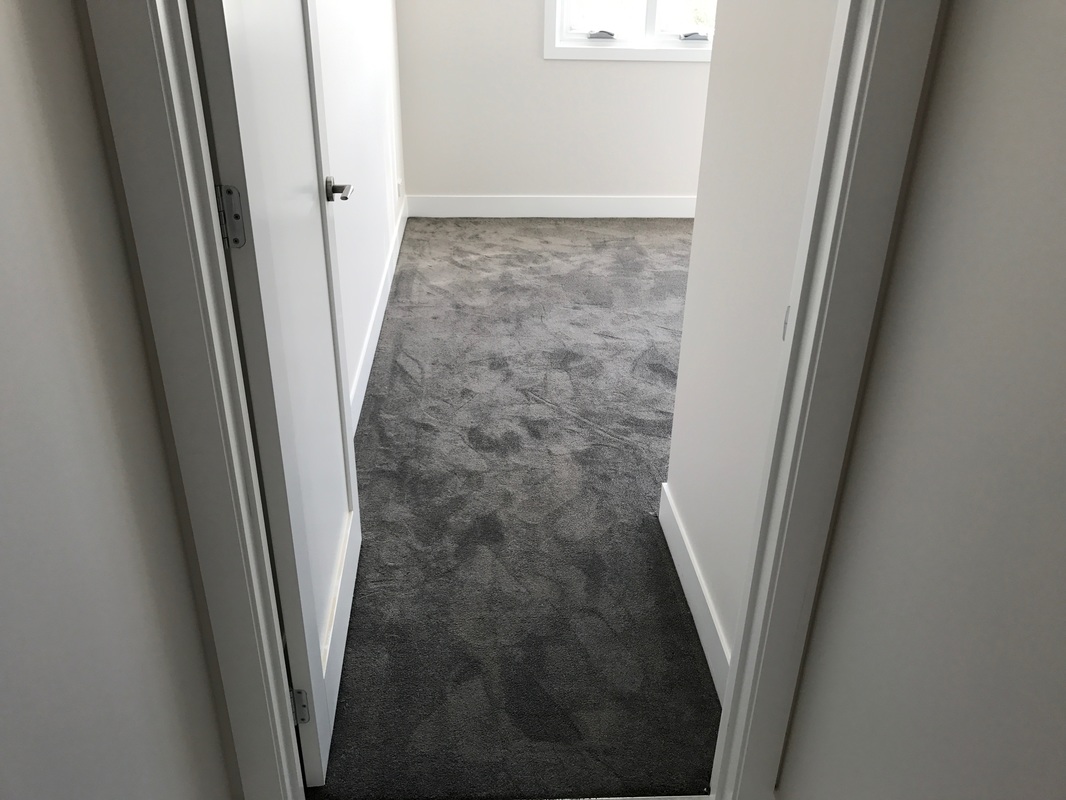
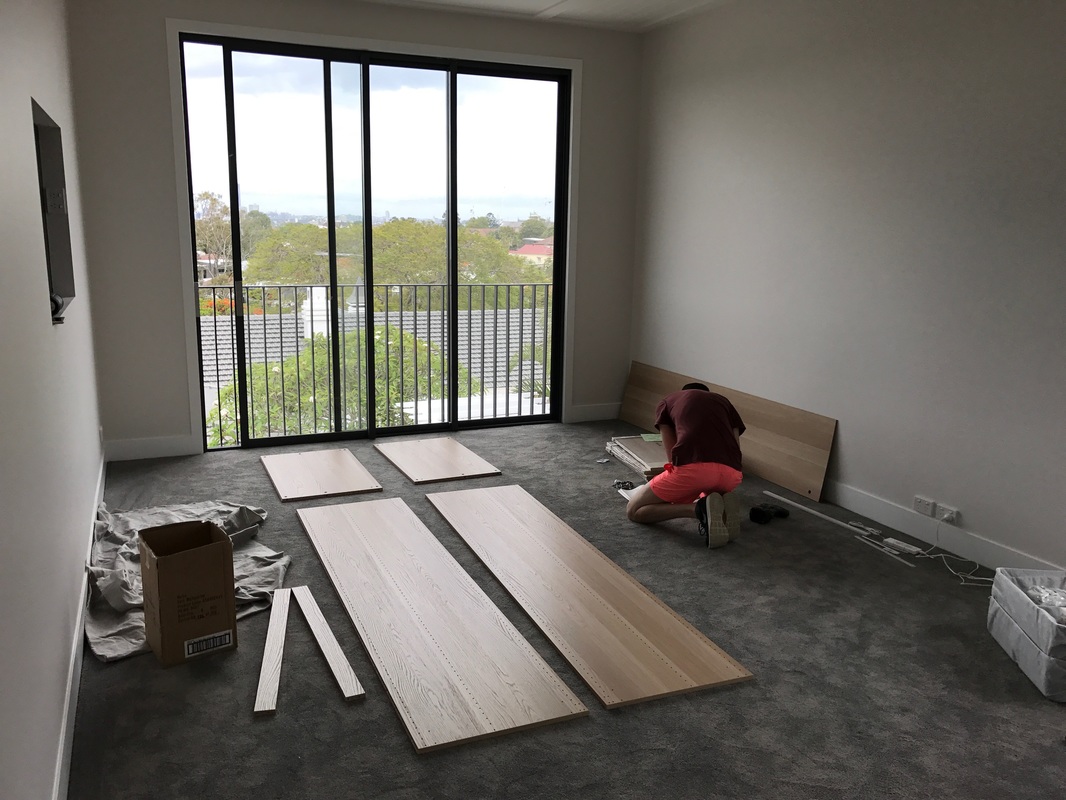
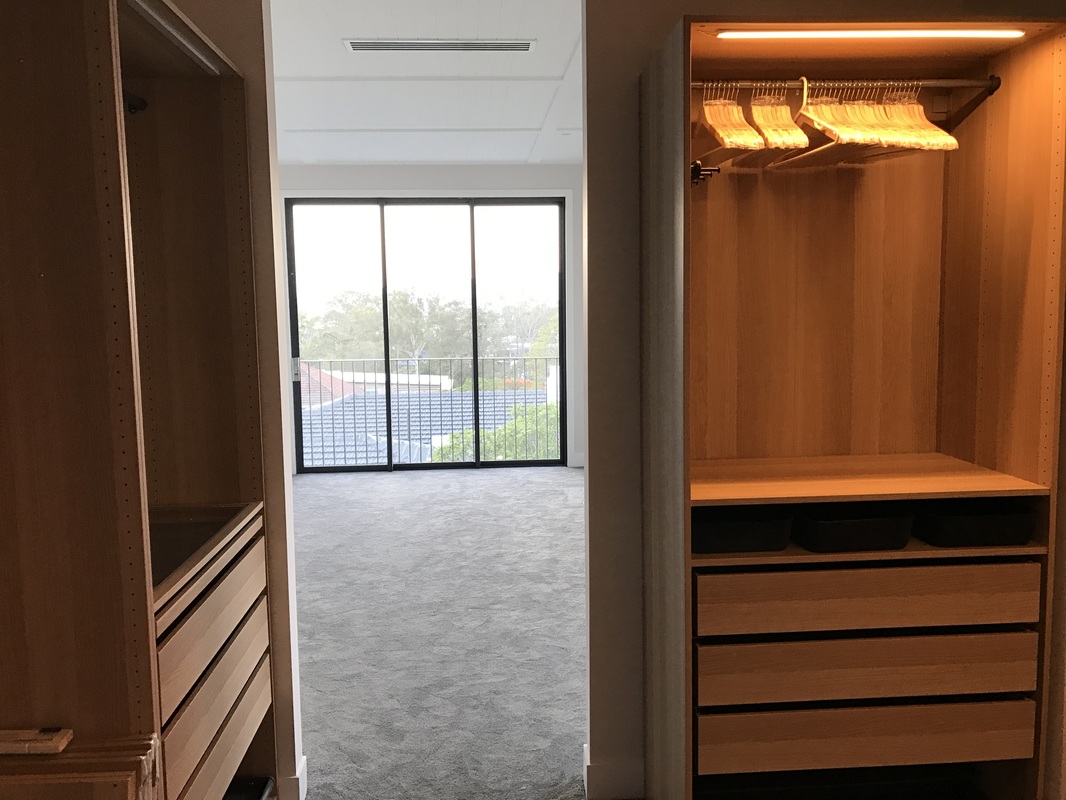
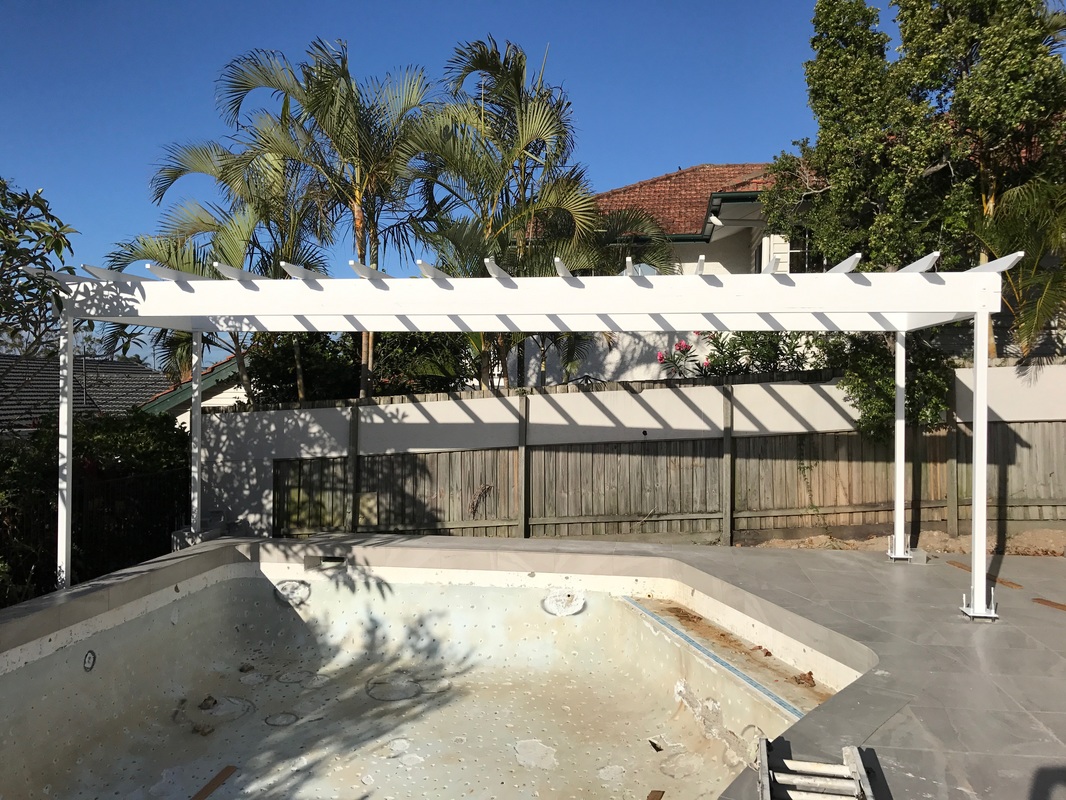
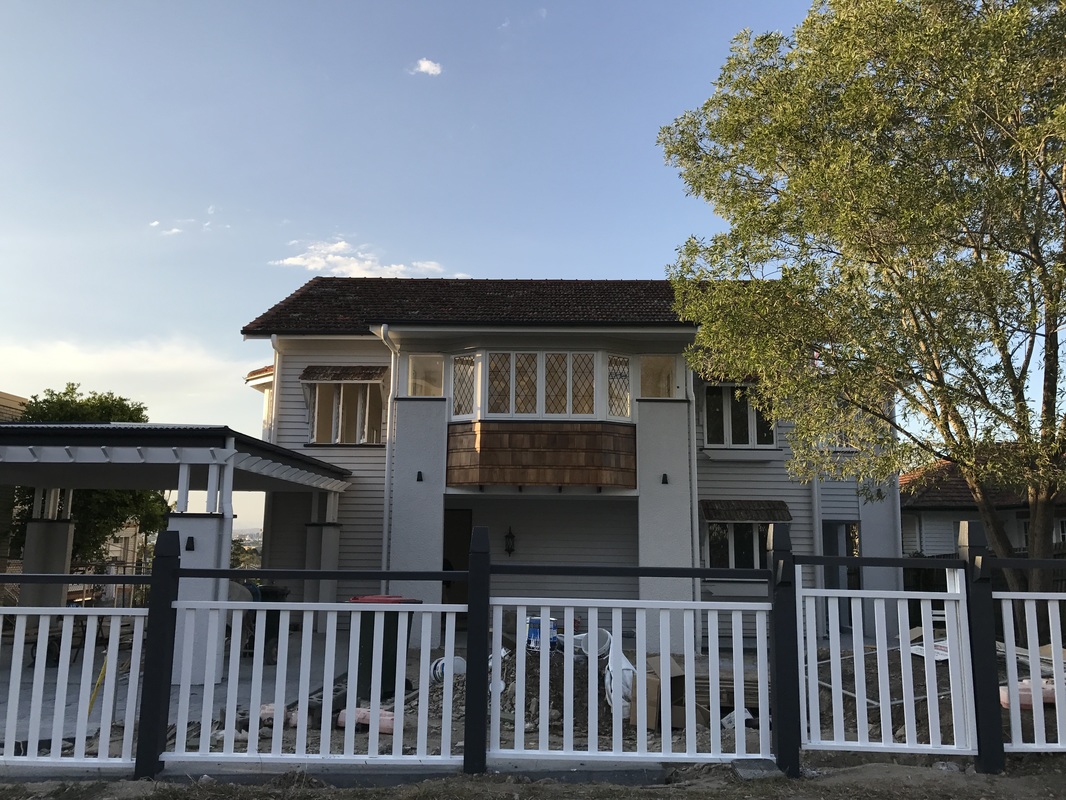
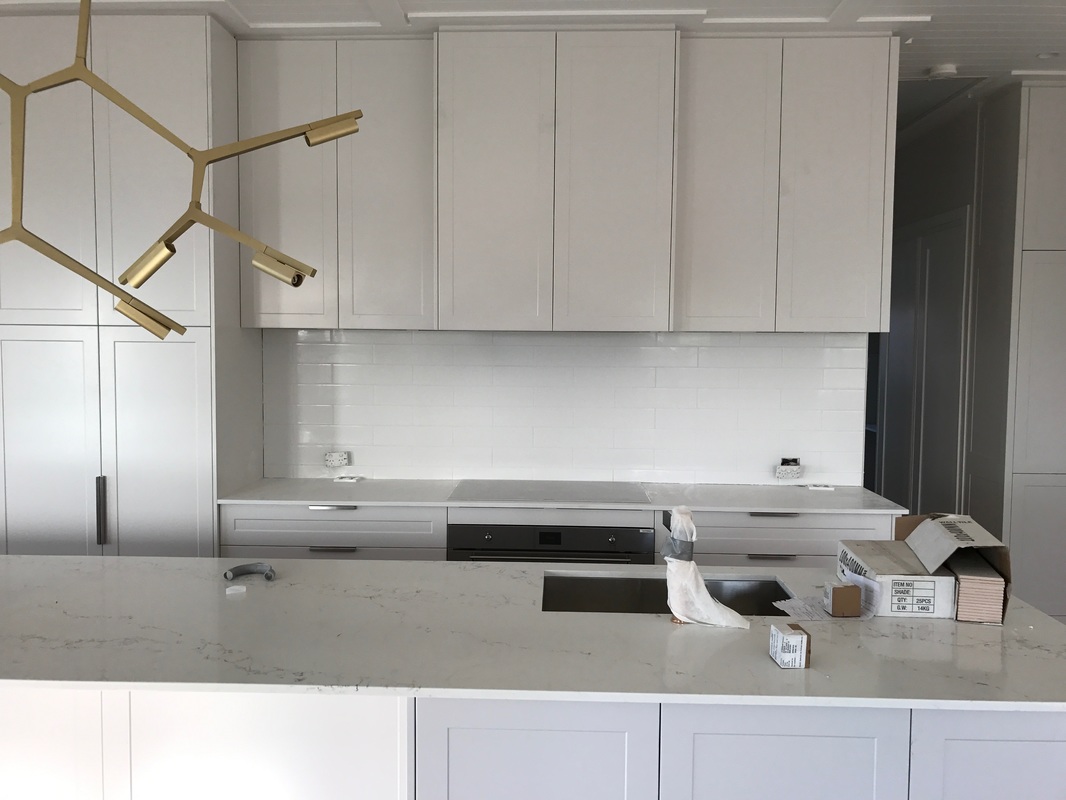
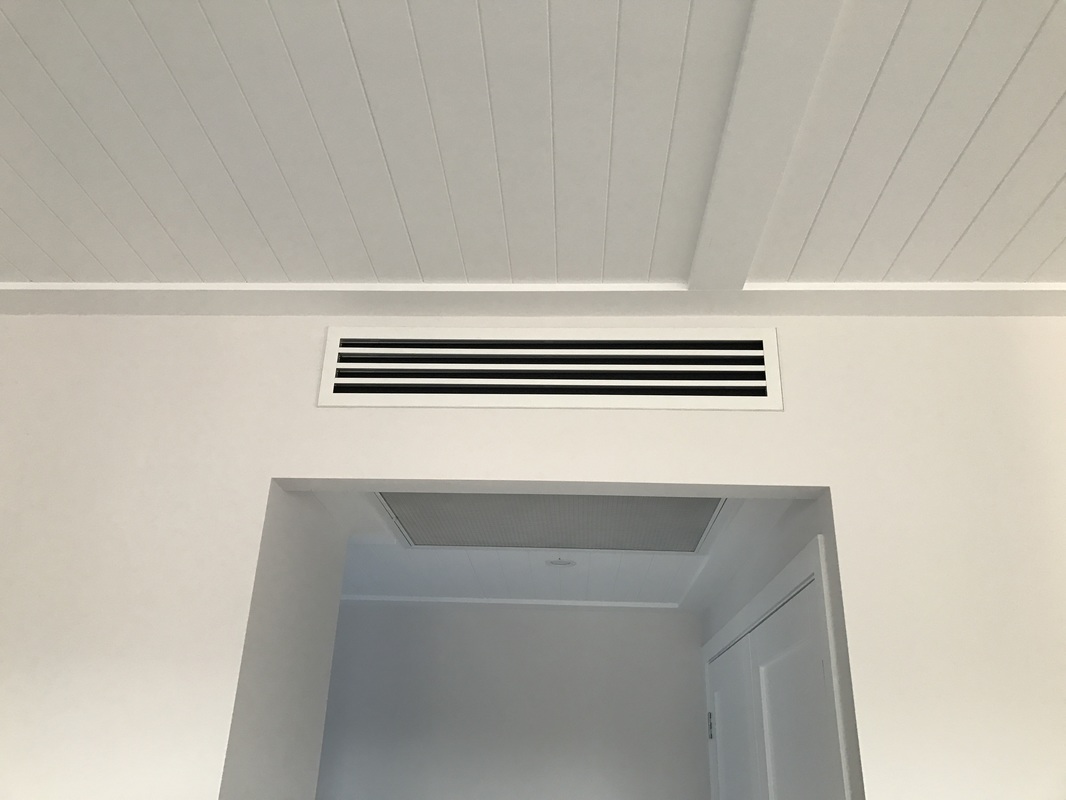
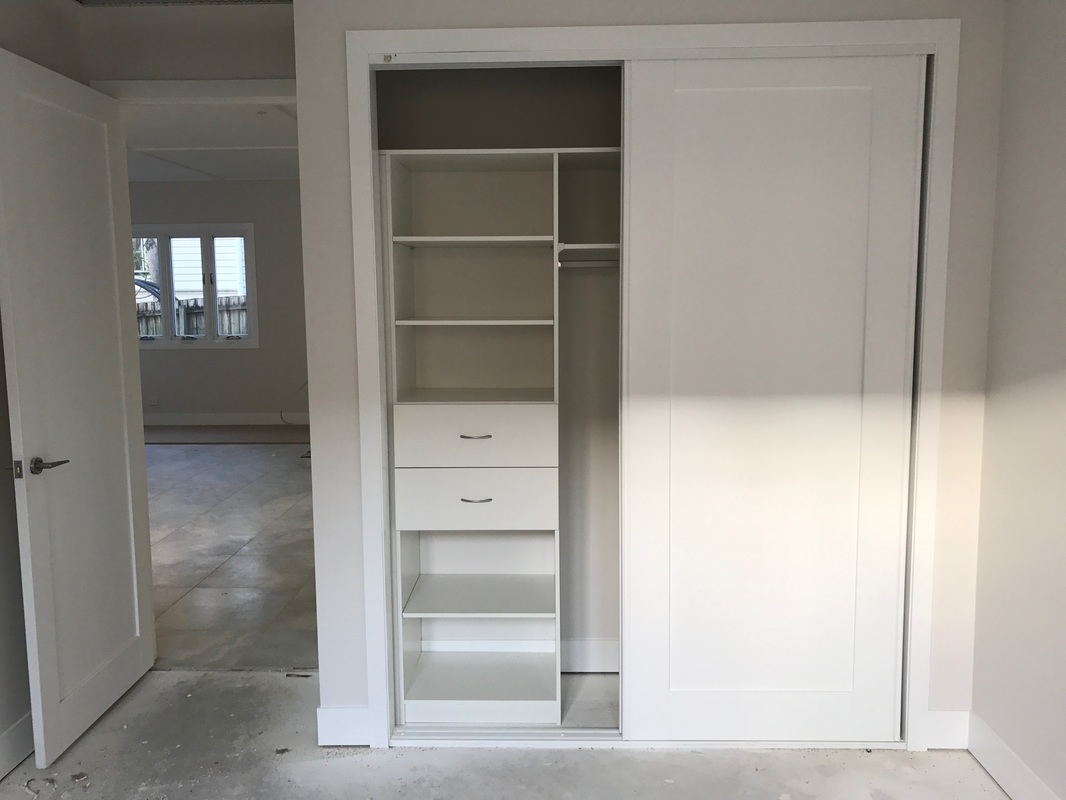
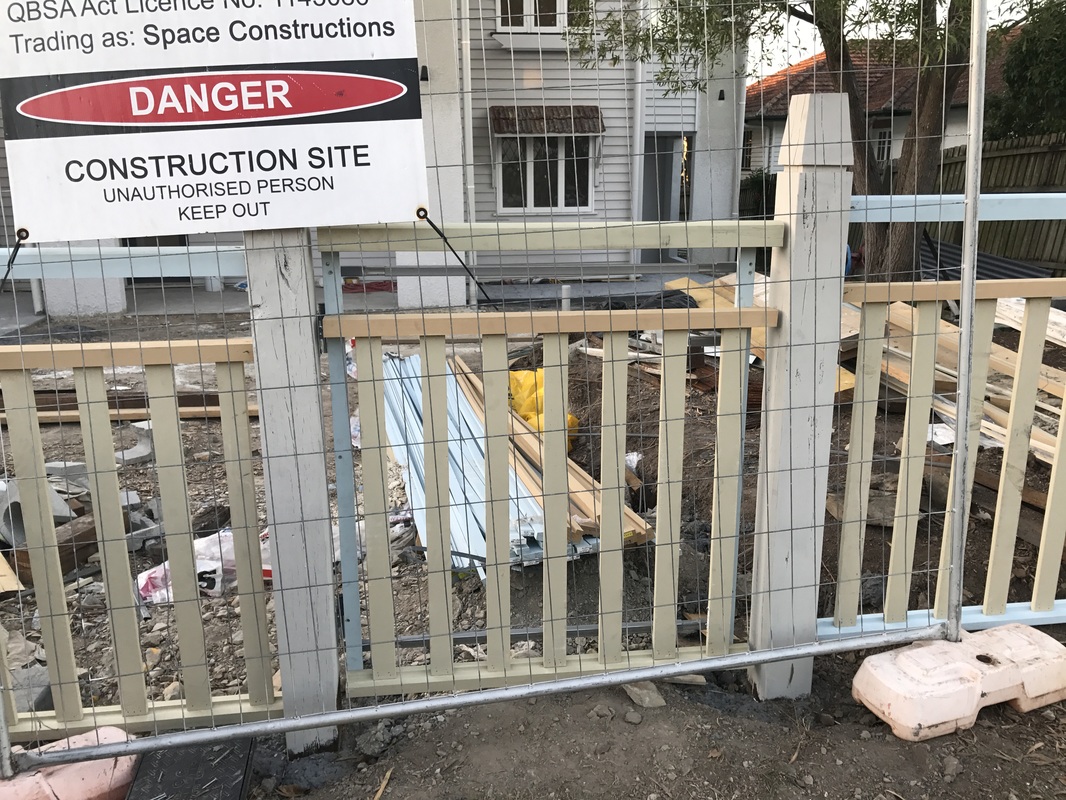
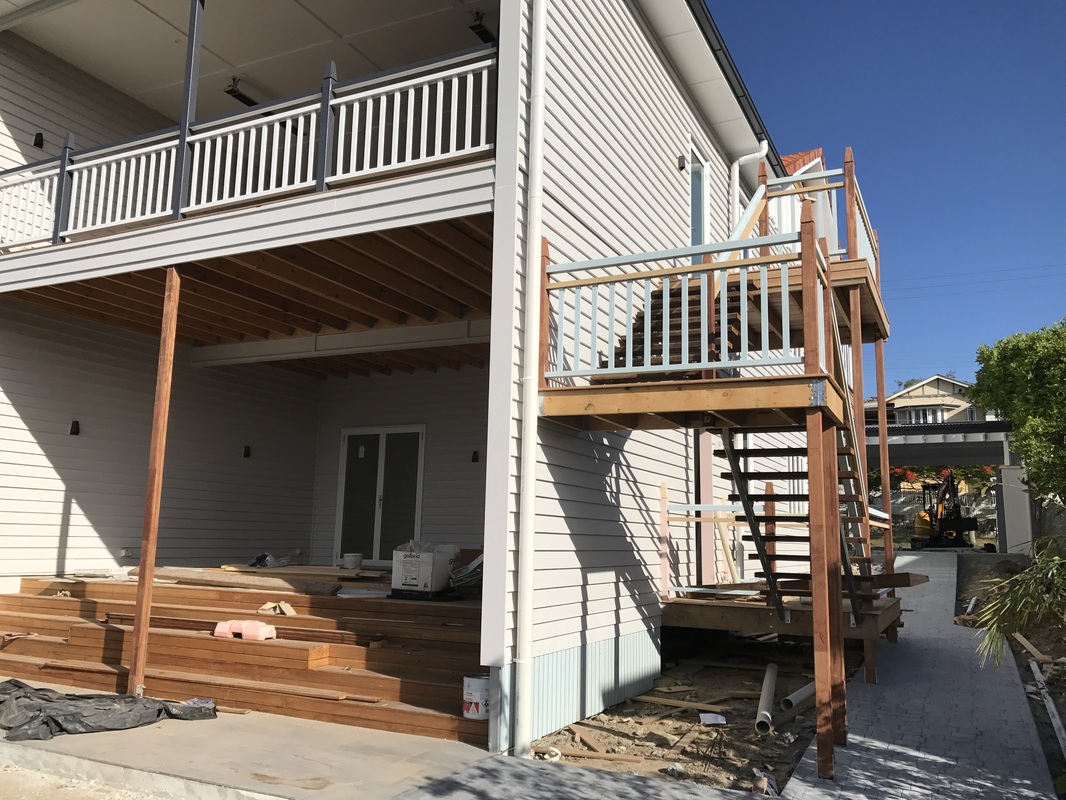
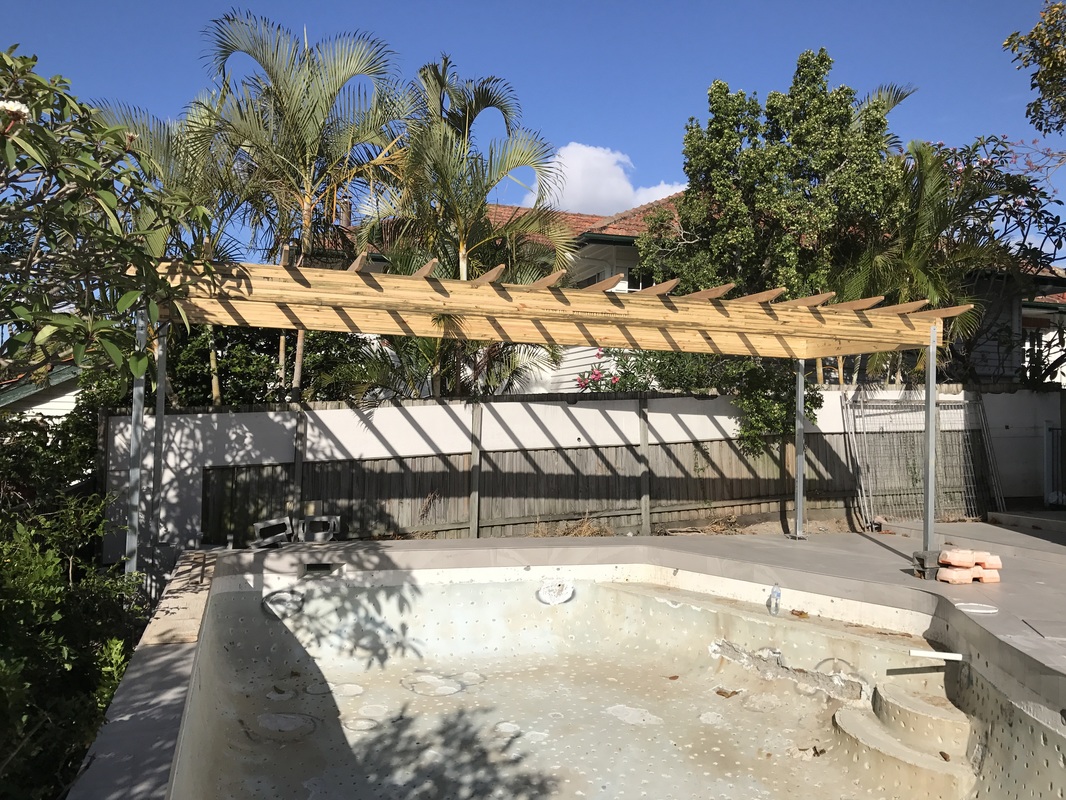
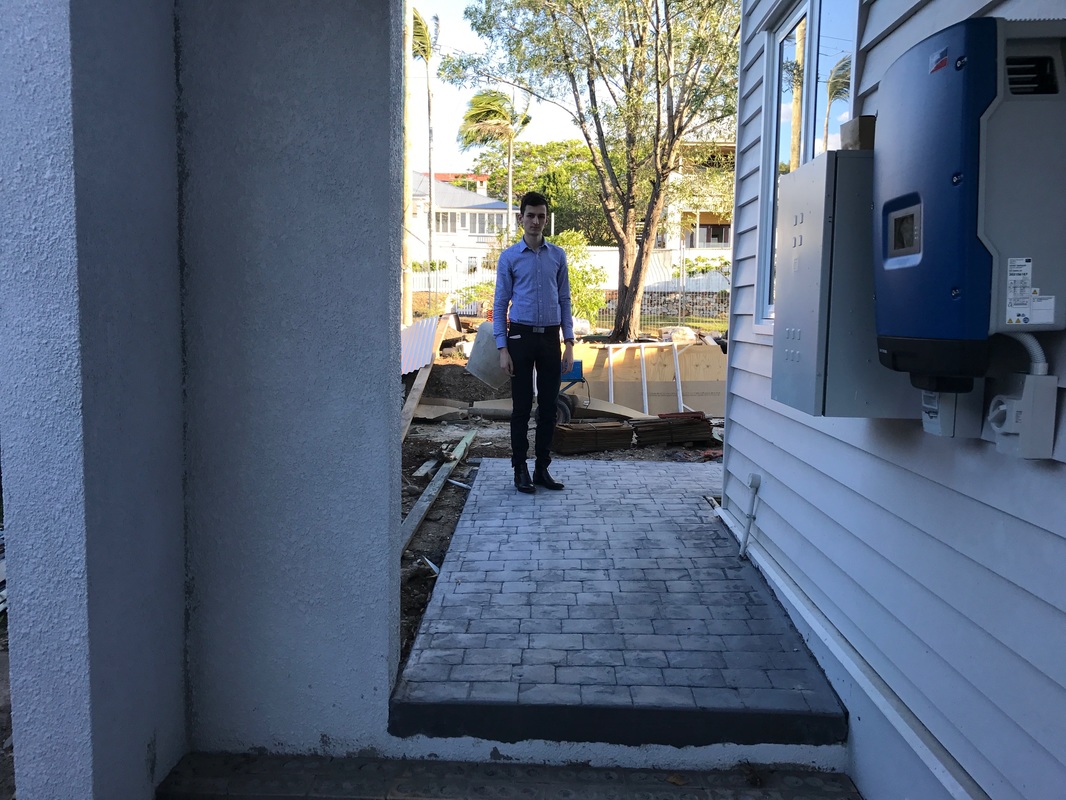
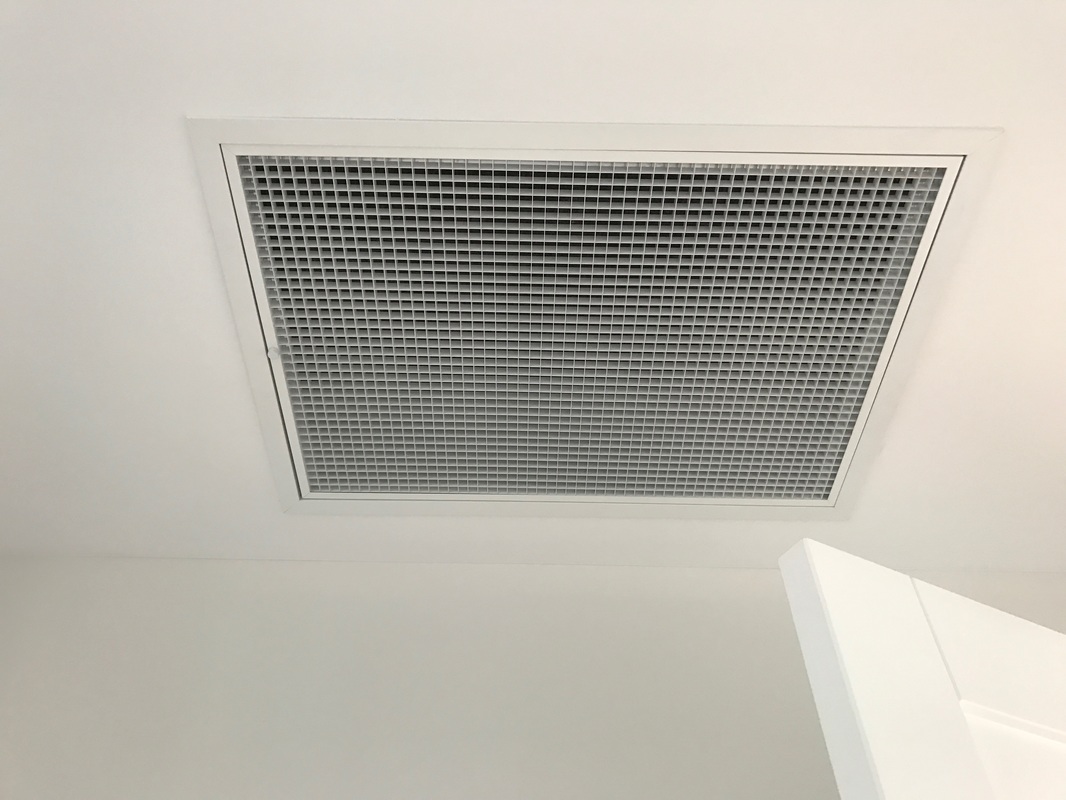
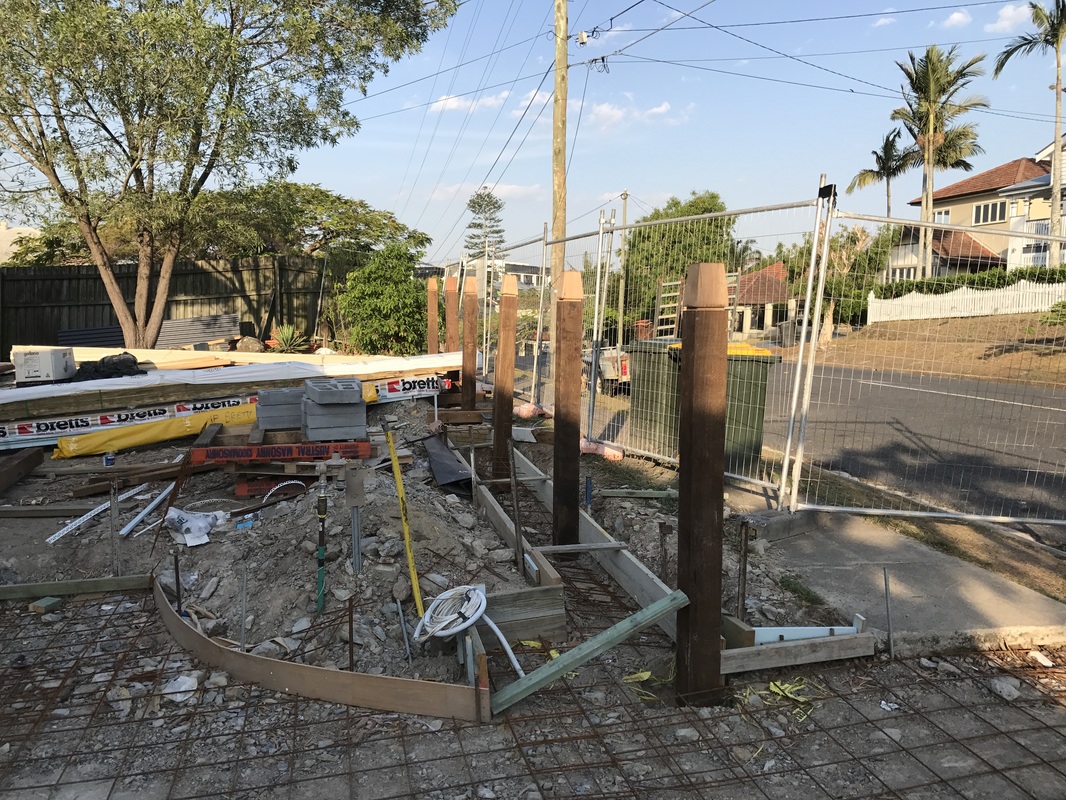
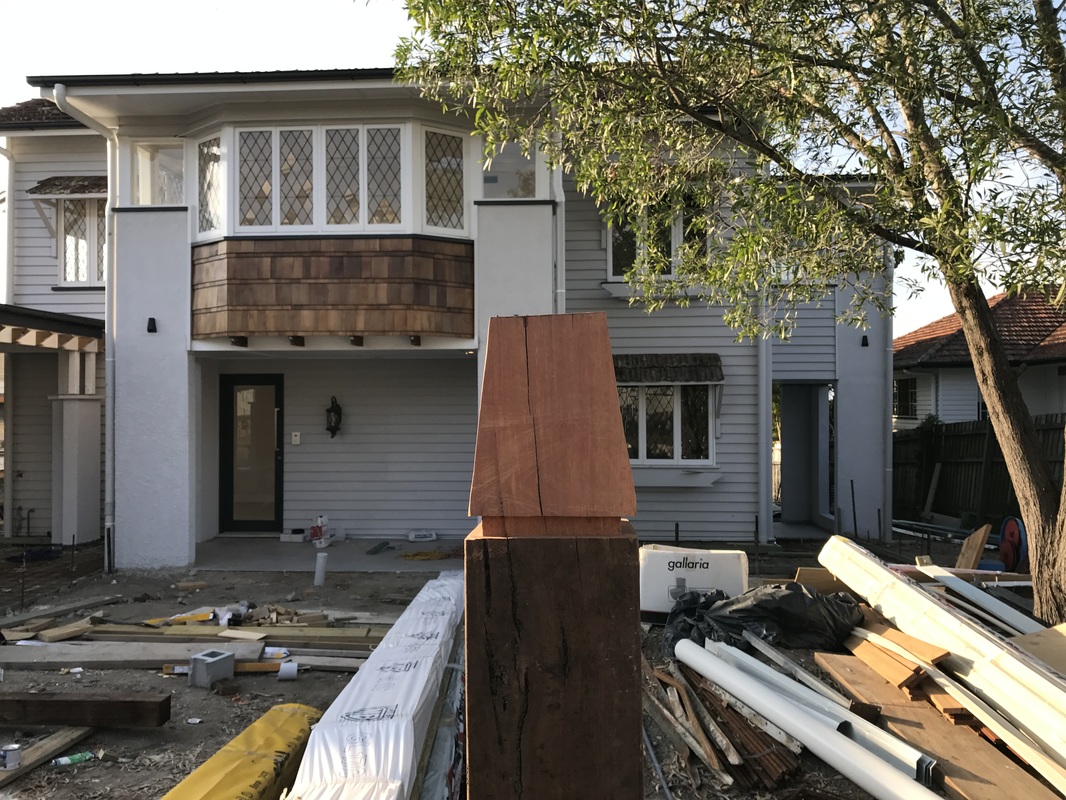
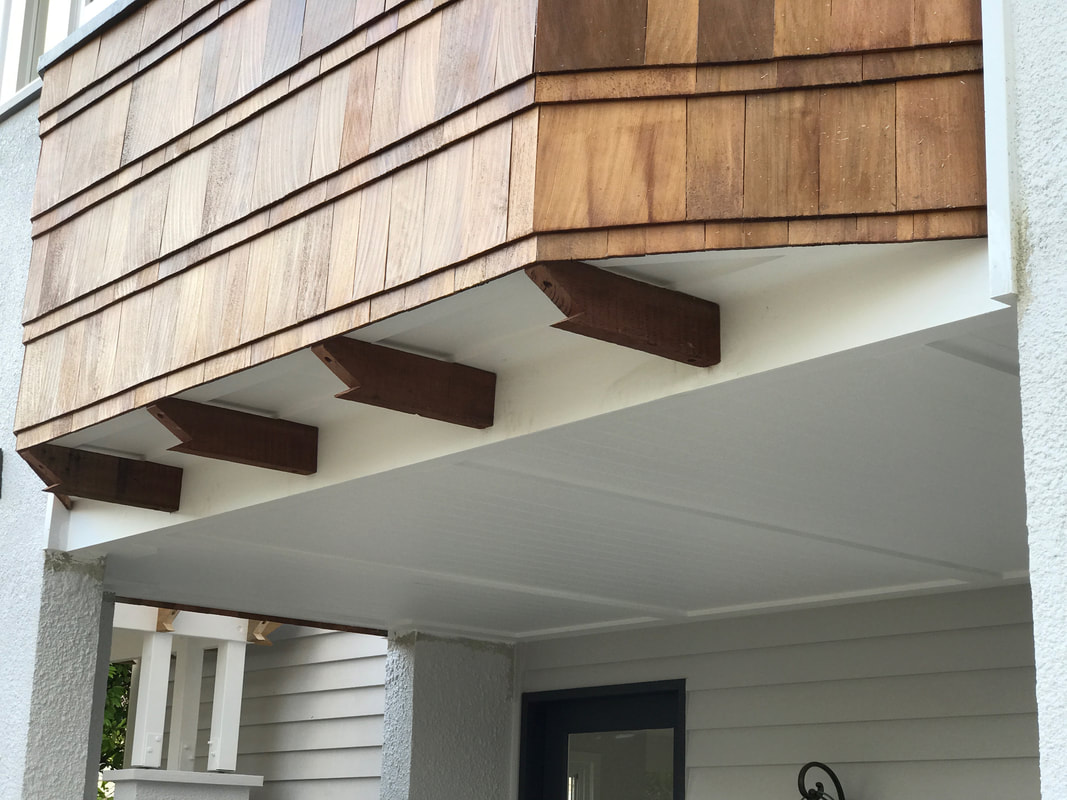
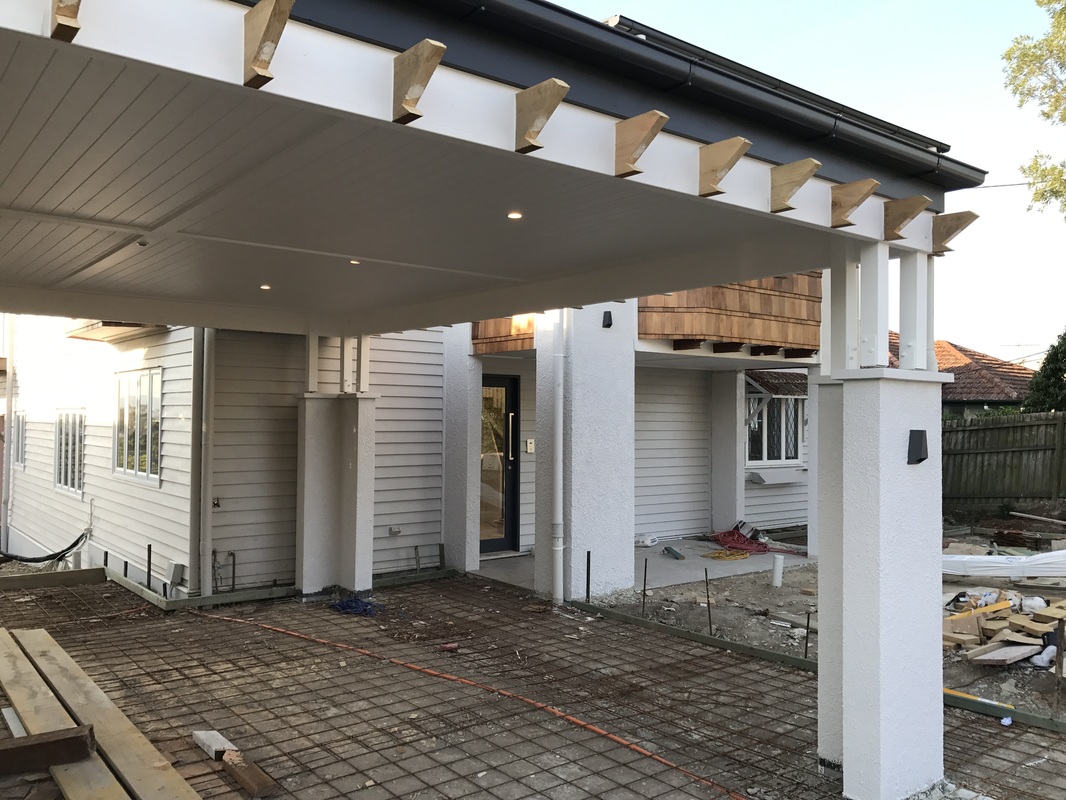
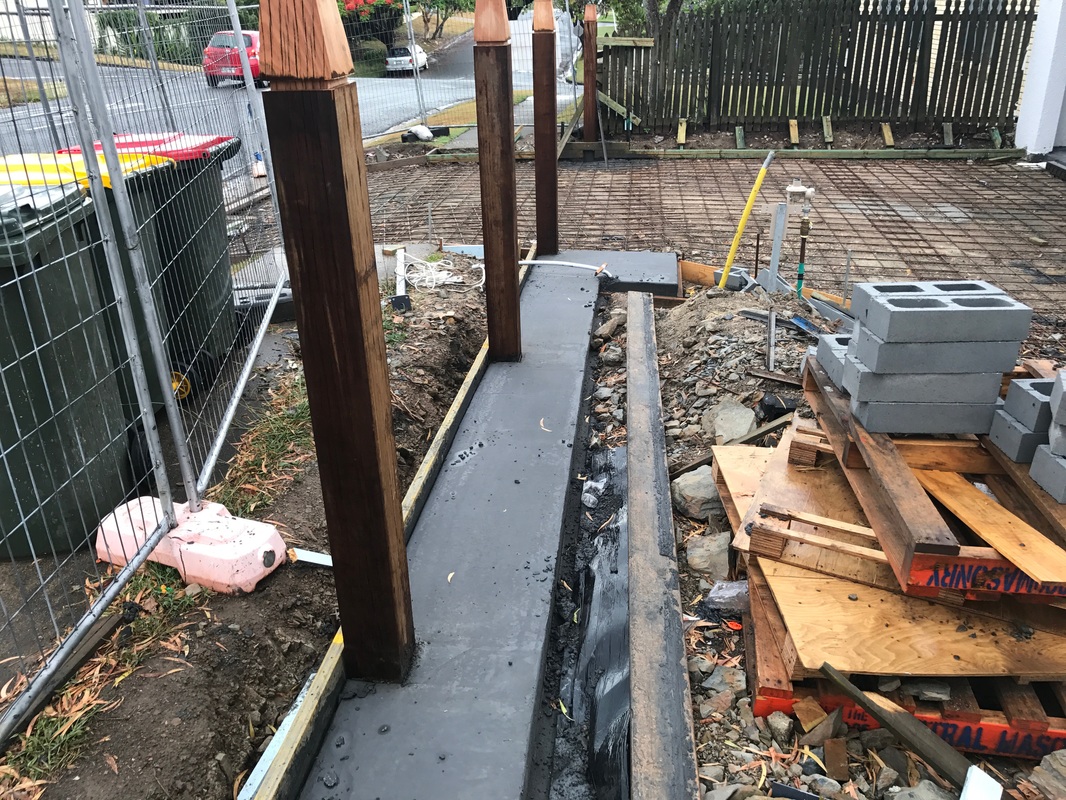
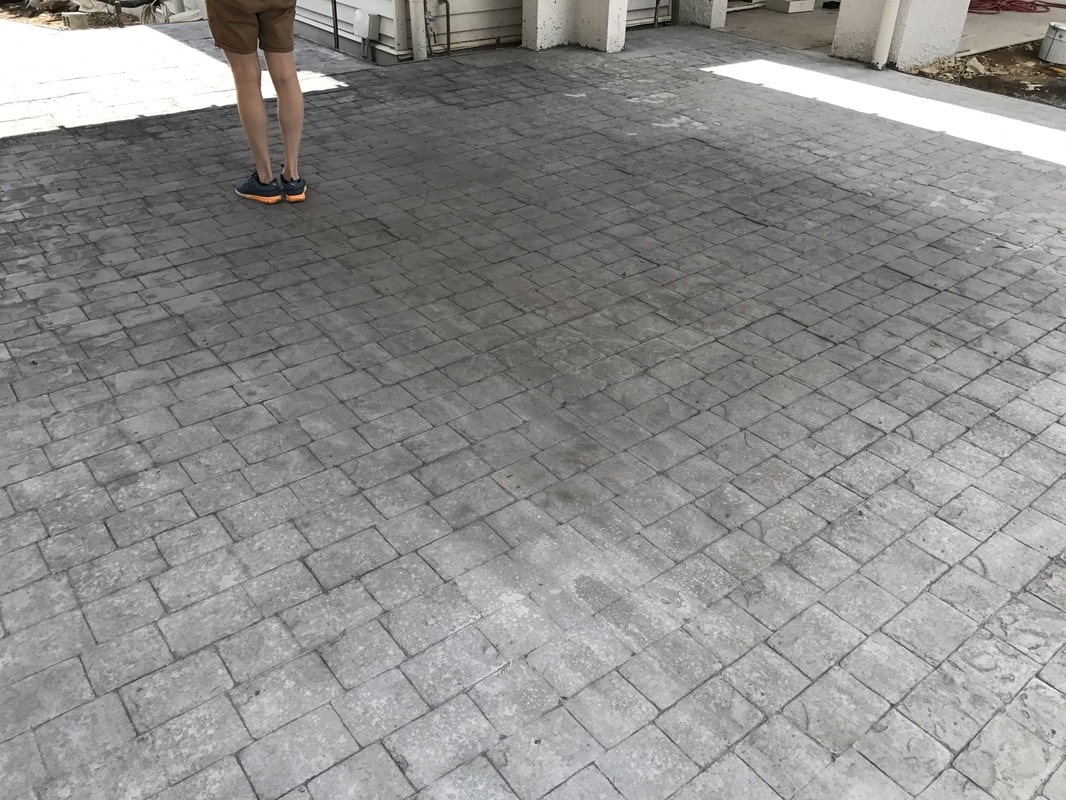
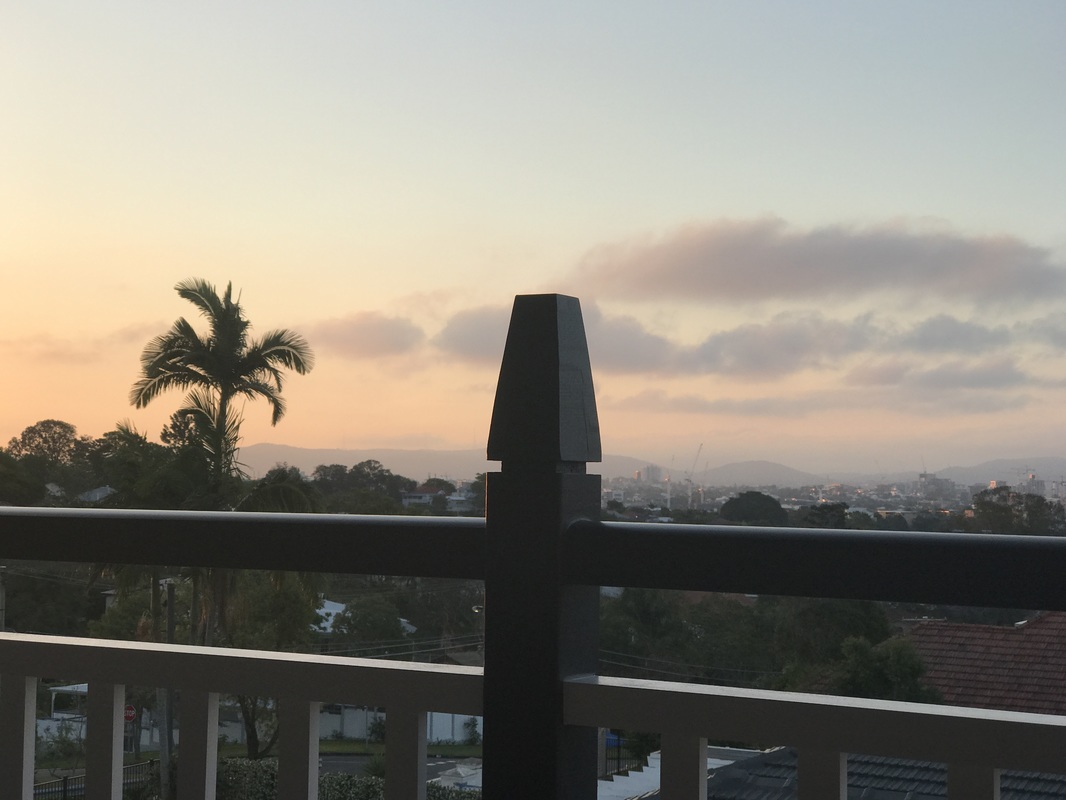
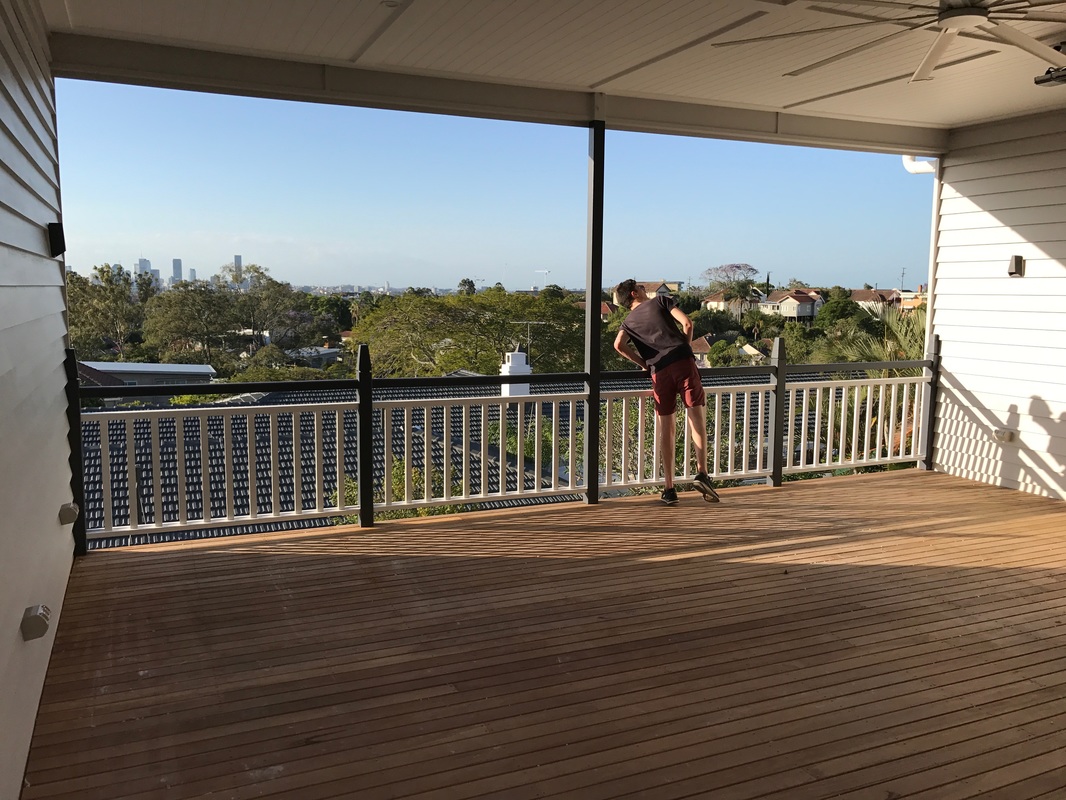
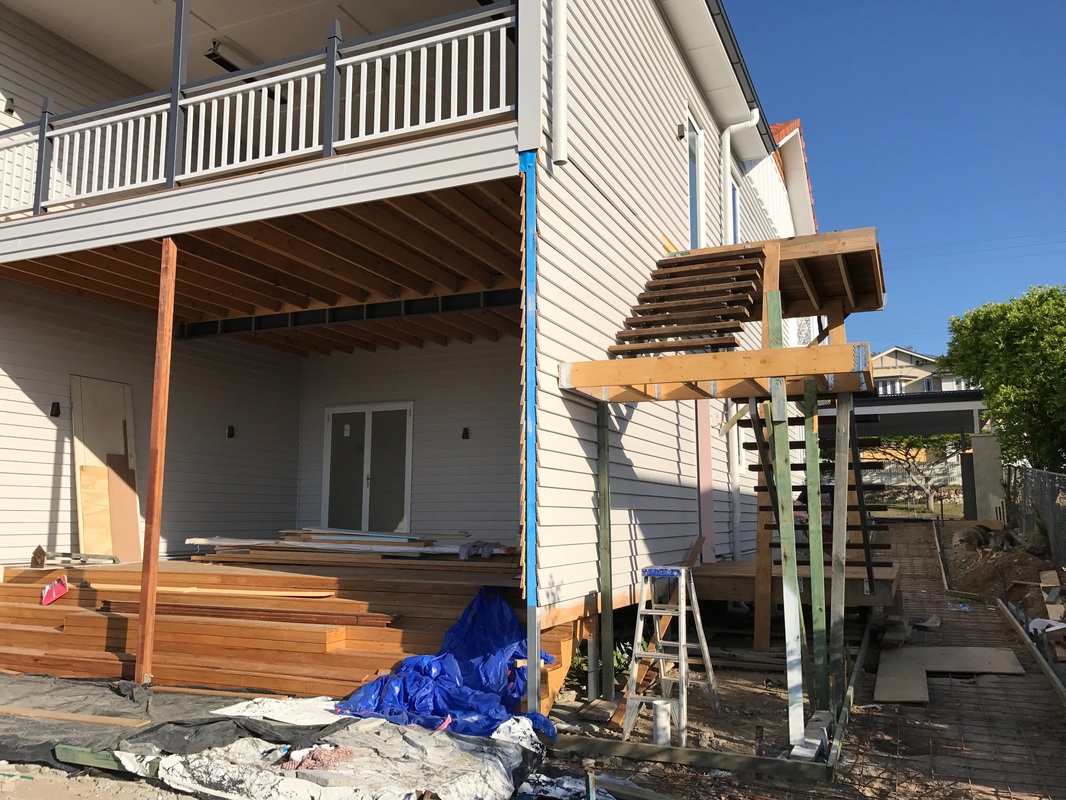
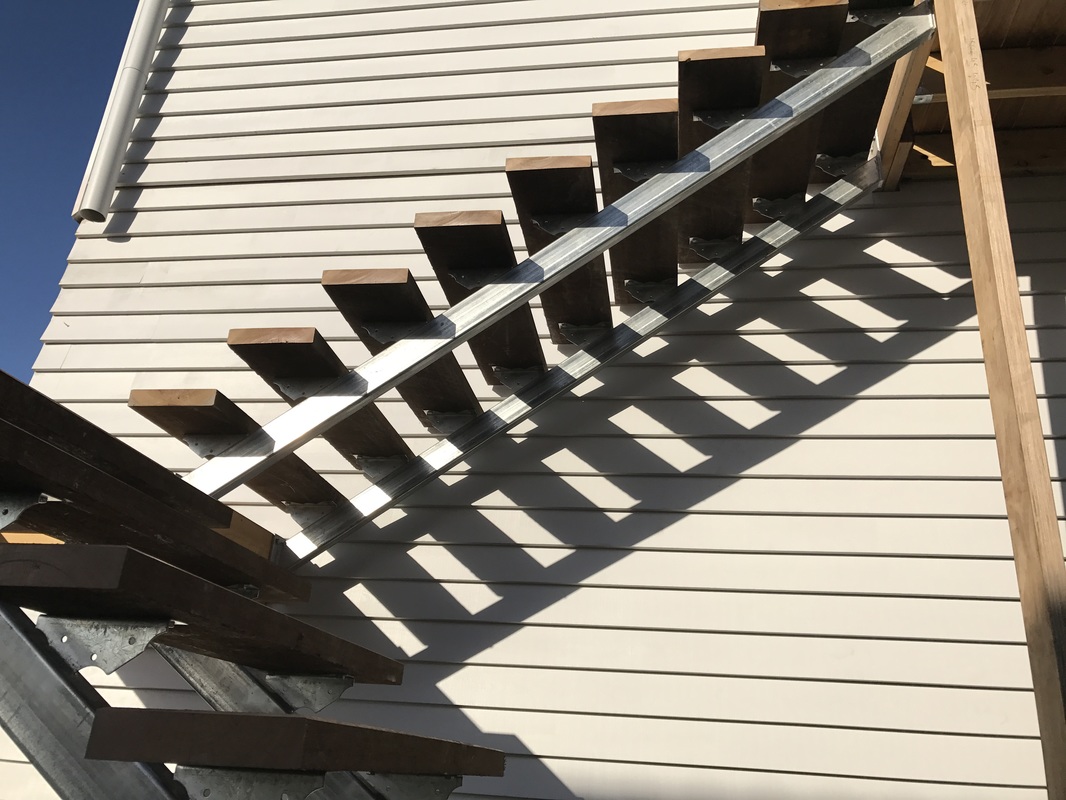
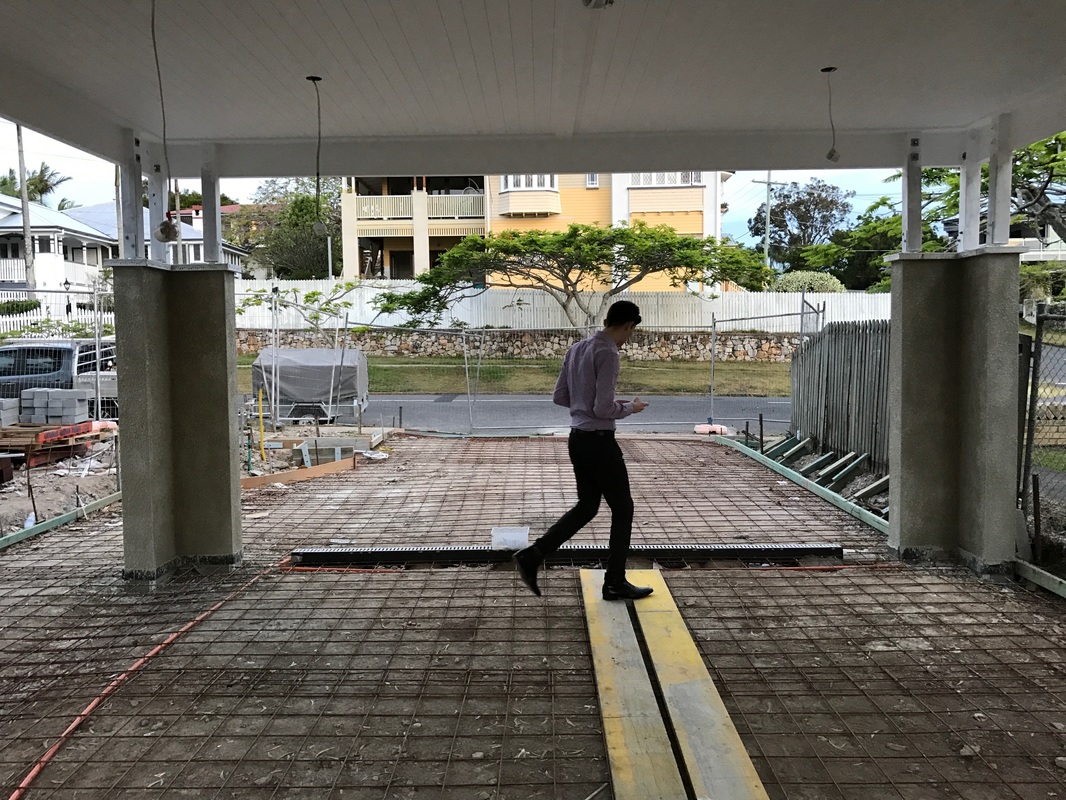
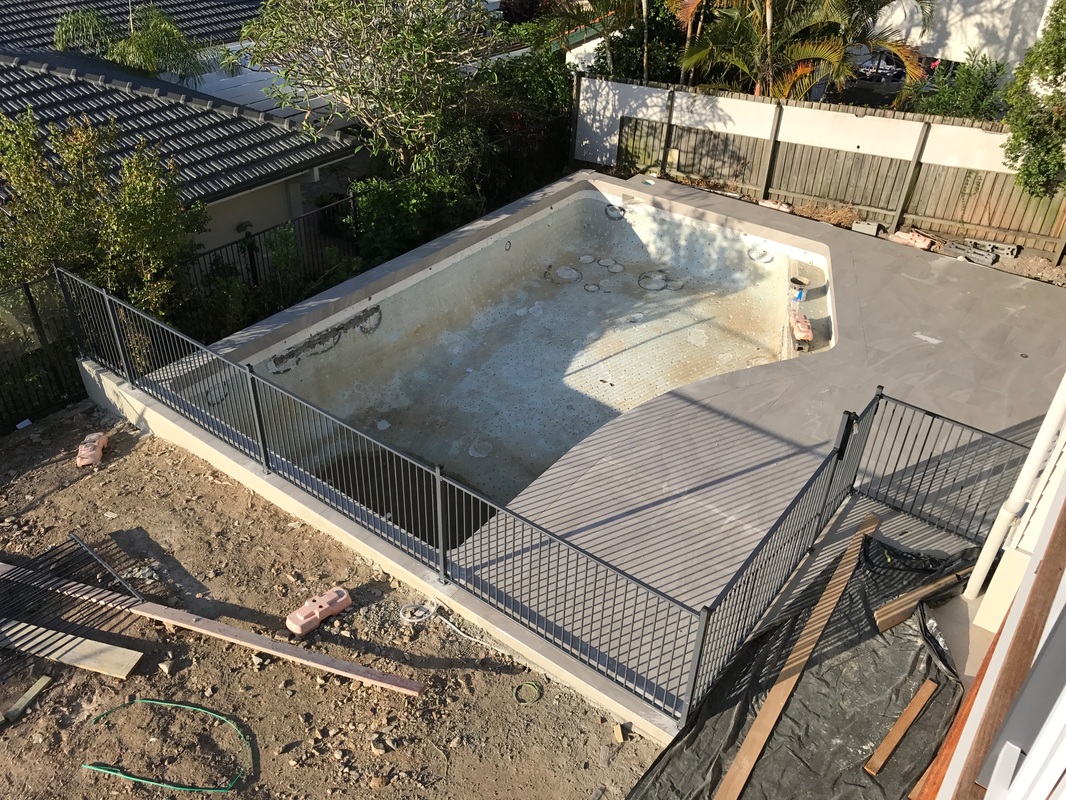
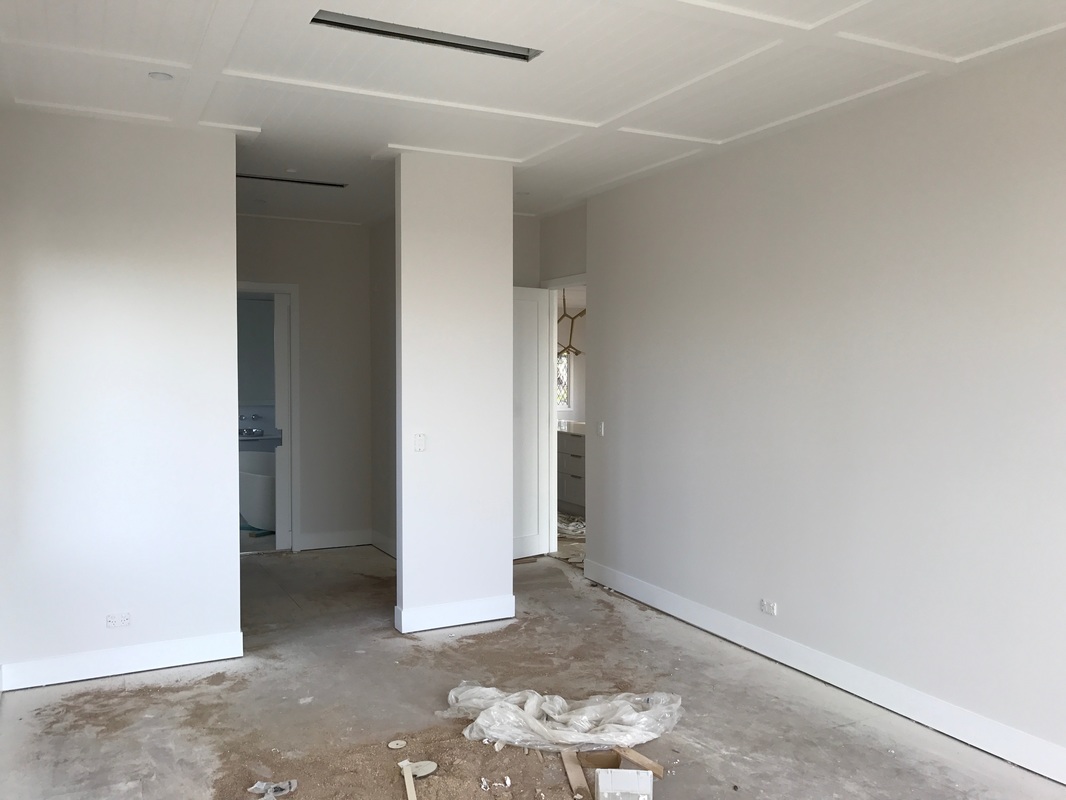
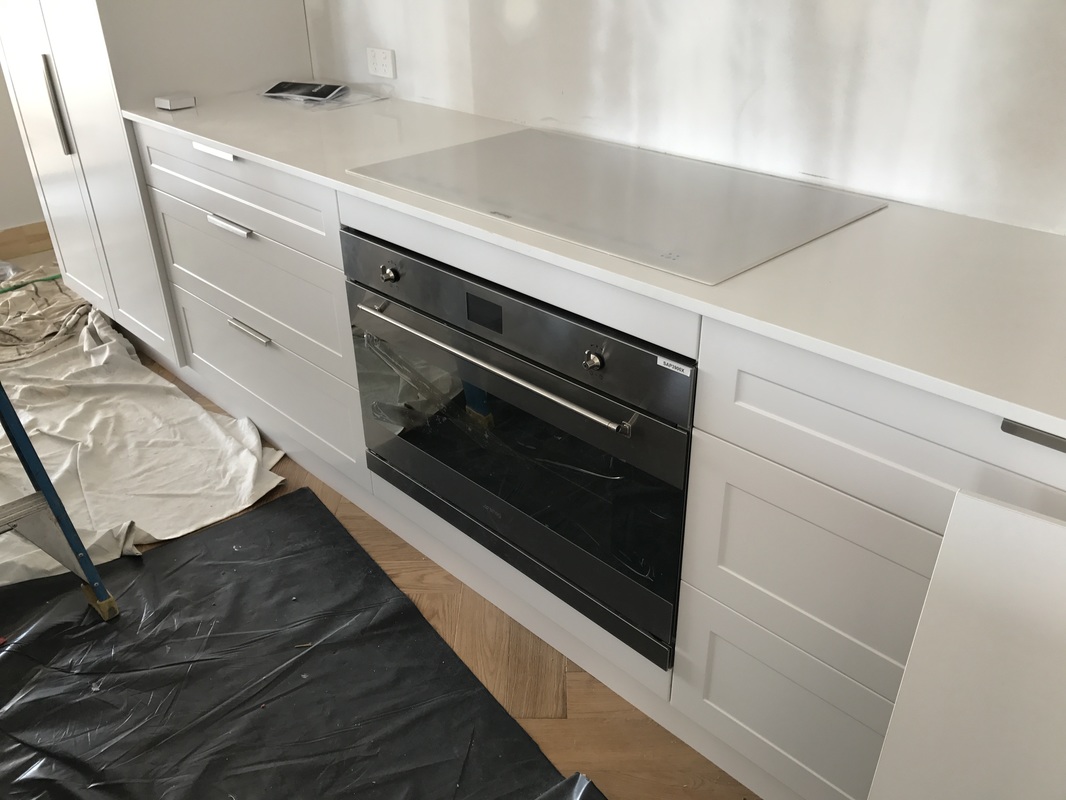
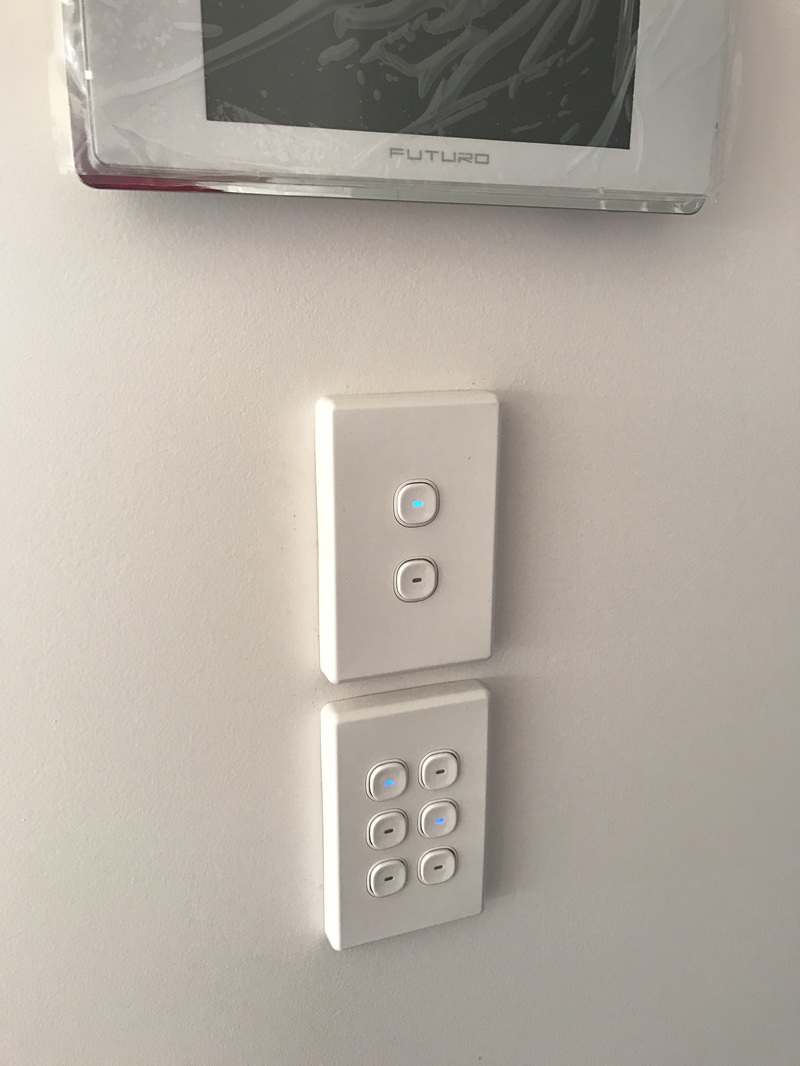
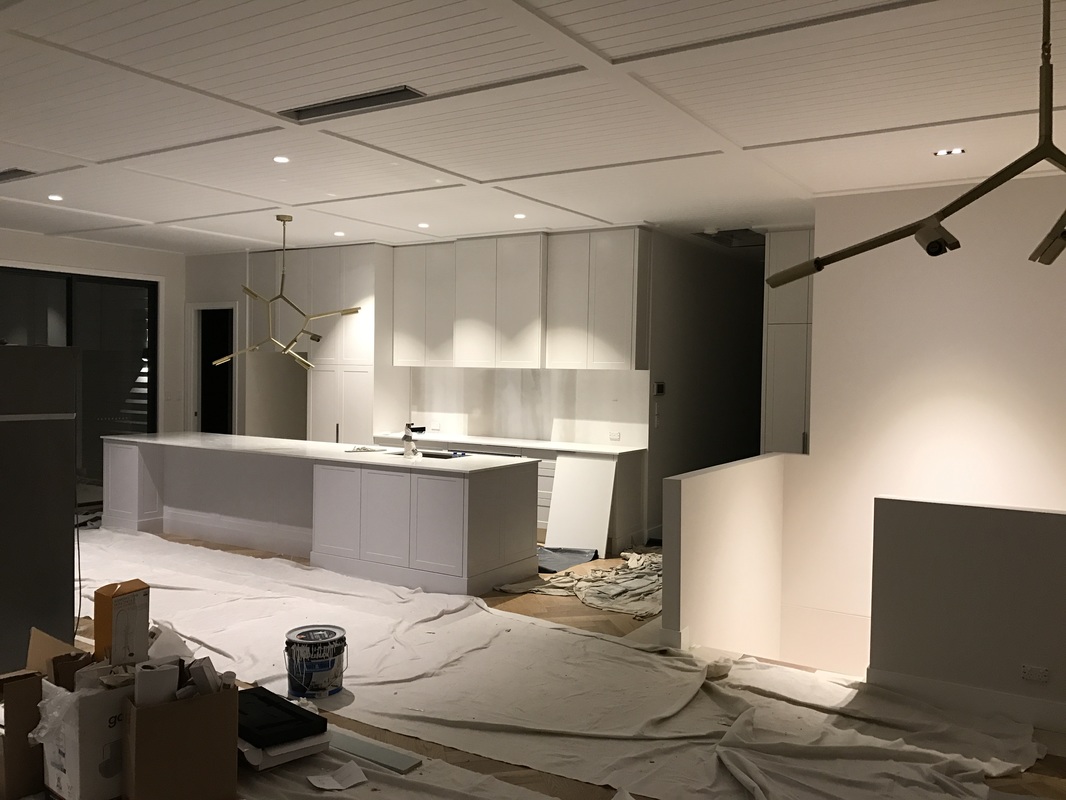
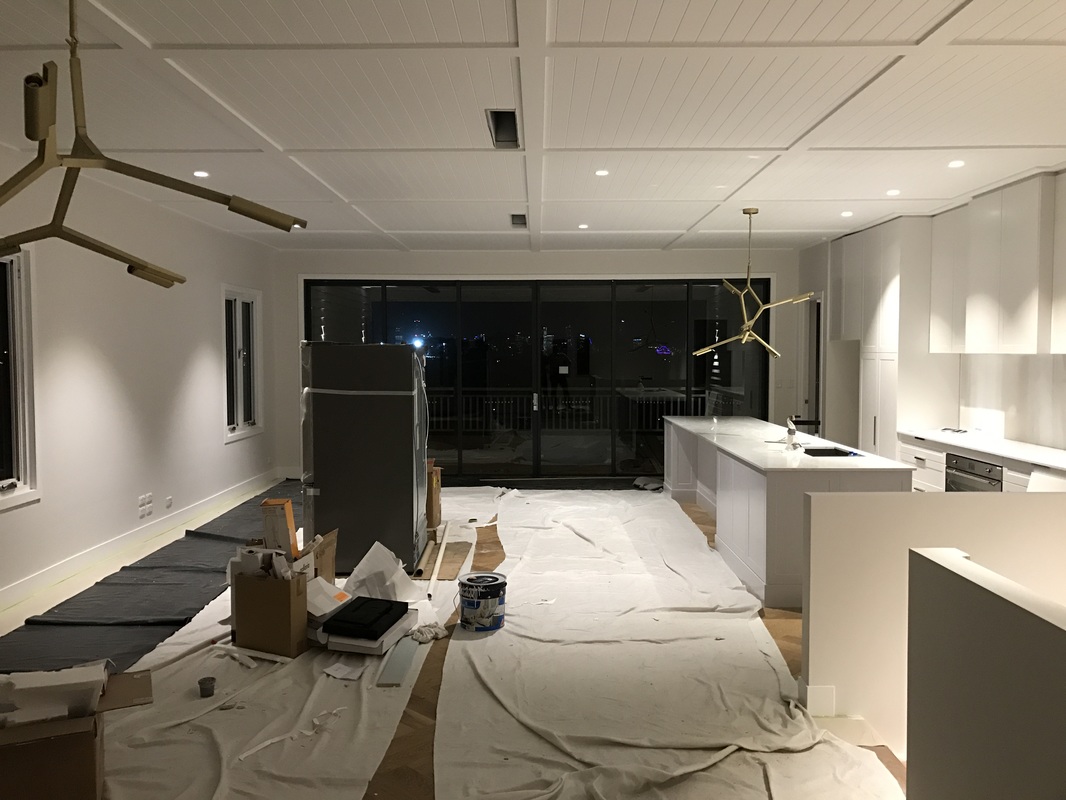
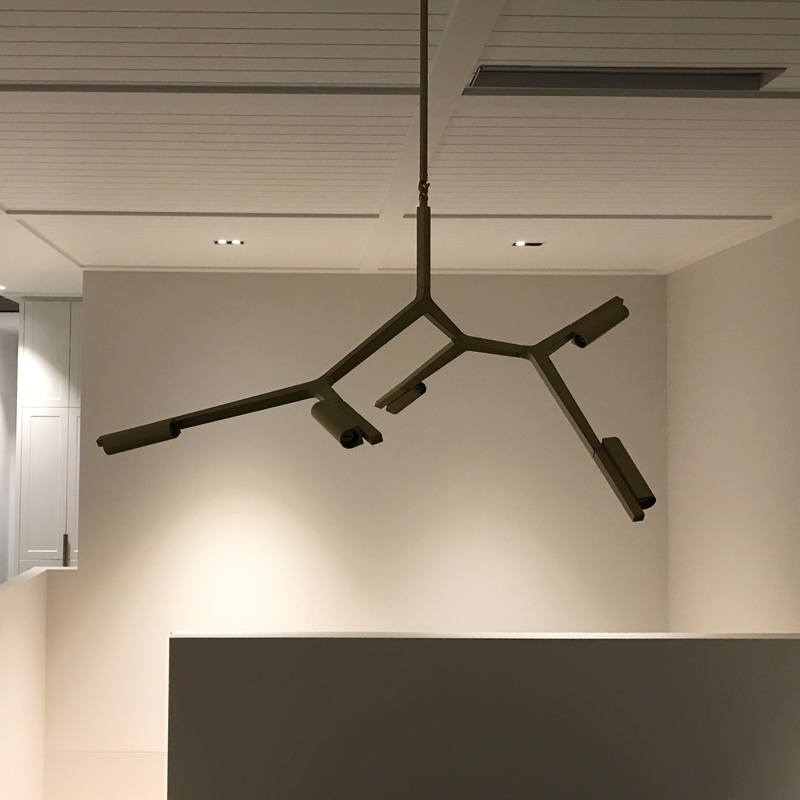
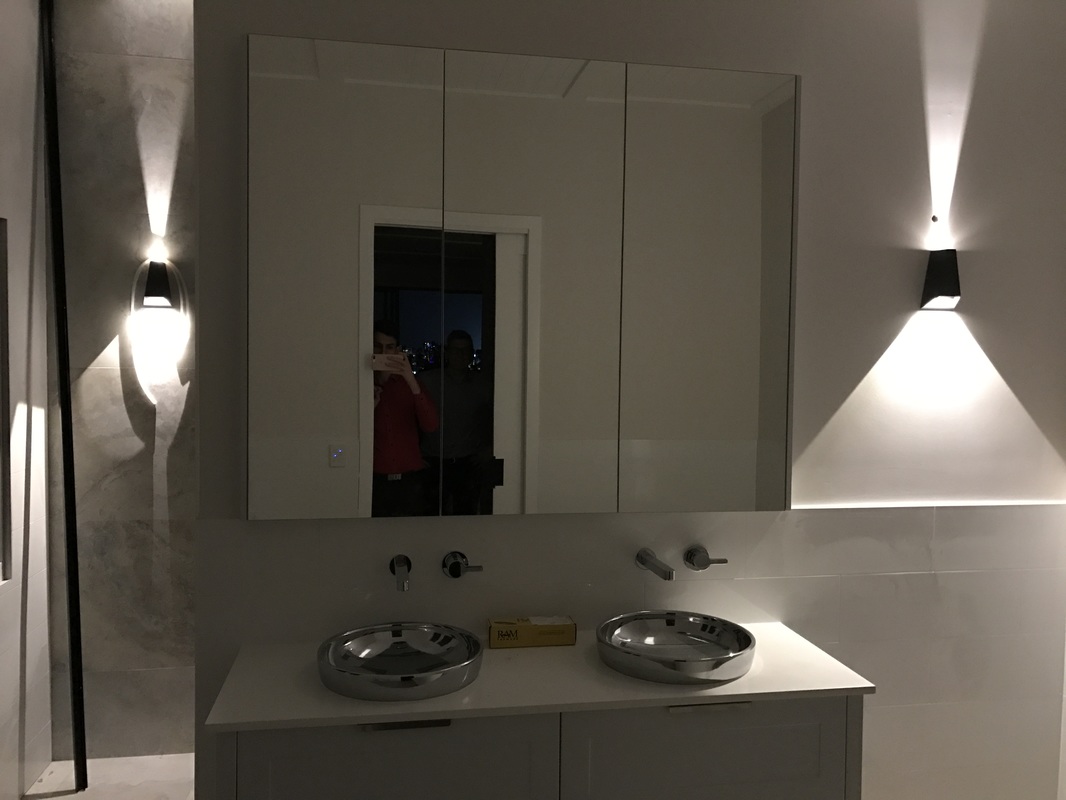
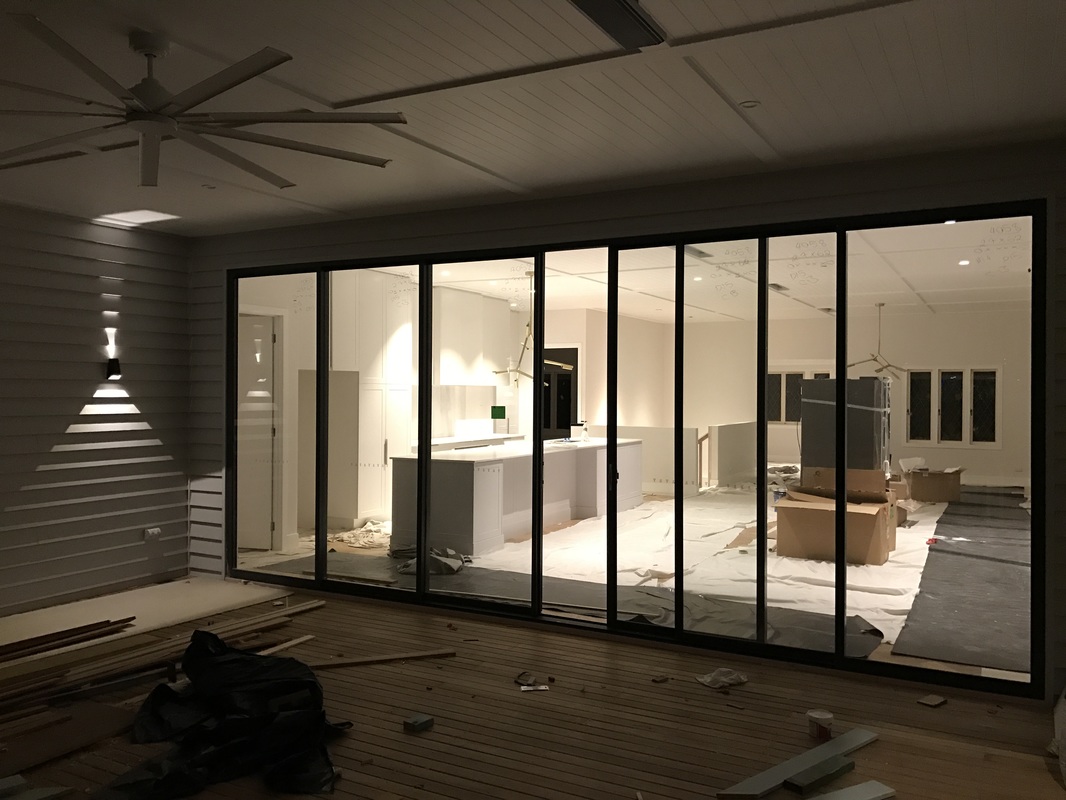
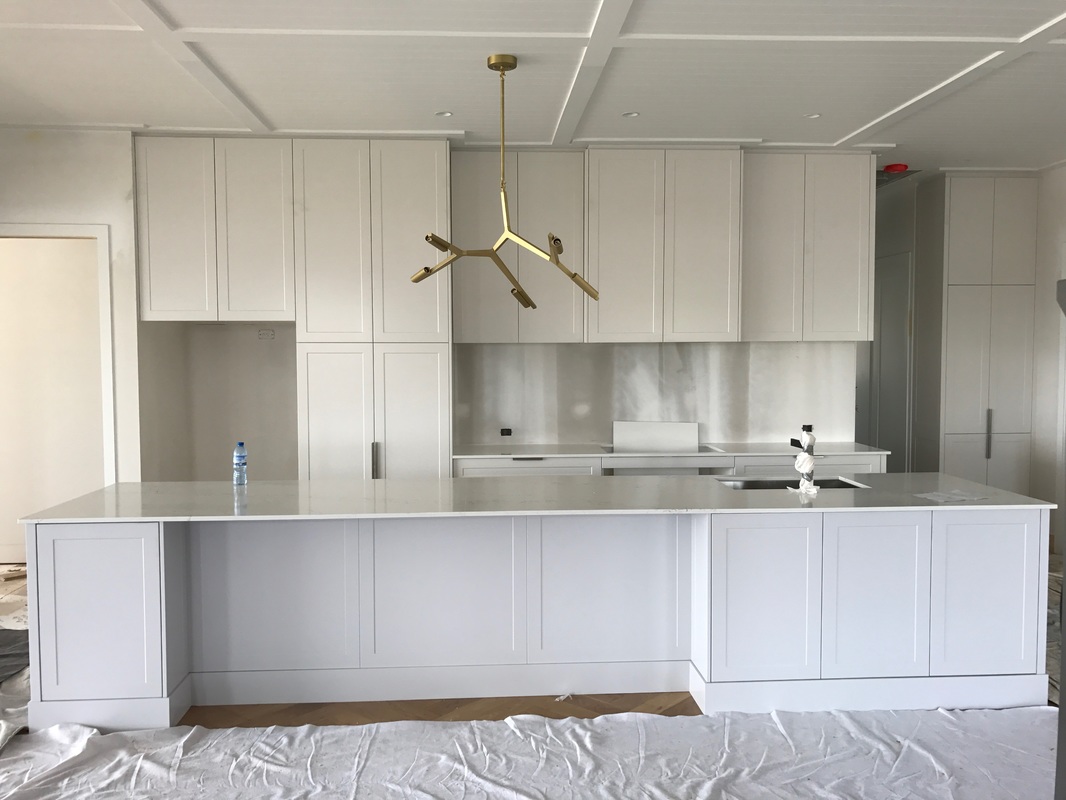
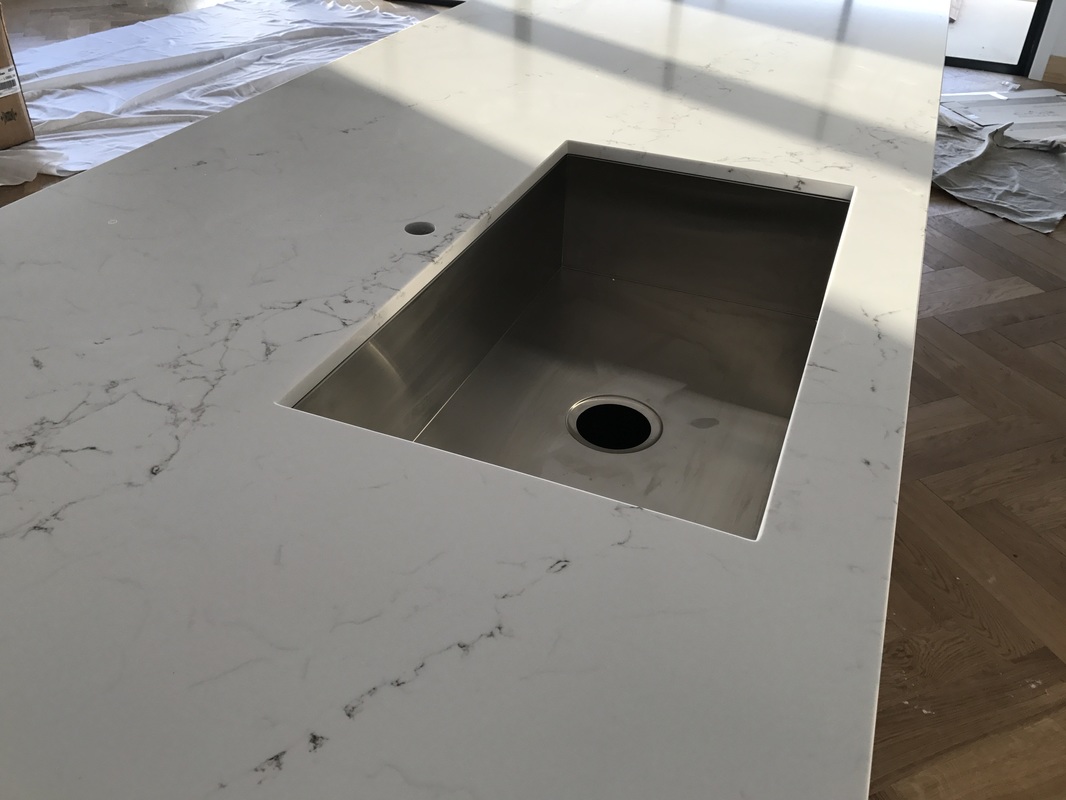
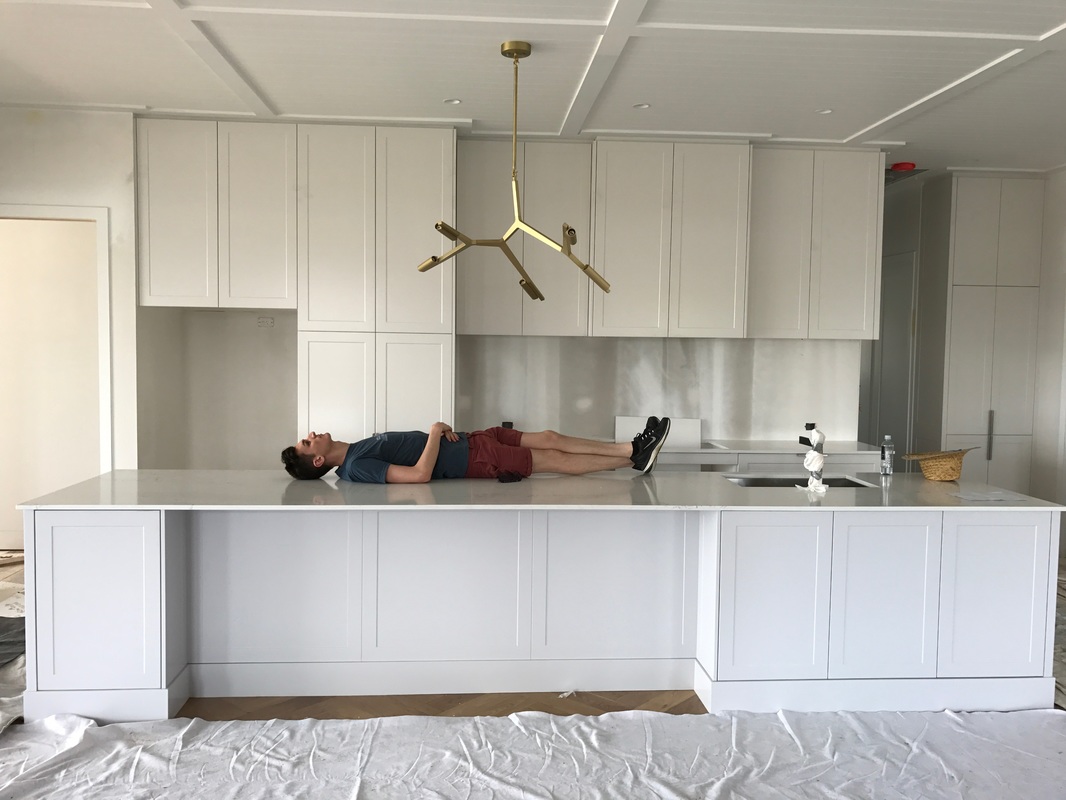
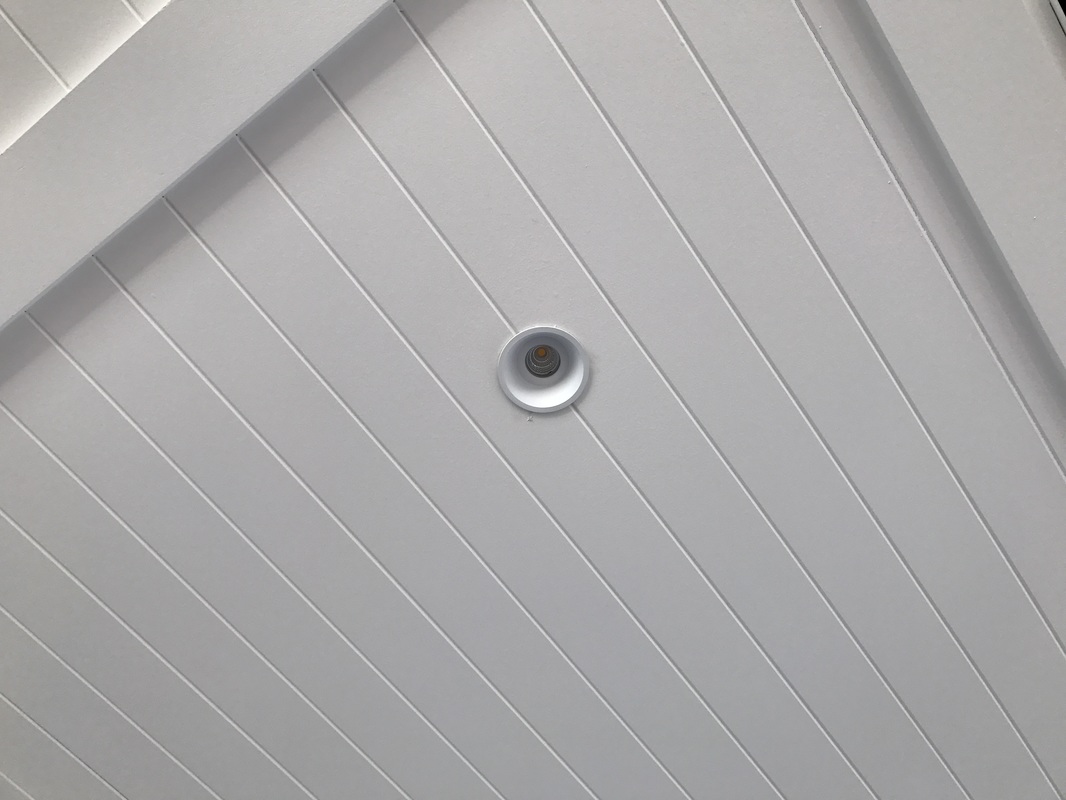
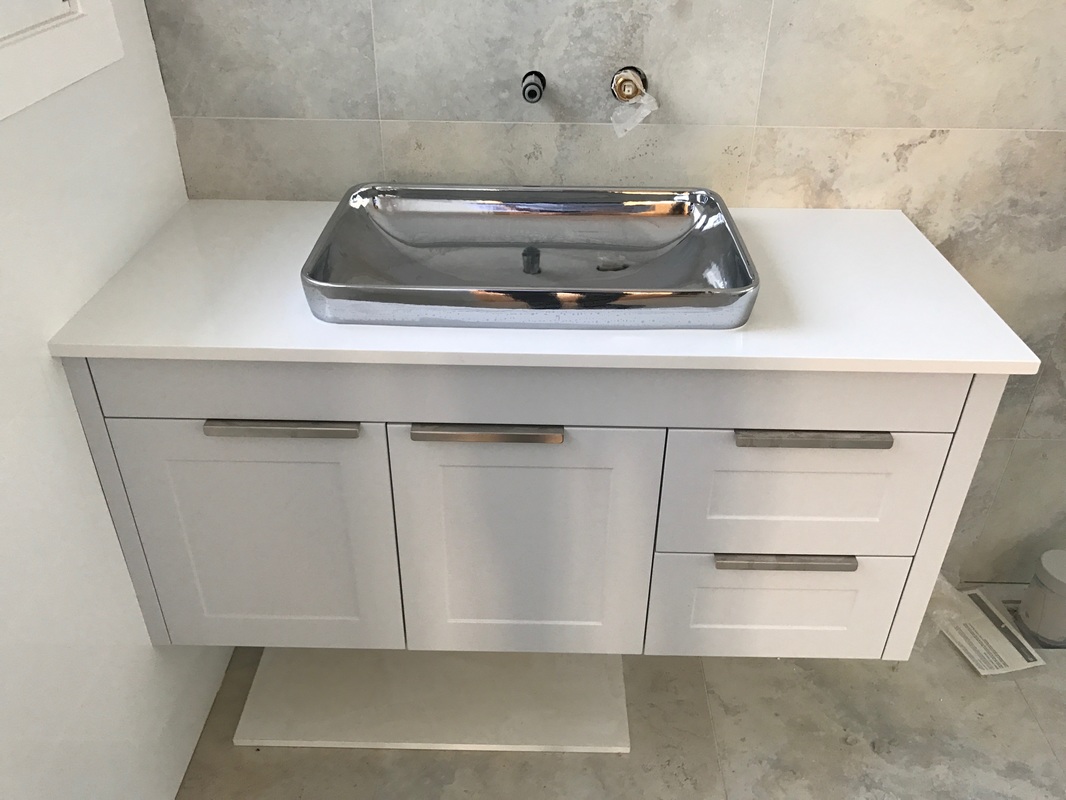
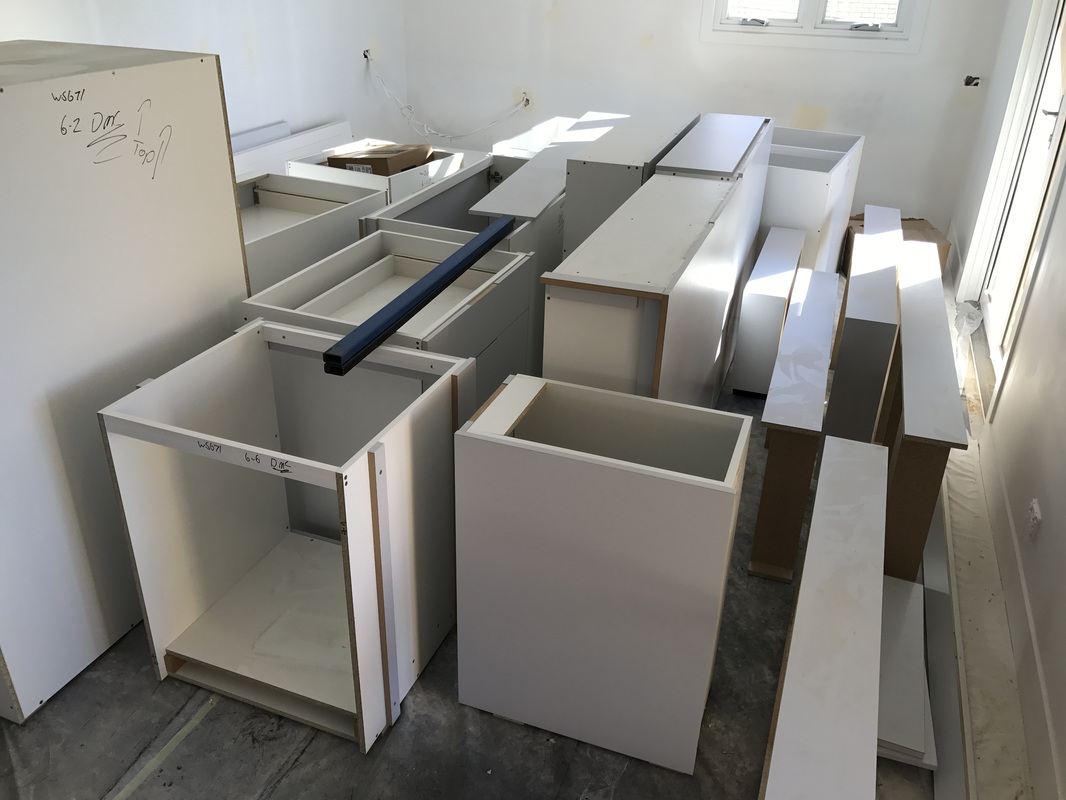
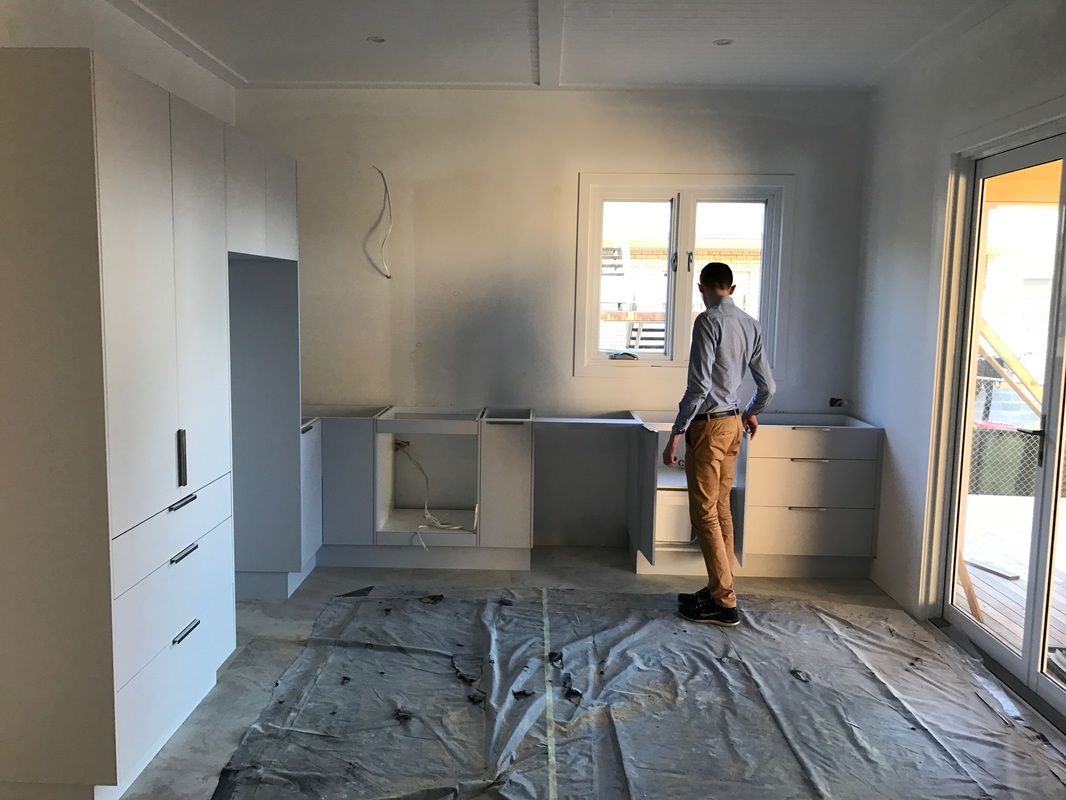
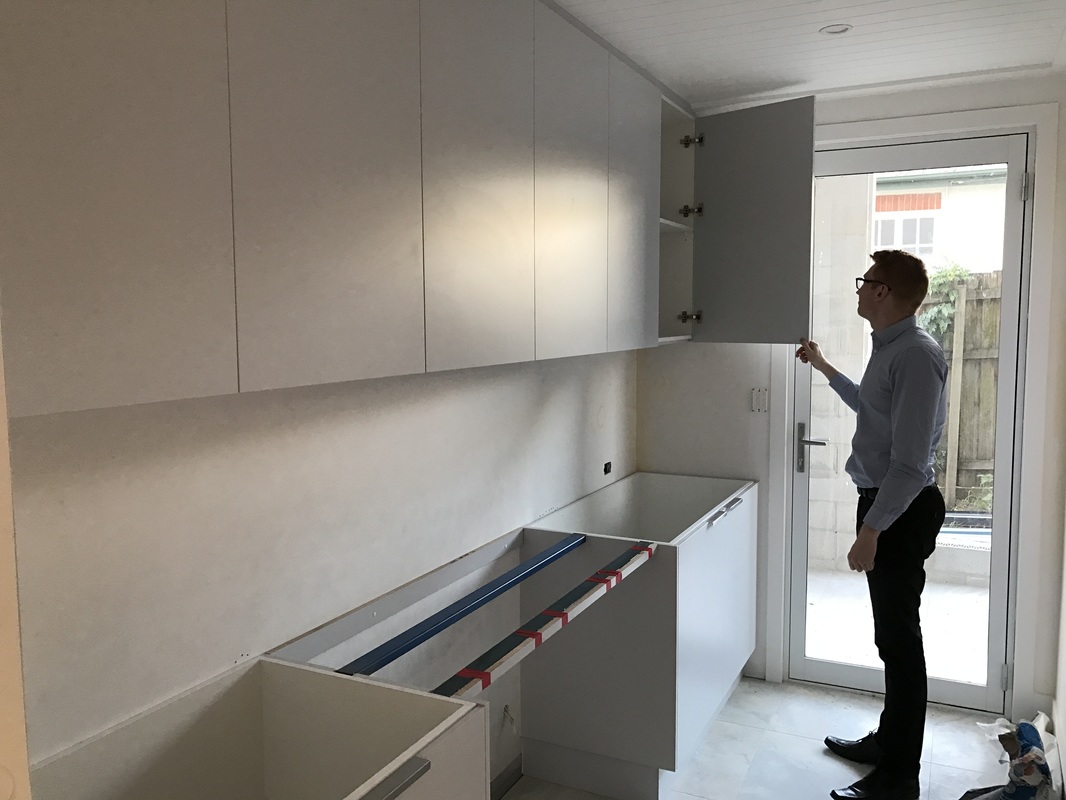
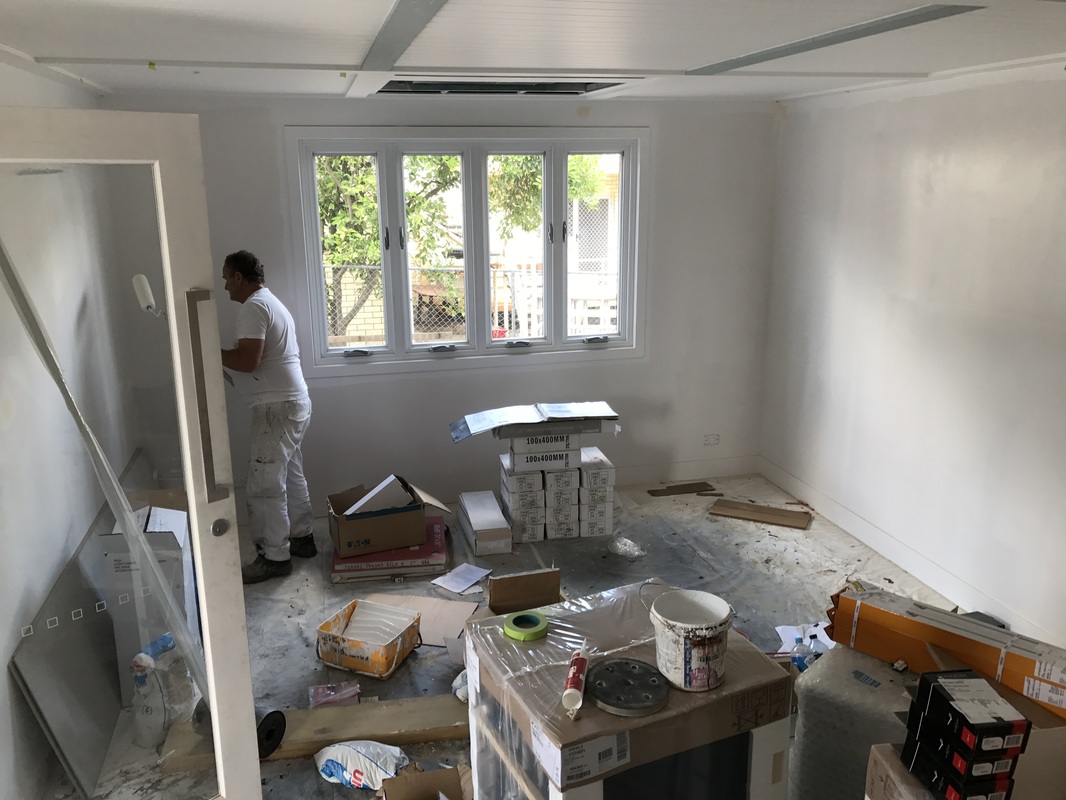
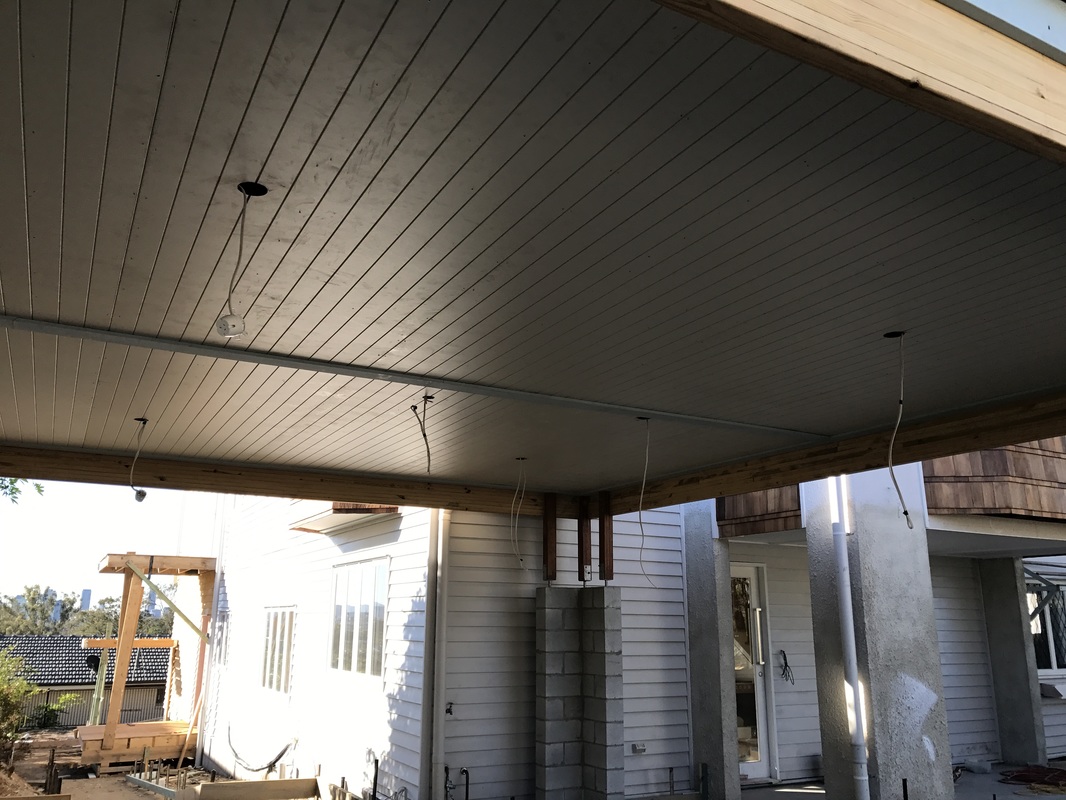
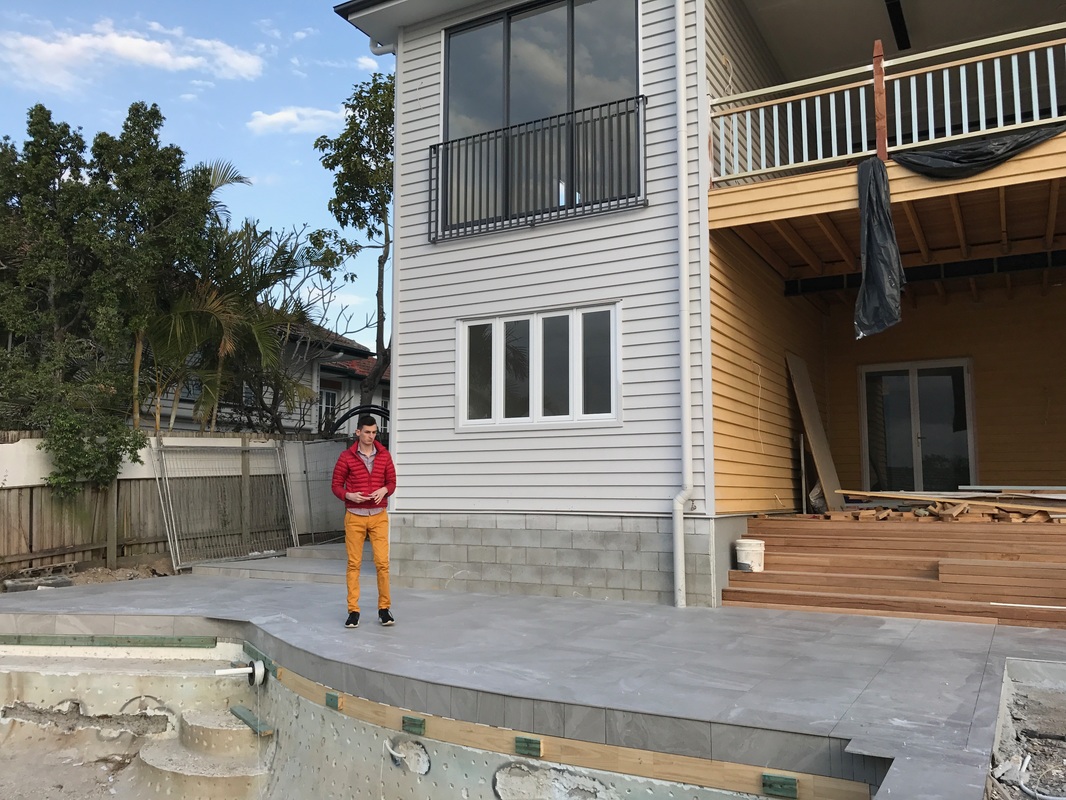
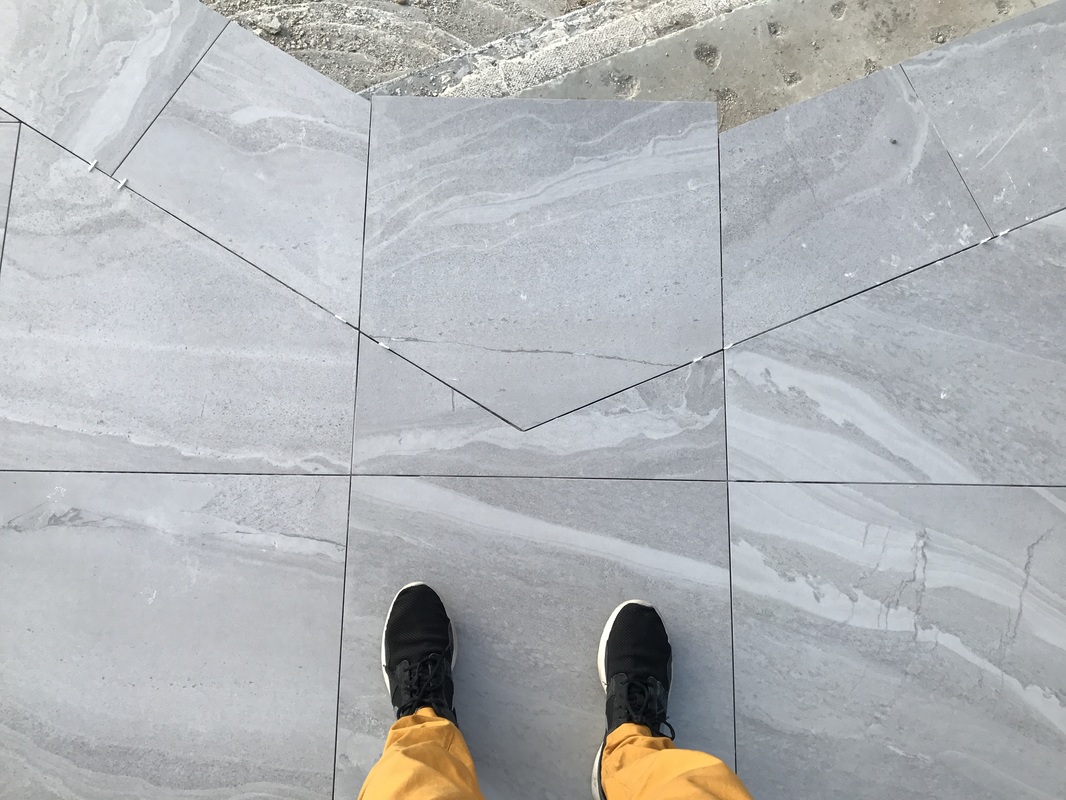
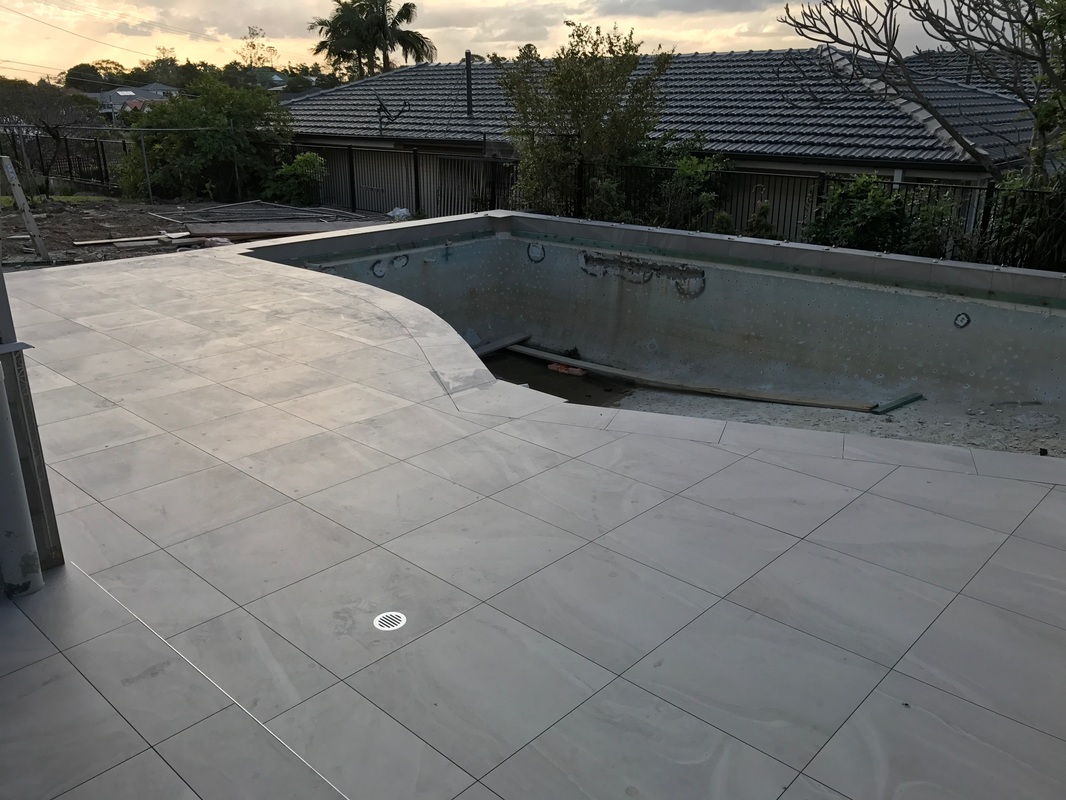
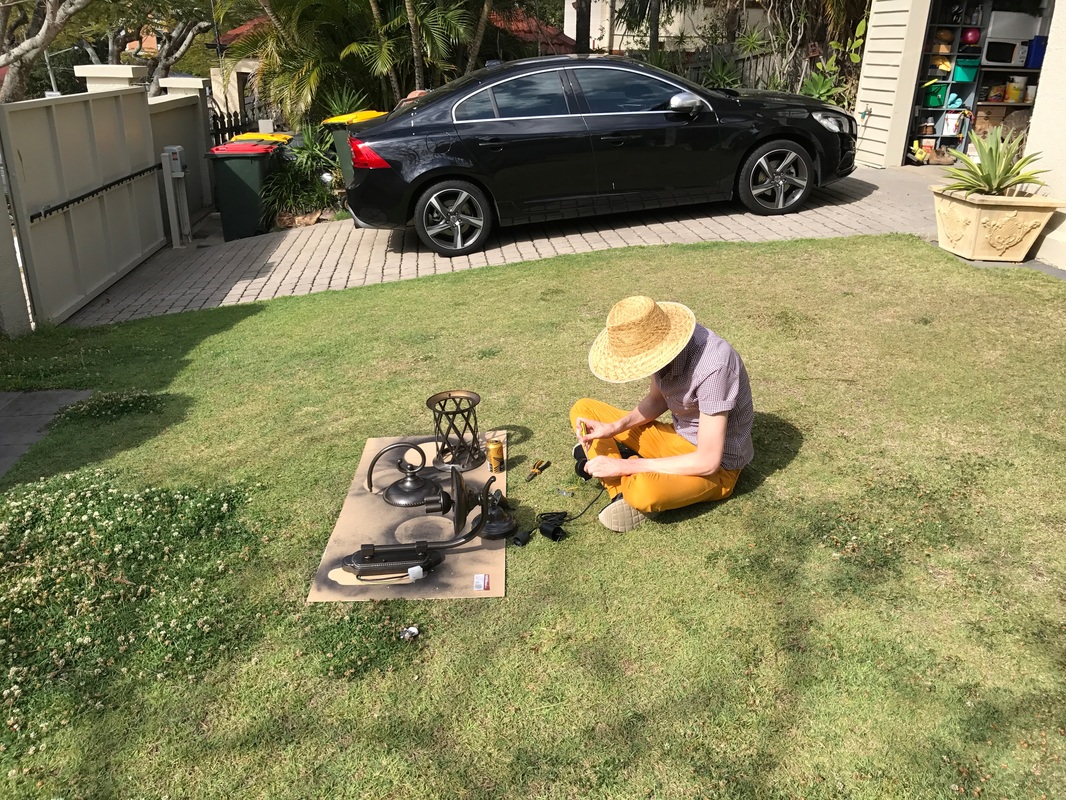
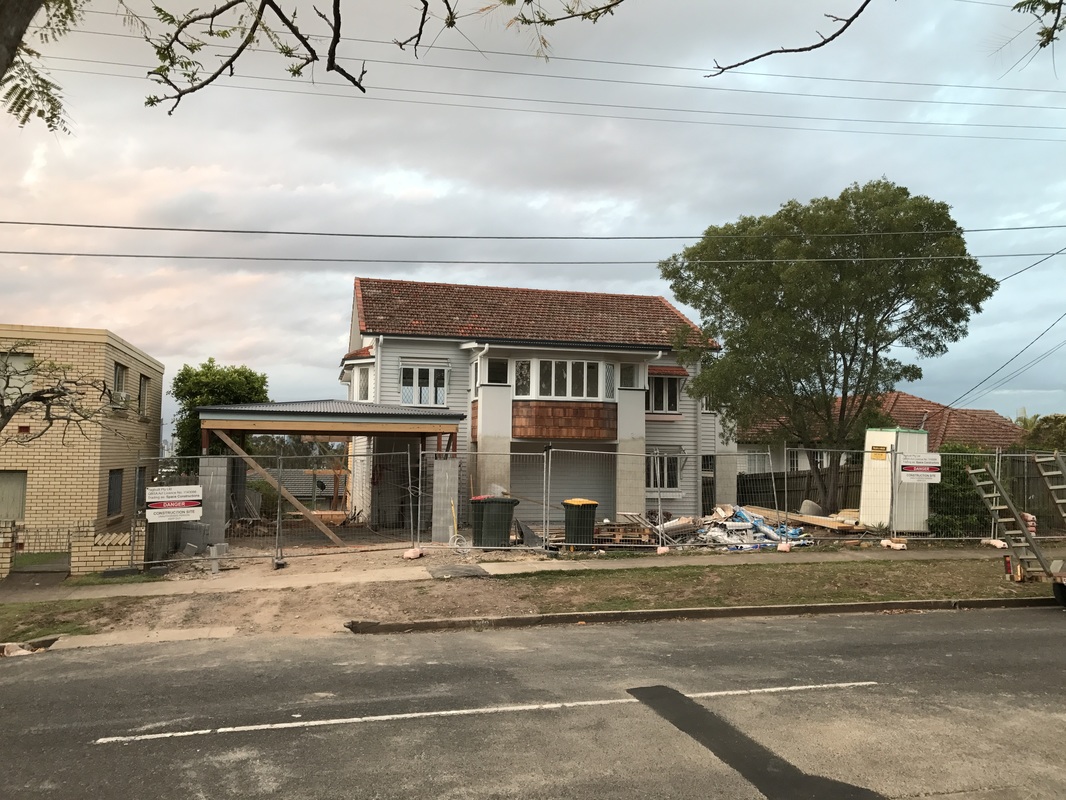
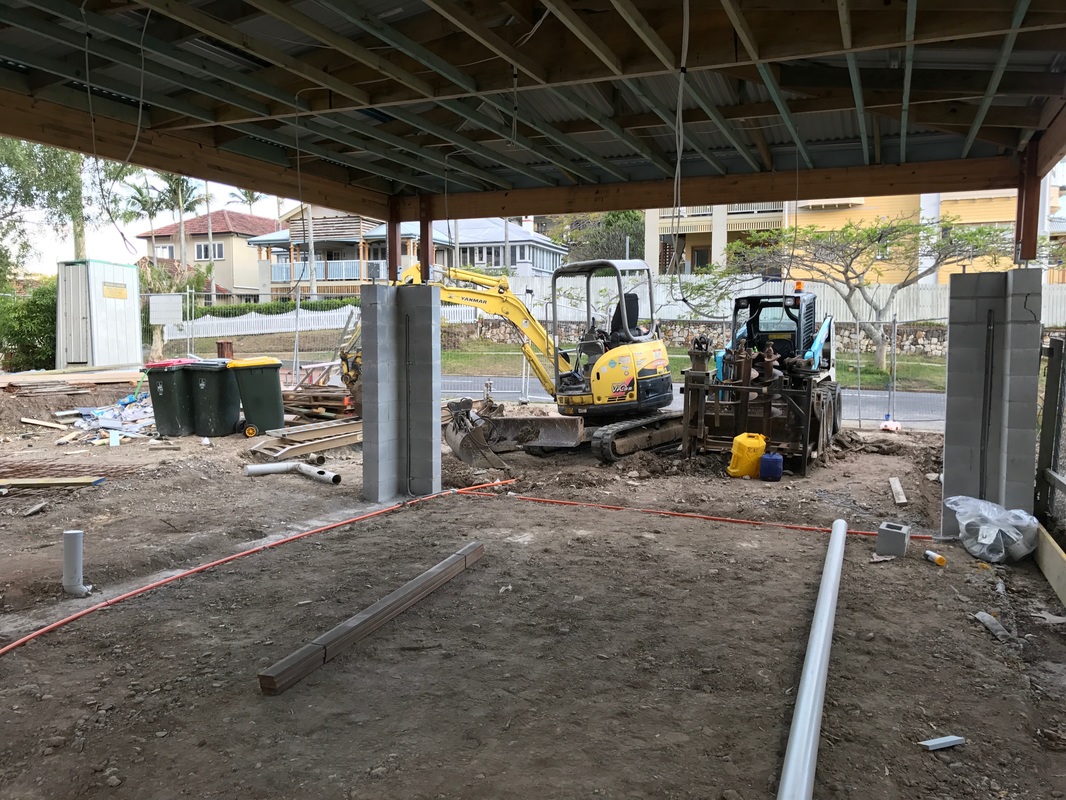
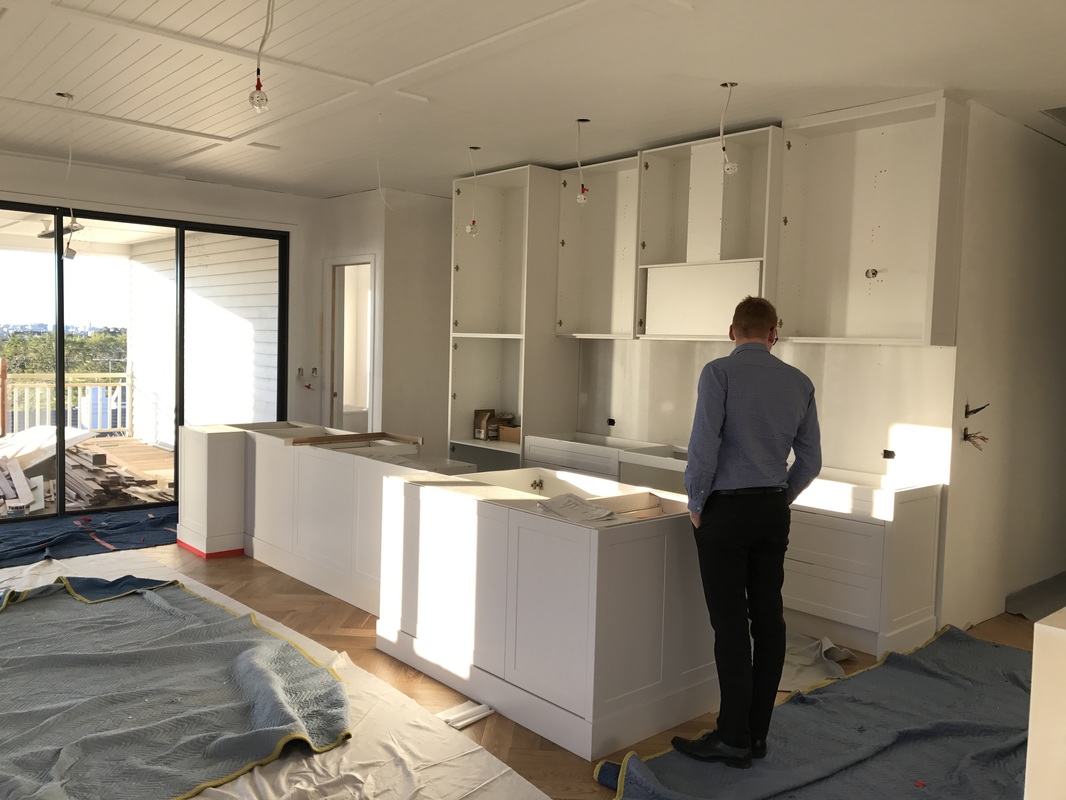
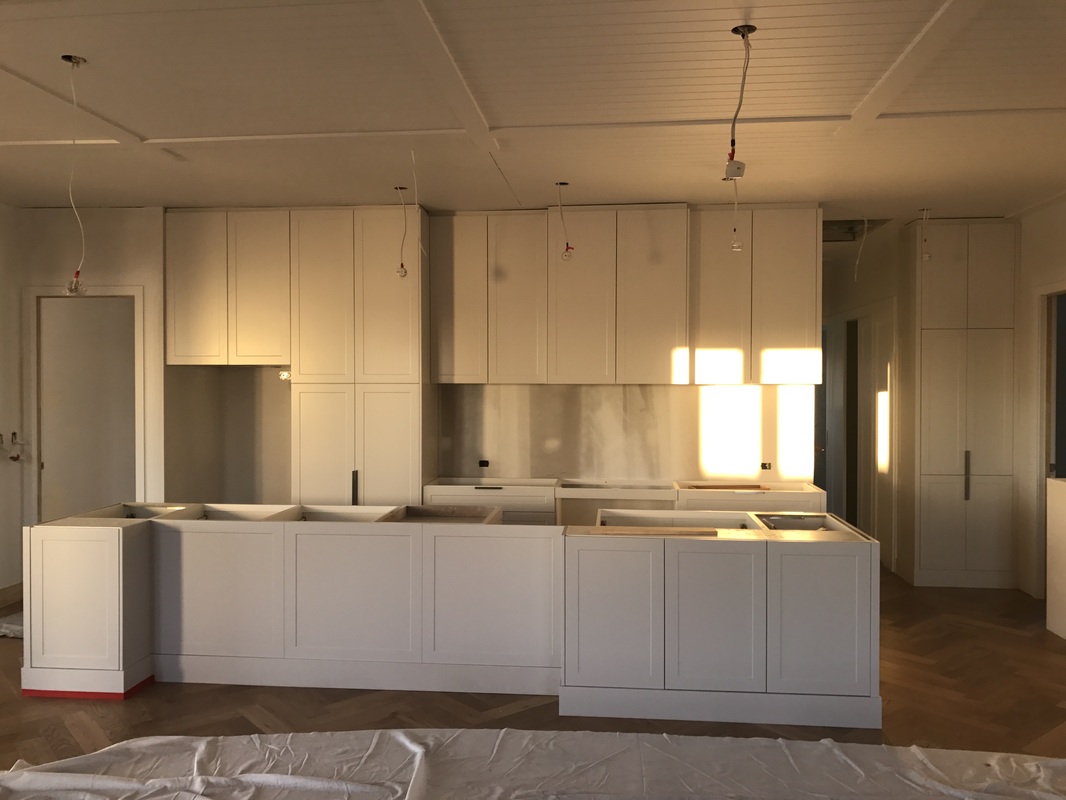
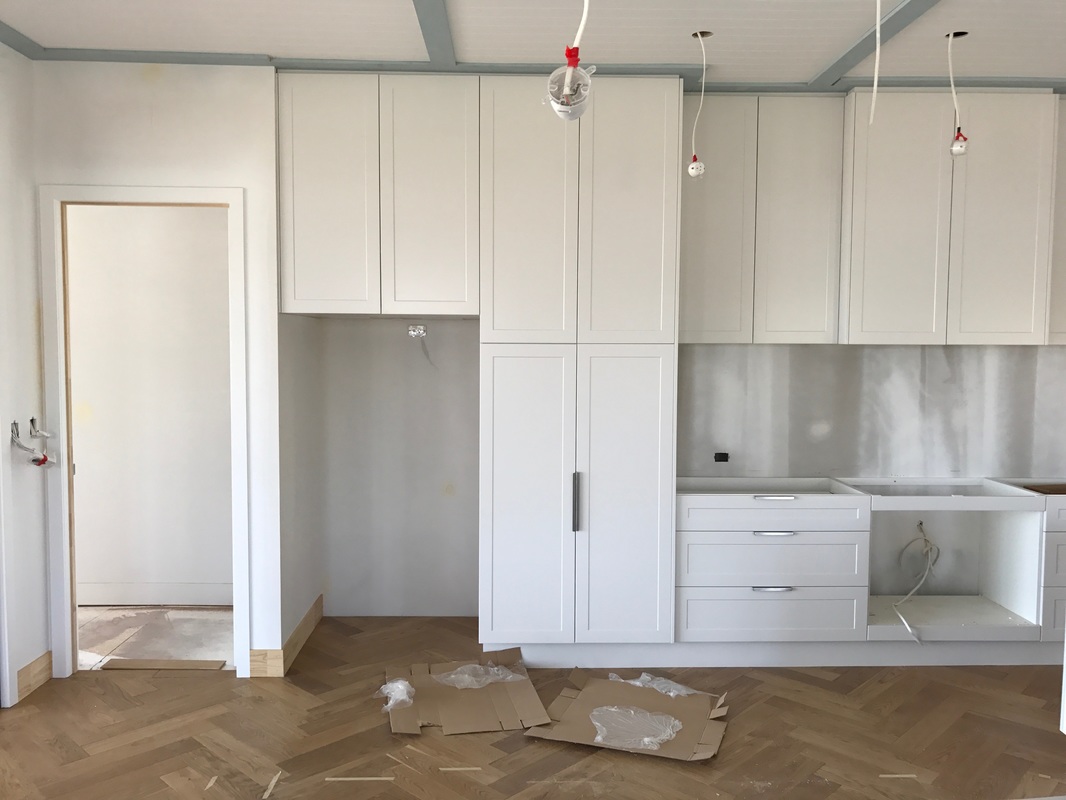
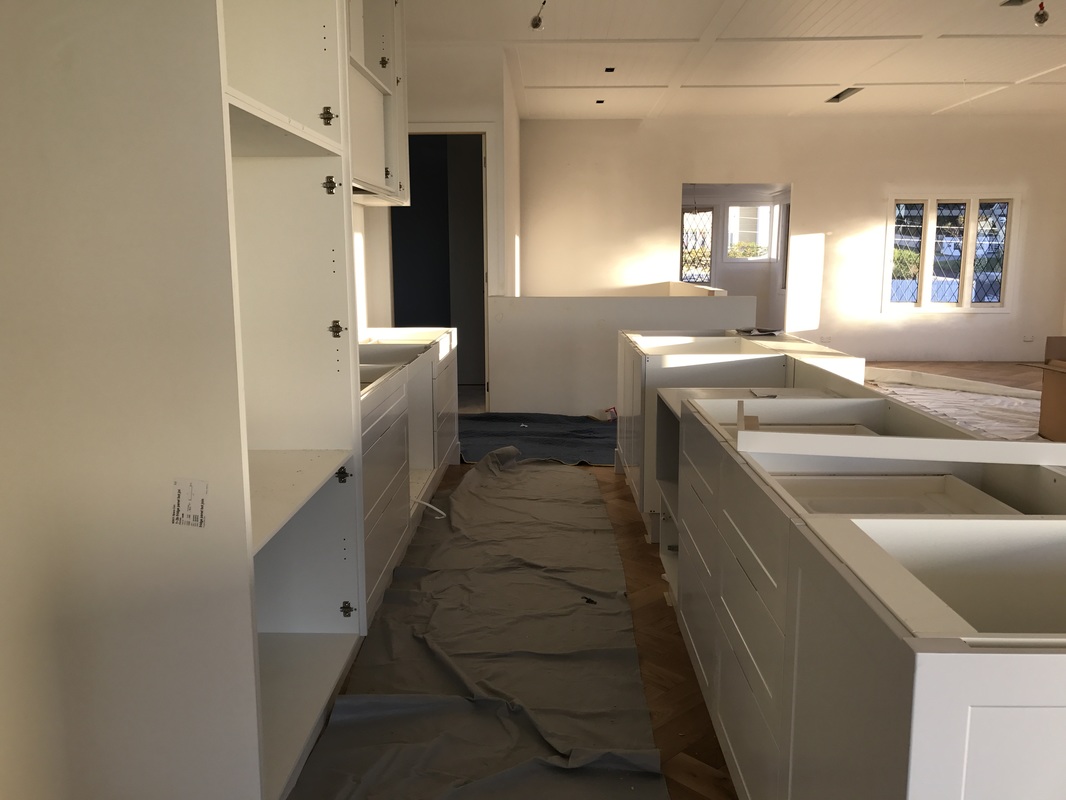
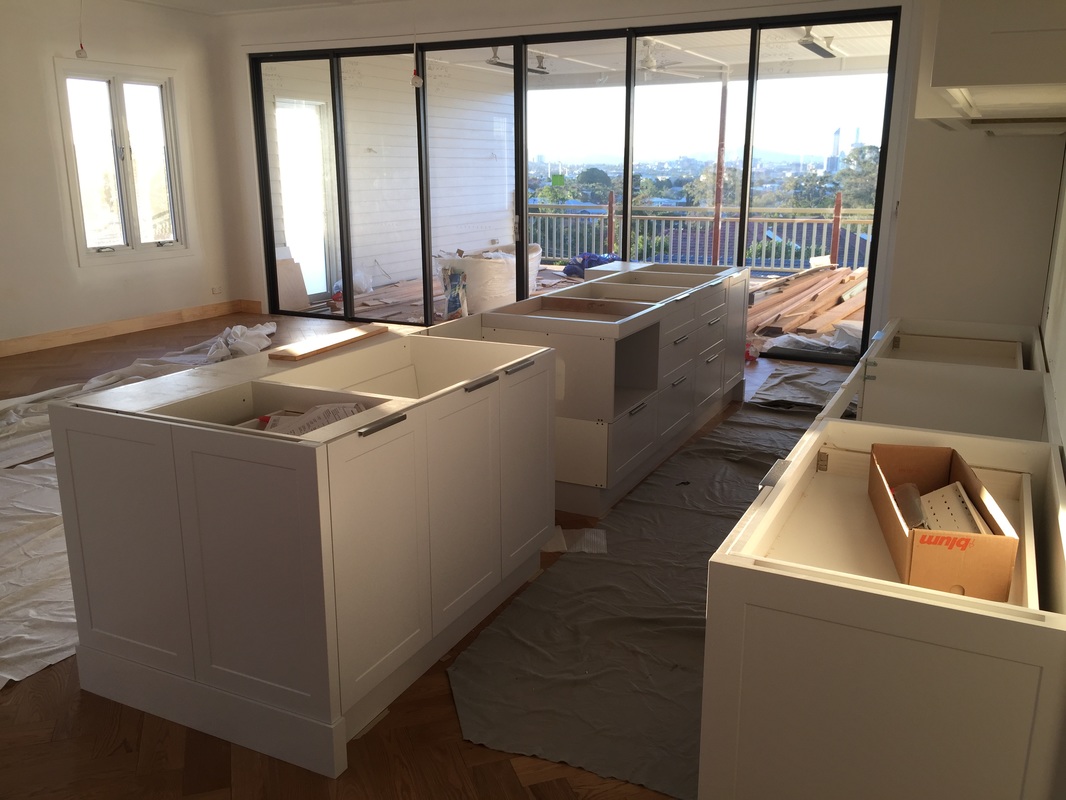
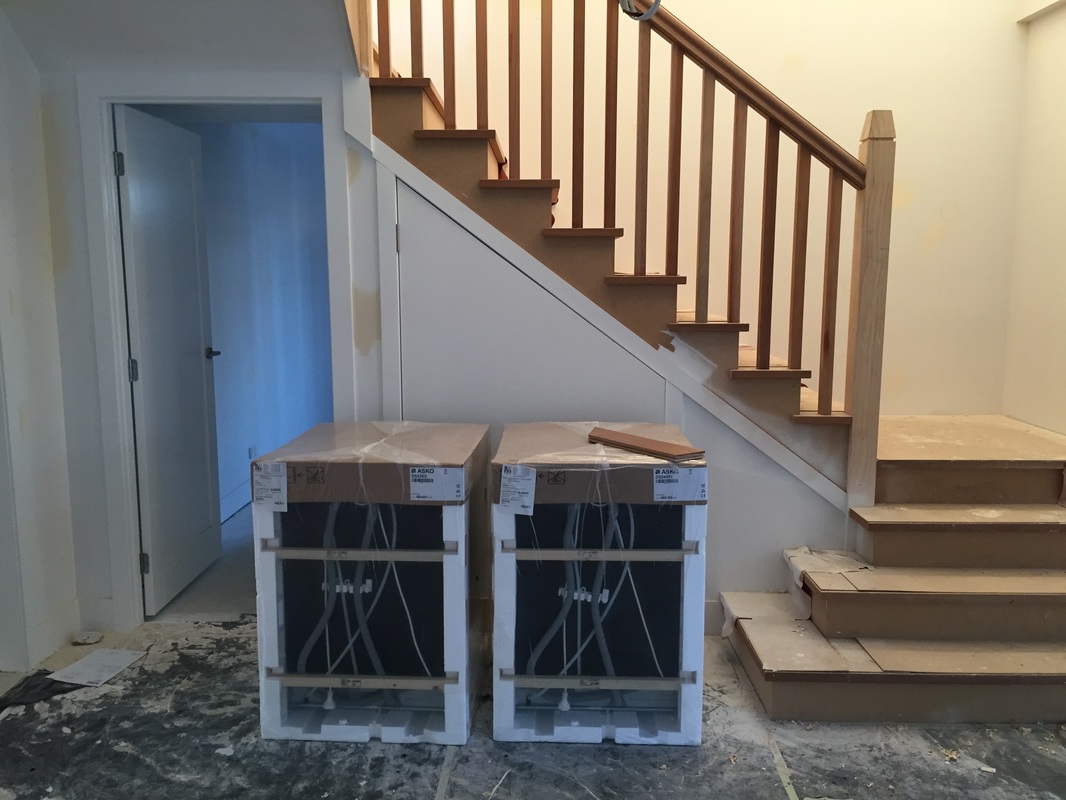
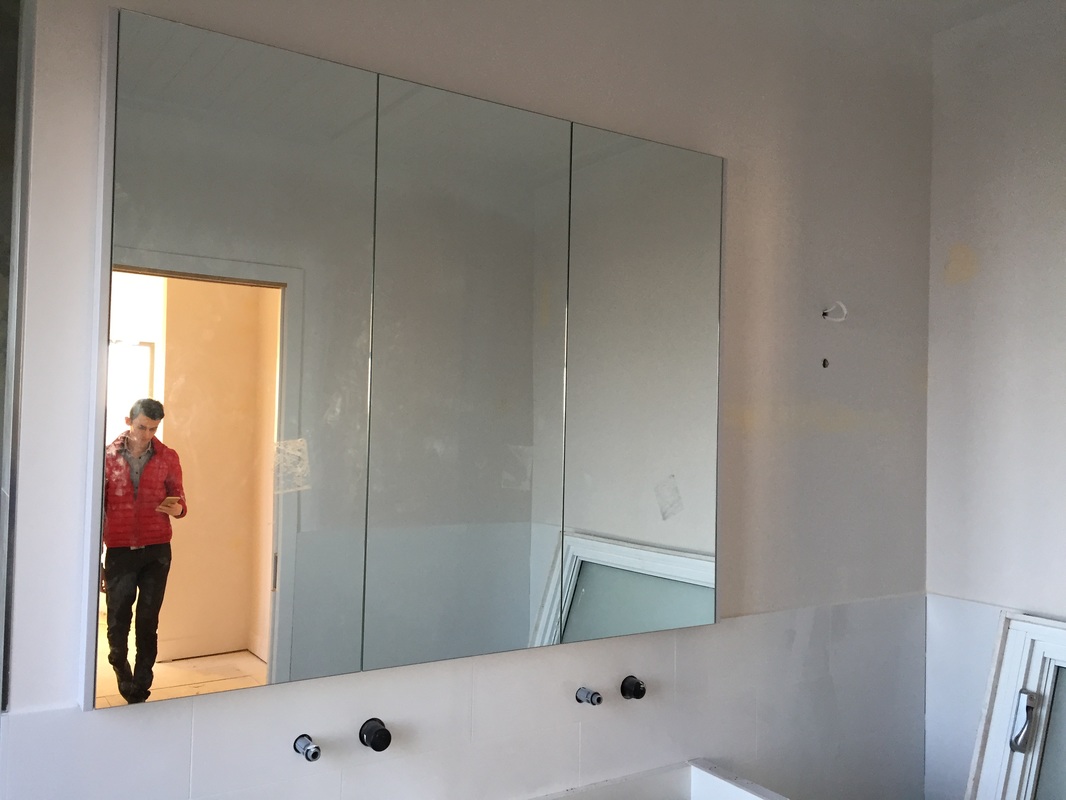
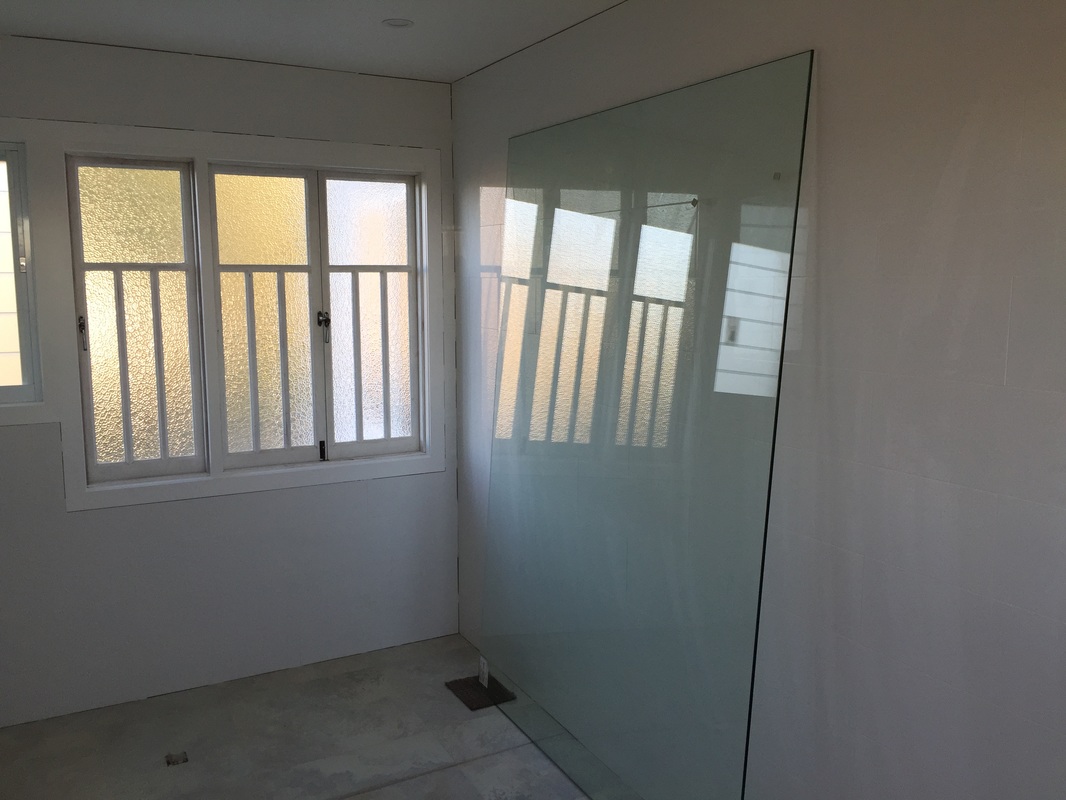
The front gardens are done!, and we couldn't be happier. I installed the garden lighting, which is just a 12 volt plug and play system from Beacon Lighting. Works brilliantly, easy to install, and really adds dimension to the landscaping. The lights can be moved, which is good because the planting will change shape as things grow. We were so happy with Connor's work on the front and sides, that we asked him to return to install additional hedging along the back fence line, and around the pool. We had planted a combination of other plants in these areas, but the Radermachera "summerscent" that we used on the right boundary and around the fire pit is so beautiful and leafy that we needed more of it to complete the back yard. Now all that's left is to start mowing this lawn, and waiting for summer to give these plants a boost. After many months (maybe even years...) of living with a front yard full of rock, we finally settled on a landscape design plan which incorporated all of the elements that we wanted, and also suited the design of the house. We had done bits and pieces of planting ourselves, but like many landscape installs some things worked and some didn't. We had underestimated the cost and significance of landscaping an 809 square metre block of land, that land size really becomes relevant when you consider that every square metre needs to be designed, excavated, planted, mulched, fertilised and irrigated. We ended up finding Connor Branelly from Branelly Outdoor. Connor really understood what we were wanting to achieve, and it's one of the rare opportunities we had to work with someone on the project where the collaboration came really easily. The installations started in late February 2020, right as COVID was kicking off in Brisbane. That meant that Michael and I were both working from home during the landscape work. That worked brilliantly as we were able to look out the window and give a thumbs up or thumbs down as Connor was showing us ideas or shouting out suggestions. We're now 2 weeks out from handover! Our filthy staircase which was covered in paint and plaster drips has been sanded, polished, buffed and painted and now looks good as new! The big news this week is the carpet. In one day the place went from a building site to a new house, all thanks to the carpet. We chose a very thick pile nylon - we didn't want wool, because our area has wool-eating moths that would have ruined it fairly quickly. It's so soft and the silver-grey sheen and colour shows up footprints and general texture, which is a look that we like. I'm typing this with blisters on my hands - this weekend we bought and installed IKEA wardrobes for our walk-in wardrobe. We didn't like the options from the low-cost wardrobe fitting people, and the cabinet maker's custom options were too expensive. So - it was IKEA, some friends, music, and a flat-pack pizza party. We had to put these in during the build, because the cabinet maker is coming back to install two decorative end gable panels to make it all look a bit more upmarket. The total cost of the wardrobes was about $2K, including interior fittings and lighting. Not bad at all, but it did take 44 gay man hours to put it together. I had to cut some of them down so they fit perfectly in our room - which is not for beginner IKEA-ers. Luckily I'm an IKEAxpert. I've said this before but it's amazing how transformative a coat of paint is. Out the back the pool pergola got a coat of fresh white, but it's still waiting on the concrete columns to wrap the steel posts. The side staircase has also had a coat of paint - and the front fence is finished and resplendent in grey & white. It's really getting down to the wire now! Every day is is slowly starting to feel like the small jobs are being ticked off the list. This week the splashback tile was installed and grouted, air-conditioning vents were installed and built-in wardrobes were fitted out with shelves & drawers, Outside the front fence was finished, but we are still waiting on the big sliding car gate. This is specially made so it's coming from another contractor to match the rest of the fence. The major carpentry work this week was on the backs steps, which are all but finished. There was a tiny bit of progress on the pool - with the mosaic tiles installed to highlight the edge of each step. The pool is now ready to be rendered. Above the pool however is another story - the pergola is up, and is just waiting on the decorative concrete columns to finish it off. The hot water system is in - so we could take a nice hot shower (if only Origin could get organised and get our gas meter installed). The rest of the driveway was poured and stamped, and so now the only concreting left is the small bridge piece over the front gutter. We made our driveway wider, so this had to be extended. Some more fitting happened inside this week - some of the air-conditioning vents were installed, along with our doorbell intercom. We had originally wanted just a plain old ding-dong doorbell, but we could only find ugly surface mounted plastic ones, so we ended up buying a video intercom online fairly inexpensively and it does the trick. Back outside and our fence posts were installed. They are huge - we didn't really notice but they were marked down as 150mm posts, and when they arrived we were a bit surprised. They look nice and solid though, so we're not complaining. They got the same notch and taper top that other timber posts in our house have to add some architectural interest. I gave a design to the carpenter for the rafter tails that we added underneath the bay window, and also around the carport beam. These will be painted white to blend in, and I think add a layer of authenticity to the carport. The idea is to make it look like it was built with the house in the 1930s. I hadn't anticipated that the beam around the carport would be so tall, so I adapted on the fly and had the fascia board painted to match the guttering to reduce the beam visually - I think it turned out pretty well. The decorative end design of these timber blocks we took from a 1930s planter box that was on the front of the house. On Saturday some of the concrete was poured and stamped. It turns out that stamped concrete is really a dying art, and we were not able to find someone to do the deep impression stamps that my parents had done 18 years ago. Apparently everyone wants exposed aggregate - which looks lovely for 2 years but because of the surface texture, it gets really dirty with road grime. It's also sharp underfoot, which we don't like. The next best thing is a rubber stamped pattern which leaves a shallower pattern in the surface of the concrete. It's such a shame - the deep stamped concrete is so durable - it has endless grip for car tyres and shoes and we tinted the concrete mix, so that darker grey colour can never wear off. We are still happy with how the rubber stamping turned out - it's much more durable than a spray-coat pattern and is more interesting and forgiving than plain concrete or exposed aggregate. They need to come back and finish off the driveway to the street - it's going to be a lot of concrete surface are, so we will really need to soften it with lots of plants around the edges. Our doorway to nowhere now has a landing - and steps! Previously the door off our deck just opened onto a 5 metre plunge, but this last piece of major construction work is coming together. The back steps allow us to get from the upstairs deck down to the pool without having to go through the house. Some more exterior painting happened, the posts and rails on our balustrade was painted 'ironstone' to match our gutters and other trims. Down in the backyard the pool fence went in - we did a simple aluminium design and had it specially powder coated in our house trim colour. Everyone was trying to convince us to do glass, but we just look down on the fence, rather than looking through it, so I think not doing glass was money well saved. Well, we like our interior paint colour - what a relief! The 'British Paints - Tiger White' colour is clean and bright, but also has a warmth that we enjoy. Some more electrical fitting happened - including our white induction cooktop. Once the white tile splash back is done, the white cooktop should camouflage and not stick out like a black one would. The most exciting development this week however, is the power! Our LED push-switches came to life, and we put them to use to see whether our lighting design worked in real life. At our last house, we installed too many LED downlights (in cool white) - so we ended up hardly ever using them. We love the soft glow of lamps (everyone looks gorgeous under soft gold lighting), and this time around we wanted that soft glow lighting from our ceiling fixtures too. We opted for warm white, low voltage LED downlights with recessed chips, narrow beam angle and no diffusers (in laymans terms, less light output and less glare). The overall effect is moody and cosy - which is perfect. I love the patterns that the different fittings cast onto the walls. We also repeated a small dark grey wall light that throws an angled beam up and down. It's an exterior fitting, but we used it both outside and inside. The angled beam is like art on the walls and makes the spaces really intimate and dramatic. Our chandeliers came without bulbs (just like the toy on Christmas morning without batteries). To buy in Australia the bulbs are around $20 each, and we need 24 of them - so Michael found them online for about $3 each, but we have to wait. Something to look forward to in a few weeks time when they arrive from China. Ironically, on 'The Block' last week one of the contestants was lamenting that she had overlooked increasing the thickness of her kitchen bench tops. Ours were installed this week, and we chose to stick with the standard 20mm thickness instead of doubling or tripling the edge profile to make the stone look thicker. Our kitchen has a lot going on with the shaker cabinetry, and we really wanted the cabinetry to be the star of the show. Thicker bench tops would have just competed for attention. The saving of around $1,600 to keep the default 20mm thickness is also an added bonus. The brass chandelier is just the right amount of gold - but the electricians mixed them up, so that one is going to the dining room and the slightly larger one is moving to the kitchen. According to the designer of the chandelier, it was inspired by a prostitute's adjustable candelabra - who knew? Our upstairs downlights went in - they are from a proper architectural lighting supplier so we were able to specify the beam angle and colour temperature. Everyone looks better under soft gold lighting. We chose a recessed fitting so they will not glare into your eyes across the room like a standard diffused LED downlight tends to (especially after a few martinis). In the bathrooms the enamel porcelain vessel sinks were installed. They are a beautiful mirror finish, so we will have to brush our teeth with the hose in the backyard to avoid spoiling that mirror finish. The laundry cabinetry and the kitchenette were delivered and installed. These rooms missed out on the 2-Pac shaker treatment but got a complimentary coloured laminate finish that we are happy with. Again the quality of finish from the cabinet maker has elevated the look of these laminate units. We had originally chosen a granite coping tile and mosaic waterline tile for our pool. We would have done granite on the whole pool surround slab, but we couldn't afford it. At the last minute our builder suggested just using the porcelain tile right up to the edge of the pool - and grinding back the edge so that it has a slight bullnose. We're glad that they made that suggestion because now that it is in, it looks seamless. The tiles still need to be trimmed to the pool shape and bullnosed, but they have already made the pool look new (we think). Inside, the electricians were ready for our pendant lights and chandeliers (but we weren't quite ready, whoops). Over the weekend I spray painted one of the original light fittings in the house; the surface was in bad condition, but we liked the shape so it got a fresh coat of paint and now it's as good as new. I also painted a big wall light for our front entrance - it's new but we didn't love the faux-antique brass colour, so that got a matching paint job. I had to re-wire the old pendant, harvesting the materials and fittings from a $20 pendant kit from Bunnings. We opened the box of our new designer chandeliers - I knew we would have to assemble them but didn't realise that they needed to be wired also. Might leave that job for the electricians. Back outside and the landings off the back deck have been built - to accommodate the stairs down to the pool area. The carport has been roofed, and the formwork is nearly finished for the concrete driveway, carport slab and pathways around the sides. We reached a milestone this week! The main kitchen went in! The kitchen was supplied and installed by Garsden & Clarke (in Capalaba, Brisbane). We were really impressed by Susan (the owner), we had already put a lot of thought into the design, and it was a really simple process to translate that to proper plans with them. I'd say that we're generally difficult to impress, so that's a recommendation not given lightly. The job isn't finished yet, but no signs of faltering so far. Our spokesmodel Michael features in the first photo to give the island bench some scale. We are sadly lacking a butler's pantry, which is becoming the norm for houses like ours. We figured that we will never be able to afford a butler, and we didn't want to eat into our ensuite space to cram it in. The trade off is a 4.5 metre island with seating on the back. In terms of style, we wanted a classic look (that hopefully we won't regret in 3 years) - so we opted for a 'shaker' profile door. Often I find that shaker kitchens look fussy and old-fashioned, which I think has a lot to do with the size of the shaker panels. I made sure that our panels are all very tall, which modernises the pattern and makes it feel current. Colour-wise it is two-tone (the island is light grey, the main wall is off-white), but it's hard to see in the sunset light. To avoid it looking too 1860s we used a simple stainless steel handle on the lowers, and the upper cabinets are the 'push and pop out' variety. Our champagne closet (fridge) and other appliances are en-route, and the stone was templated too, so that's probably a week or so away. My hot kitchen tip is to hide the microwave under the bench. Ours is under the island on the working side, so it can't be seen from the open plan living/dining space. Microwaves are ugly, and the built-in models are really expensive for a microwave. This way we can just plonk a standard microwave in the space, replace it easily if it breaks, and it doesn't spoil the look. On the other side of the hallway we designed a tall narrow cupboard for appliances like the kettle, toaster and coffee machine. I don't like looking at appliances and cords, so the goal is to keep the benches clear of junk. The cabinetmakers also installed the mirrors on the bathroom upper cabinets (mirrors are the most important part of any room, naturally), and the shower glass also arrived. Next week we're looking forward to some more lighting, work on the carport and some external bits and pieces. |


 RSS Feed